Everything you need to run your table with Lore & Play: campaigns, characters, live sessions, battle maps, your phone at the table, homebrew content, and the AI assistant. Every screenshot comes from a real campaign — The Web Walkers of Bradfordshire, on the night of the ambush at the Four Paths Crossing — so what you see here is exactly what you get.
Lore & Play is a Dungeon Master's operating console: it keeps your campaigns, party, session notes, battle maps, and rules reference in one place, so game night needs one browser tab instead of six apps and a paper screen.
| Role | What it's for |
|---|---|
| DM | The full workspace: campaigns, characters, sessions, battle maps, Workshop, Gallery. This is the default role for new accounts. |
| Player | A focused view: their characters, the campaigns they play in, and the live table their DM publishes. Players are invited by a DM. |
| Admin | Site administration (users, translations, global settings). Only relevant if you host Lore & Play yourself. |
After login you land on the dashboard: the Library, a bookcase with your notebook beside it. The top shelf holds your campaigns — the newest facing out, the rest spine out, *All campaigns* and + New campaign — and, past the bookend, the games somebody else runs, where you play, with *Characters I play*. Open a campaign's book to see its open session (Open session, or + New session when every session has been played), ▶ Run it with only the tools you use at the table, its sessions so far, and its party; ← Bookcase, or the browser's Back, puts it back. The middle shelf is the Workshop, a book per kind of homebrew with how many you have made, then *Characters for my games*, Worlds and the Gallery. The bottom shelf holds the Tavern, Guilds, Friends, Settings and the rules reference. On a phone the books lie in stacks instead, and the notebook is below them.
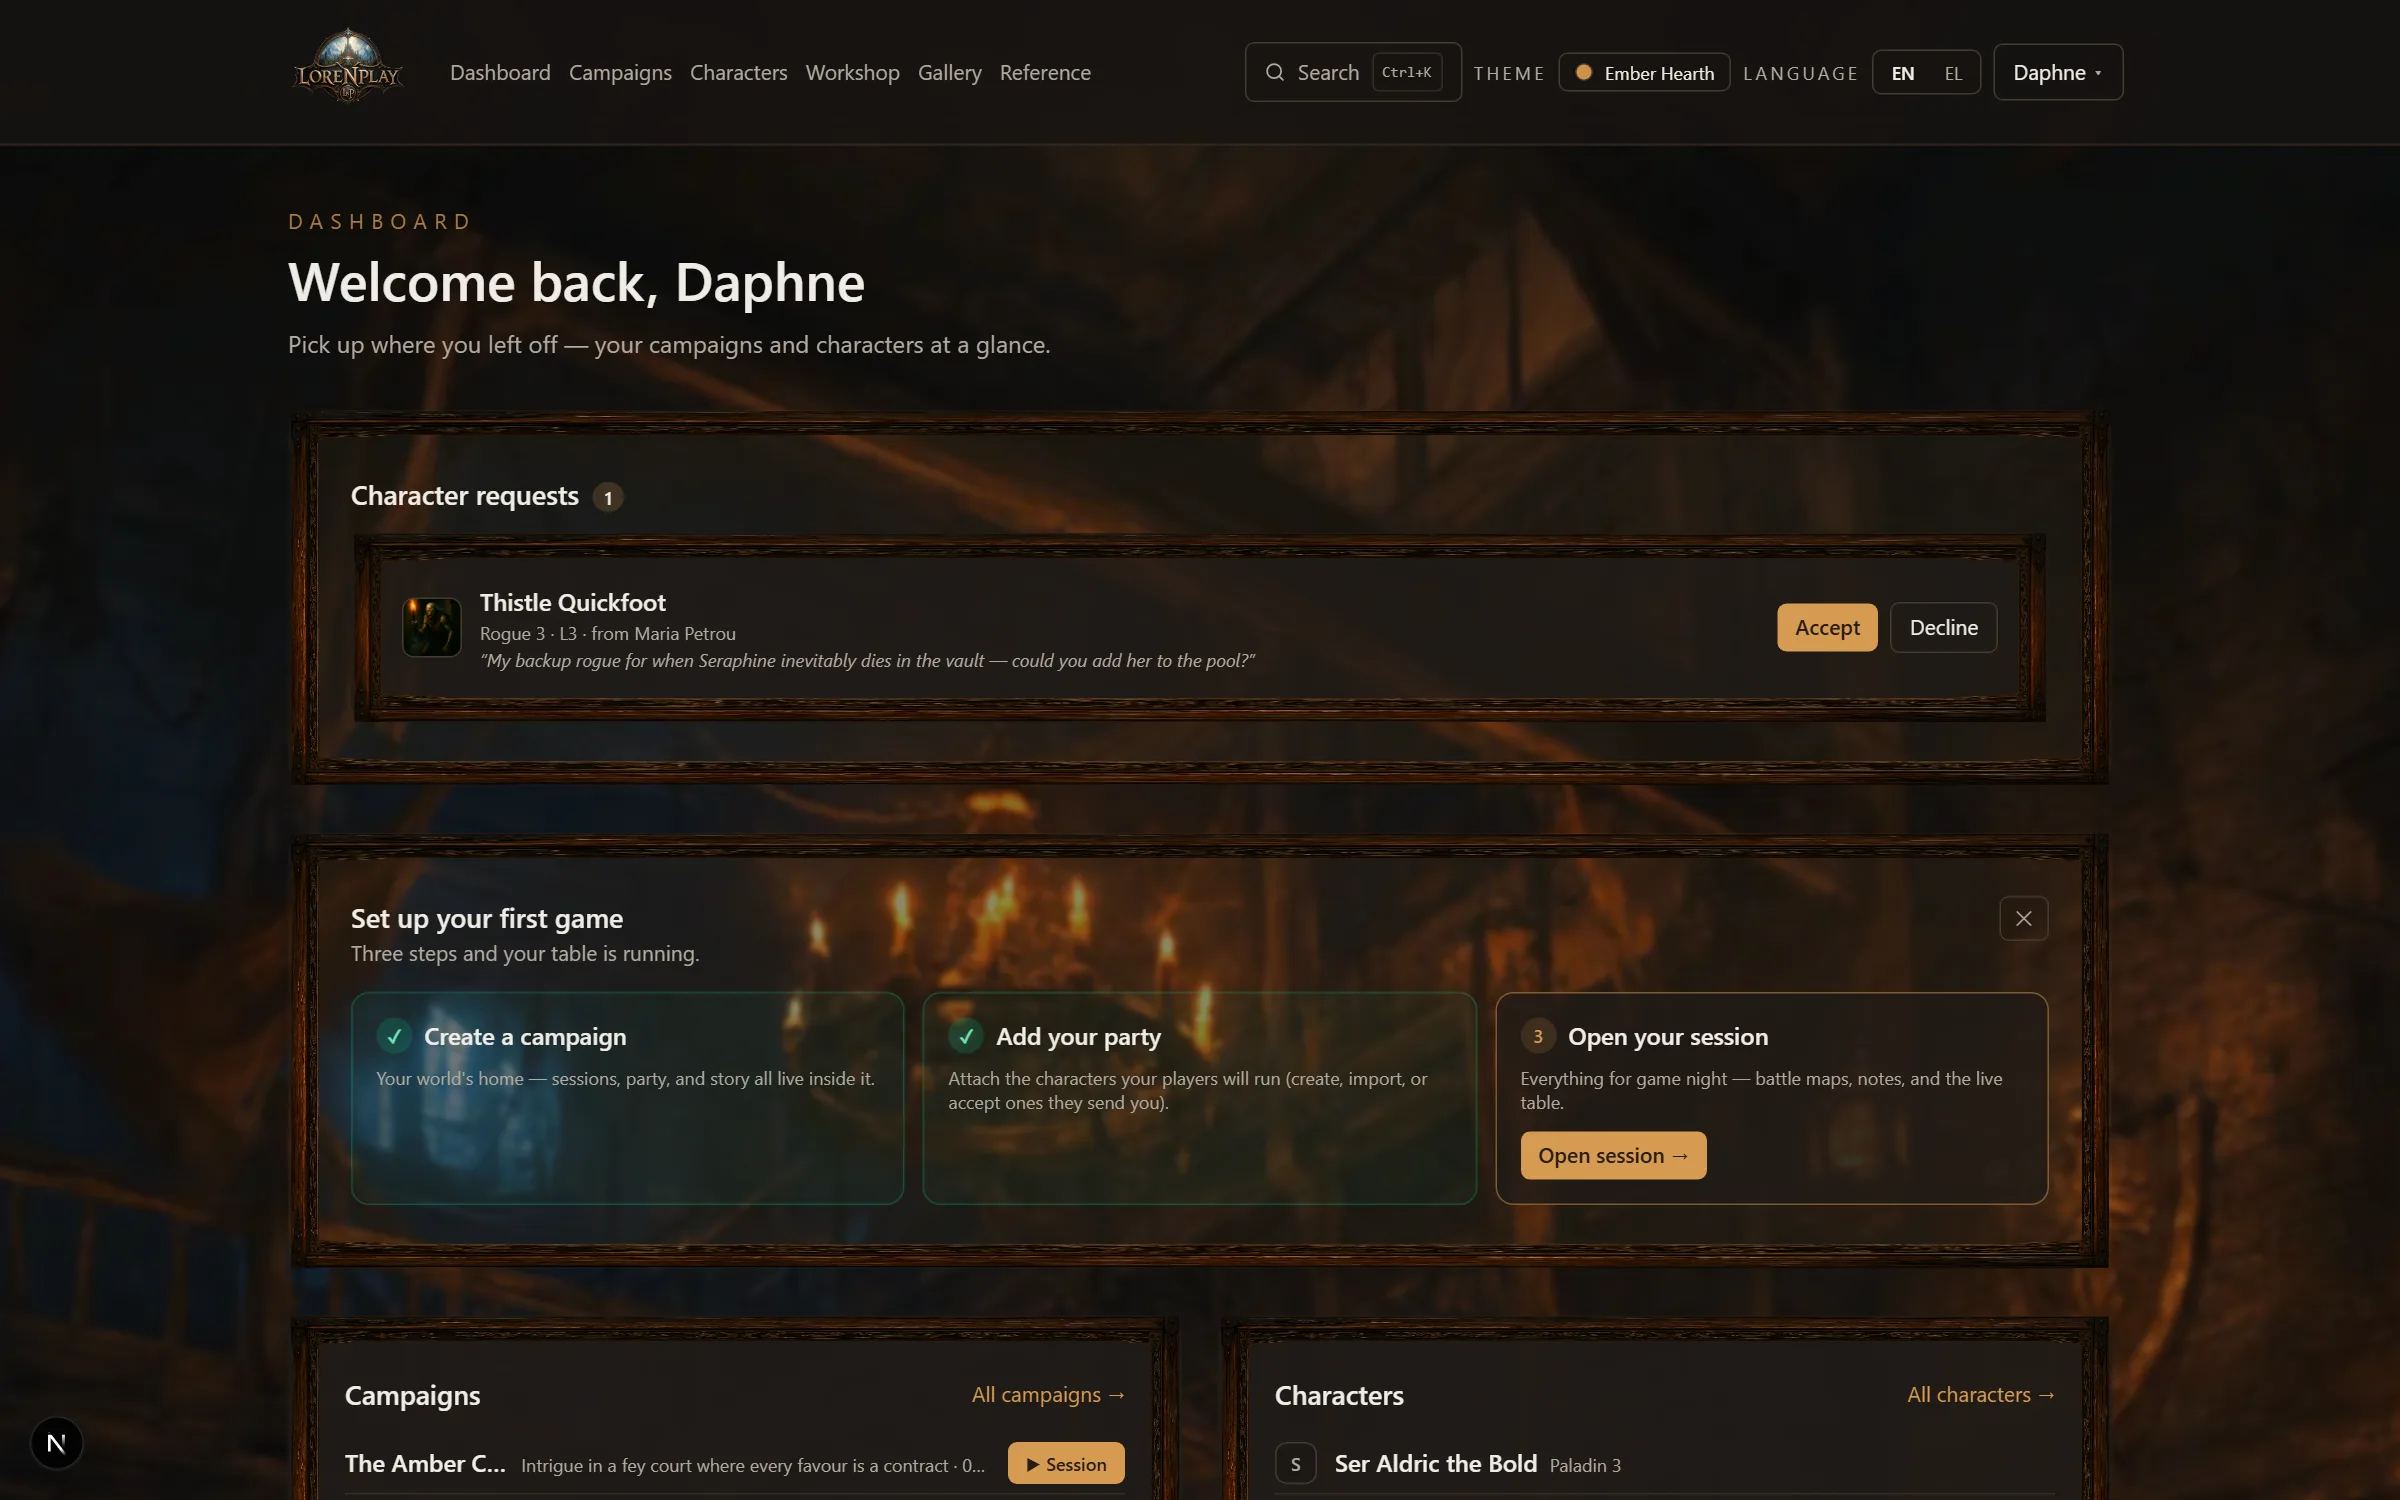
Player view — the screen a player sees is on each campaign's *Party & Players* tab: it asks which player, and shows that campaign exactly as they see it, read-only. If you also play in someone else's game, it is listed under *Play as a player*, and the header's *Dashboard* link brings you back from that side. Your characters come in two lists: Characters for my games (party sheets, pregens and the characters your players brought you) and Characters I play (your own heroes at other DMs' tables). A character moves between them with one click on its card; one that sits in a game somebody else runs stays in *Characters I play*. Accepting an invitation to a campaign takes you straight to it. When you sign in, a welcome screen shows both sides at once — what is live and what is next — until you choose what it should open from now on.
The campaign is the anchor of everything: sessions, party, battle maps, codex, and rules all live inside it. Campaigns lists yours; each one opens into its Campaign Hub.
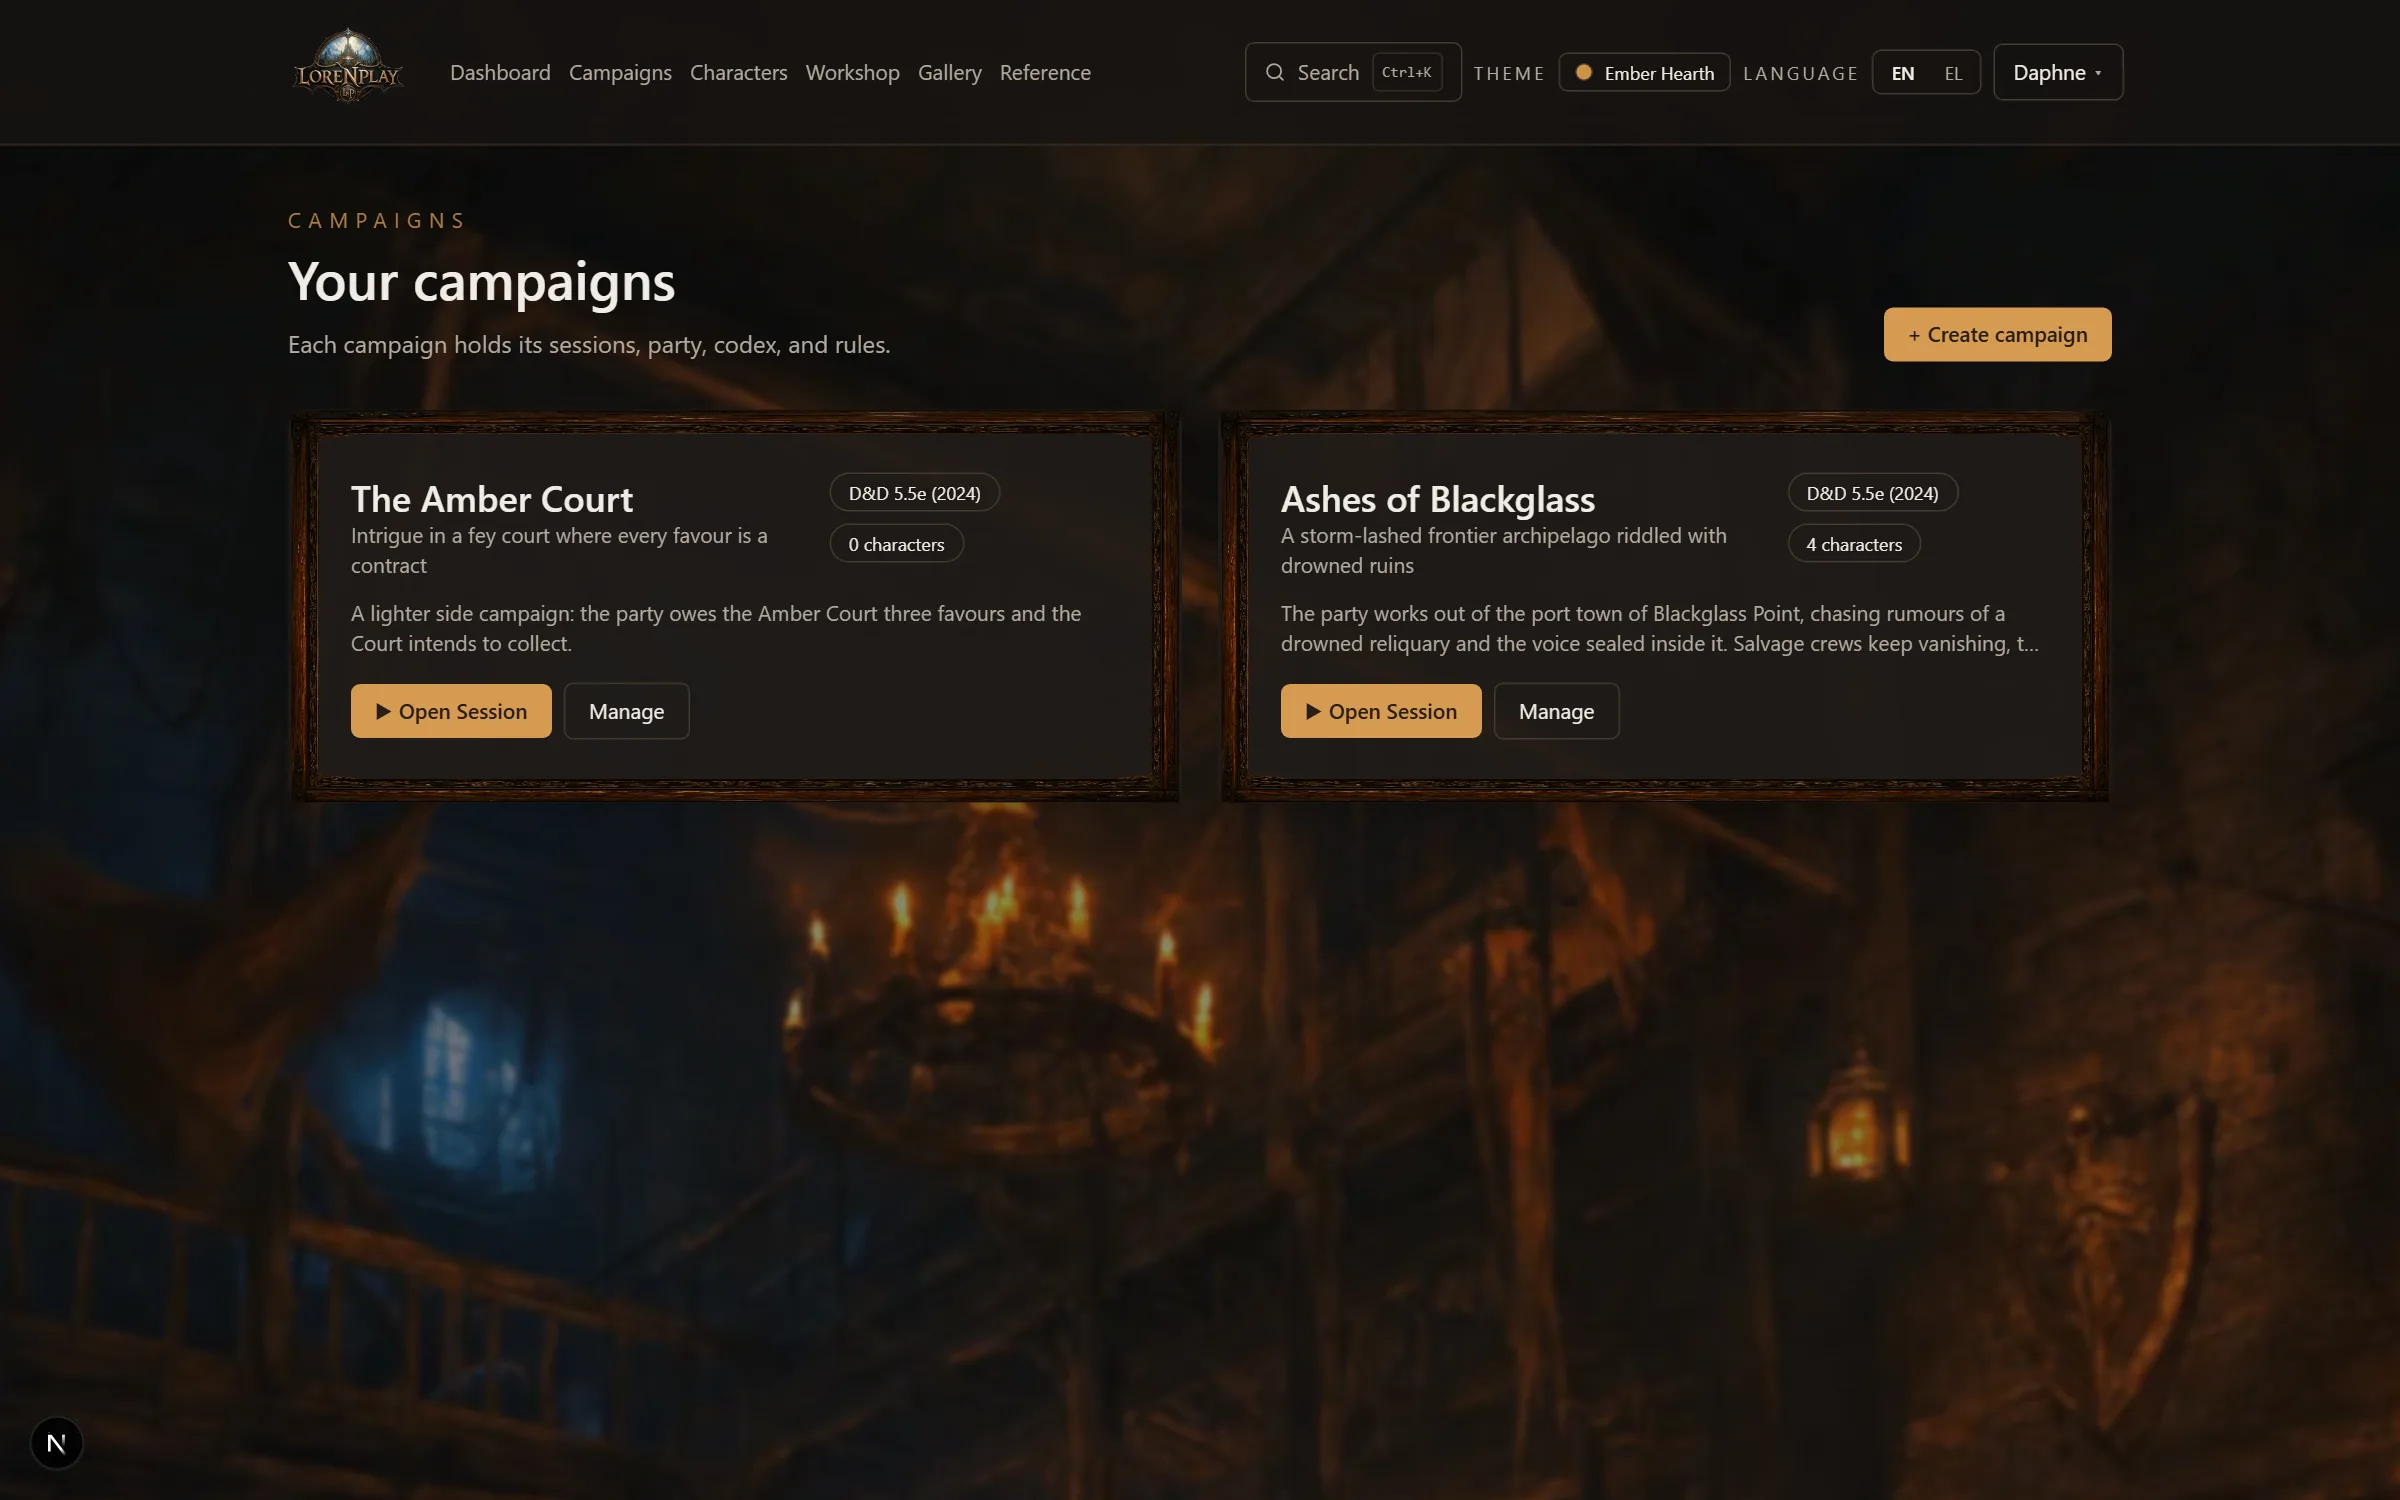
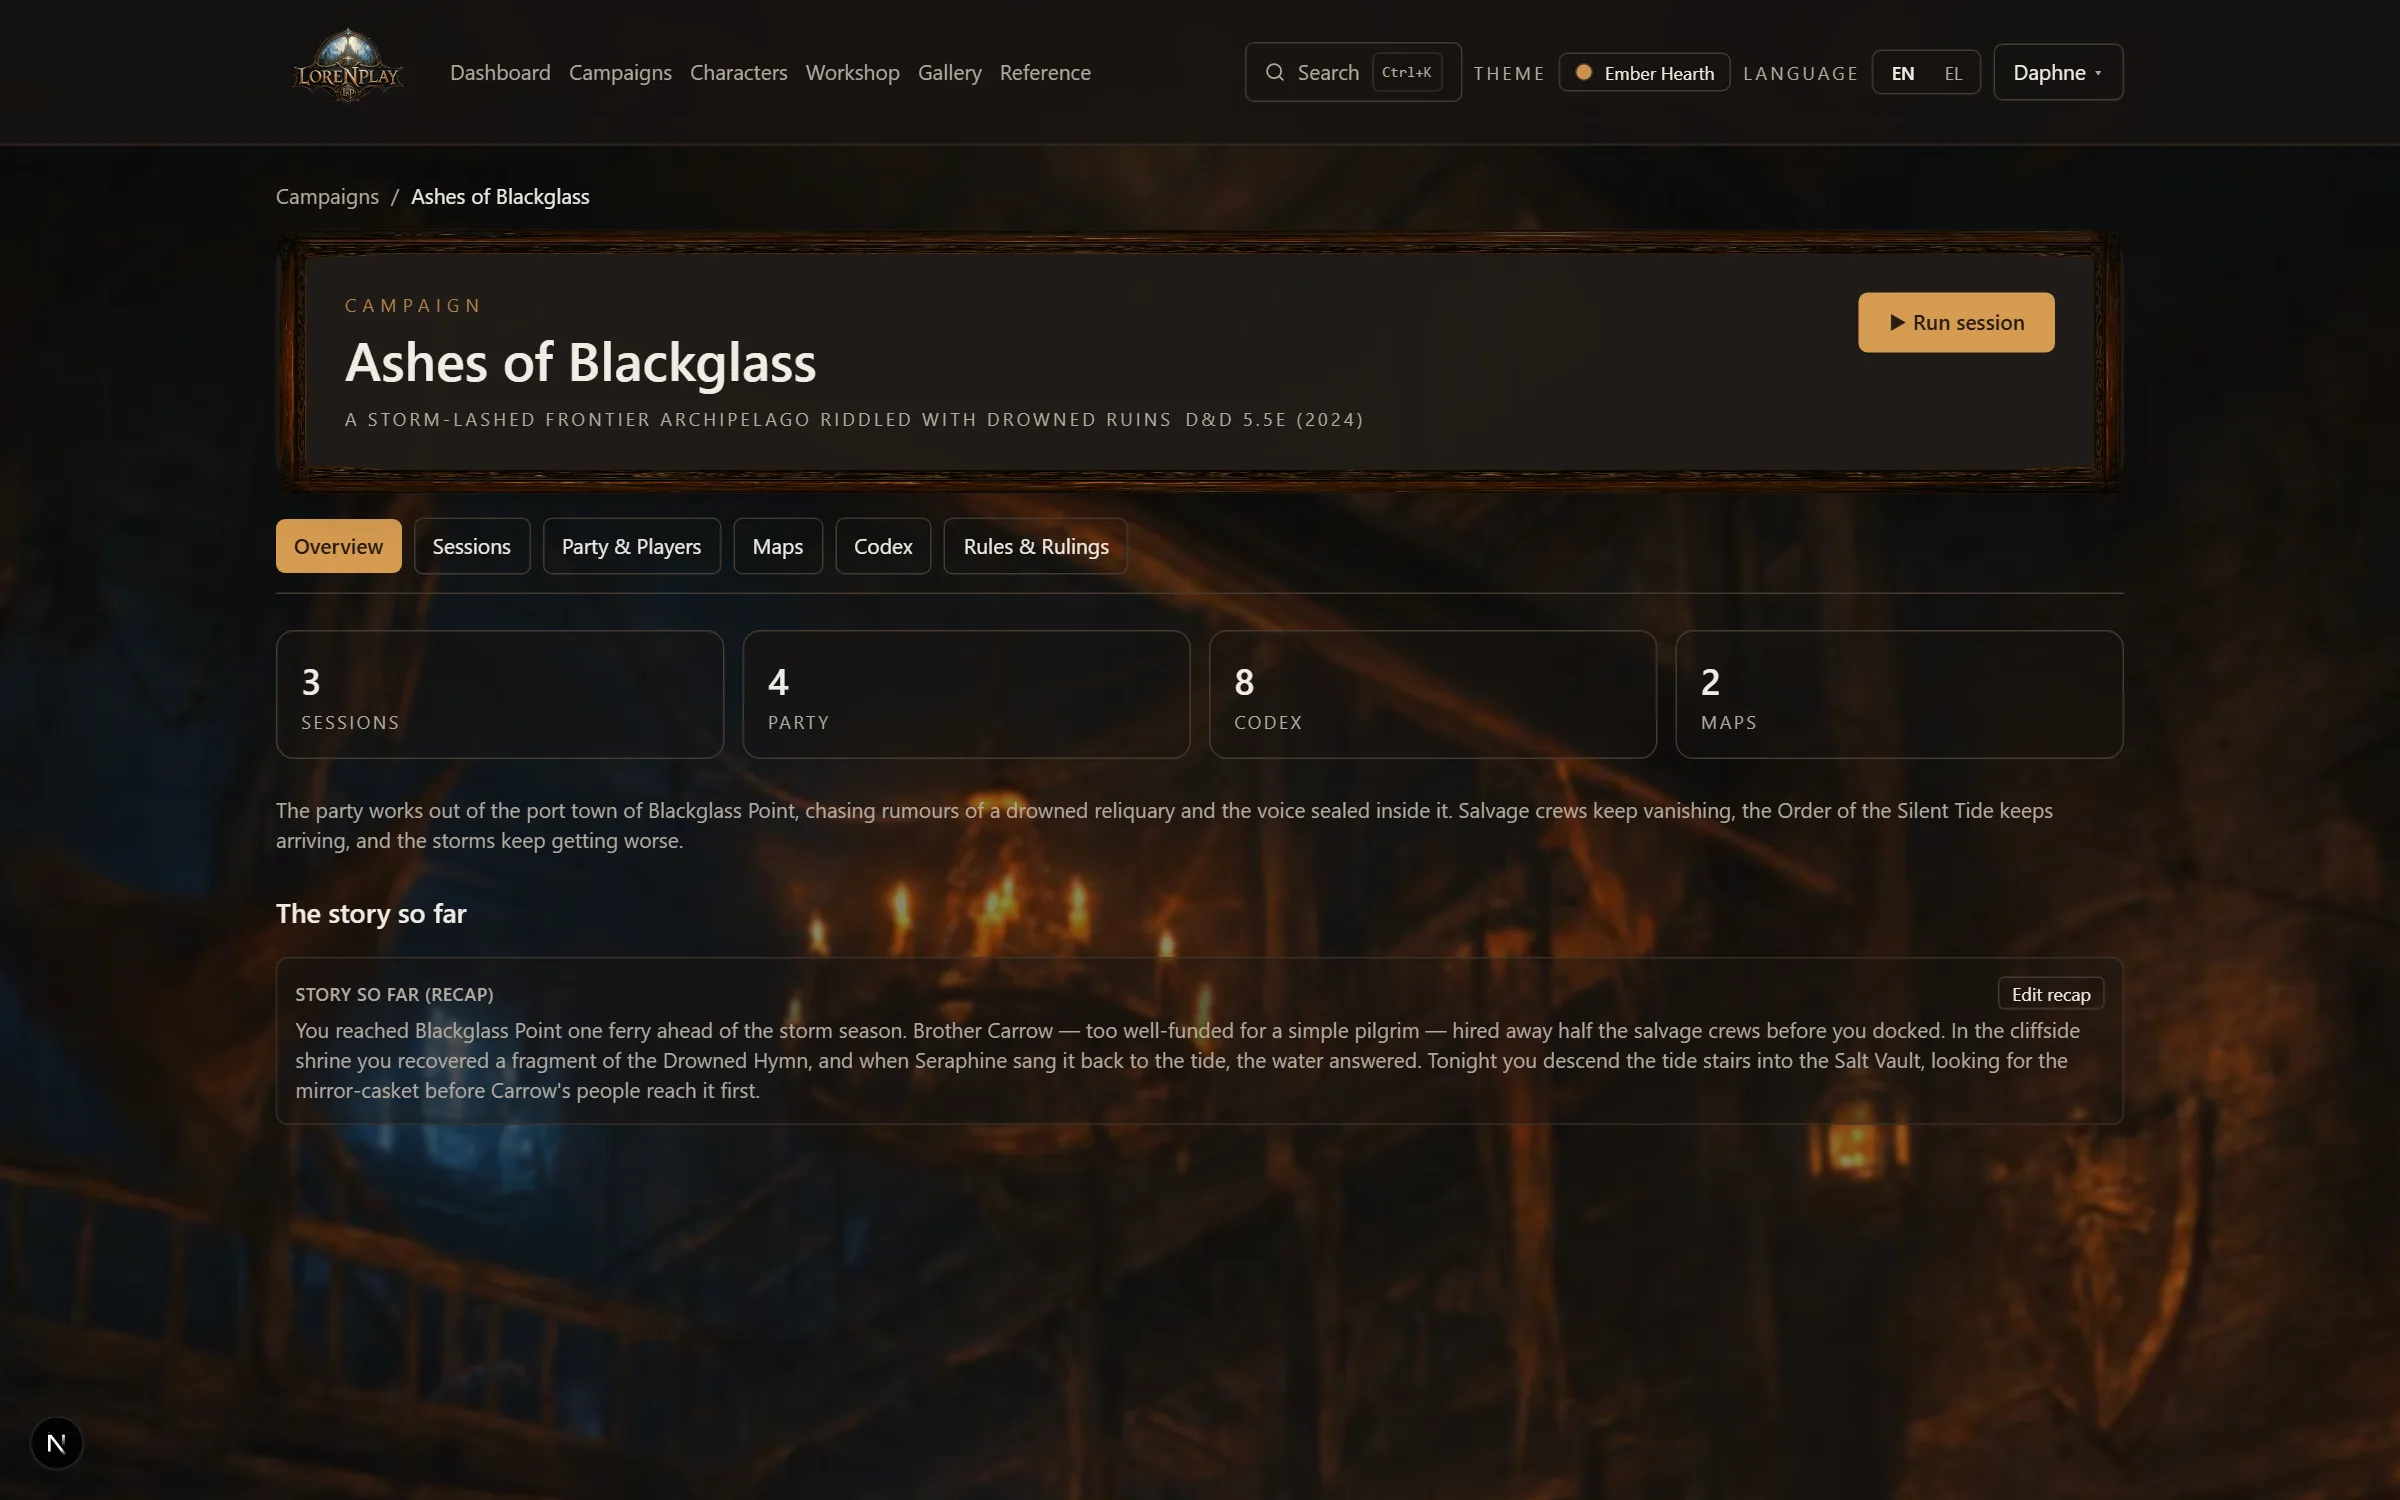
The Overview keeps the three things you come for in reach at every screen width: the story so far (shown whole — your players read the same text on their campaign page), the campaign's numbers (sessions, party, Codex, maps — each opens its tab) and How characters advance (§5). On a phone the numbers and the choice come first and the story follows; on a wide screen they sit side by side, with the campaign's panels in a third column.
| Tab | What lives there |
|---|---|
| Overview | The story so far, the numbers, how characters advance, the name and description — and the campaign-wide panels: package, Tavern, finishing, archiving. |
| Sessions | All sessions, past and planned, grouped in arcs if you like. Create the next one here and jump into the session workspace. |
| Party & Players | Who is in the campaign, and the character pool: which character each player plays, with XP and Ready for level N marks in an XP campaign. |
| Maps | Every battle map in the campaign — maps belong to the campaign, so any session can reopen them. |
| Codex | The campaign's memory: NPCs, locations, quests, factions, lore, items (§11). |
| Rules & Rulings | House rulings you've made at this table, so they stay consistent (§10). |
| Chronicle | Everything that happened in the campaign, session by session — rolls, fights, rests, awards — kept for good. |
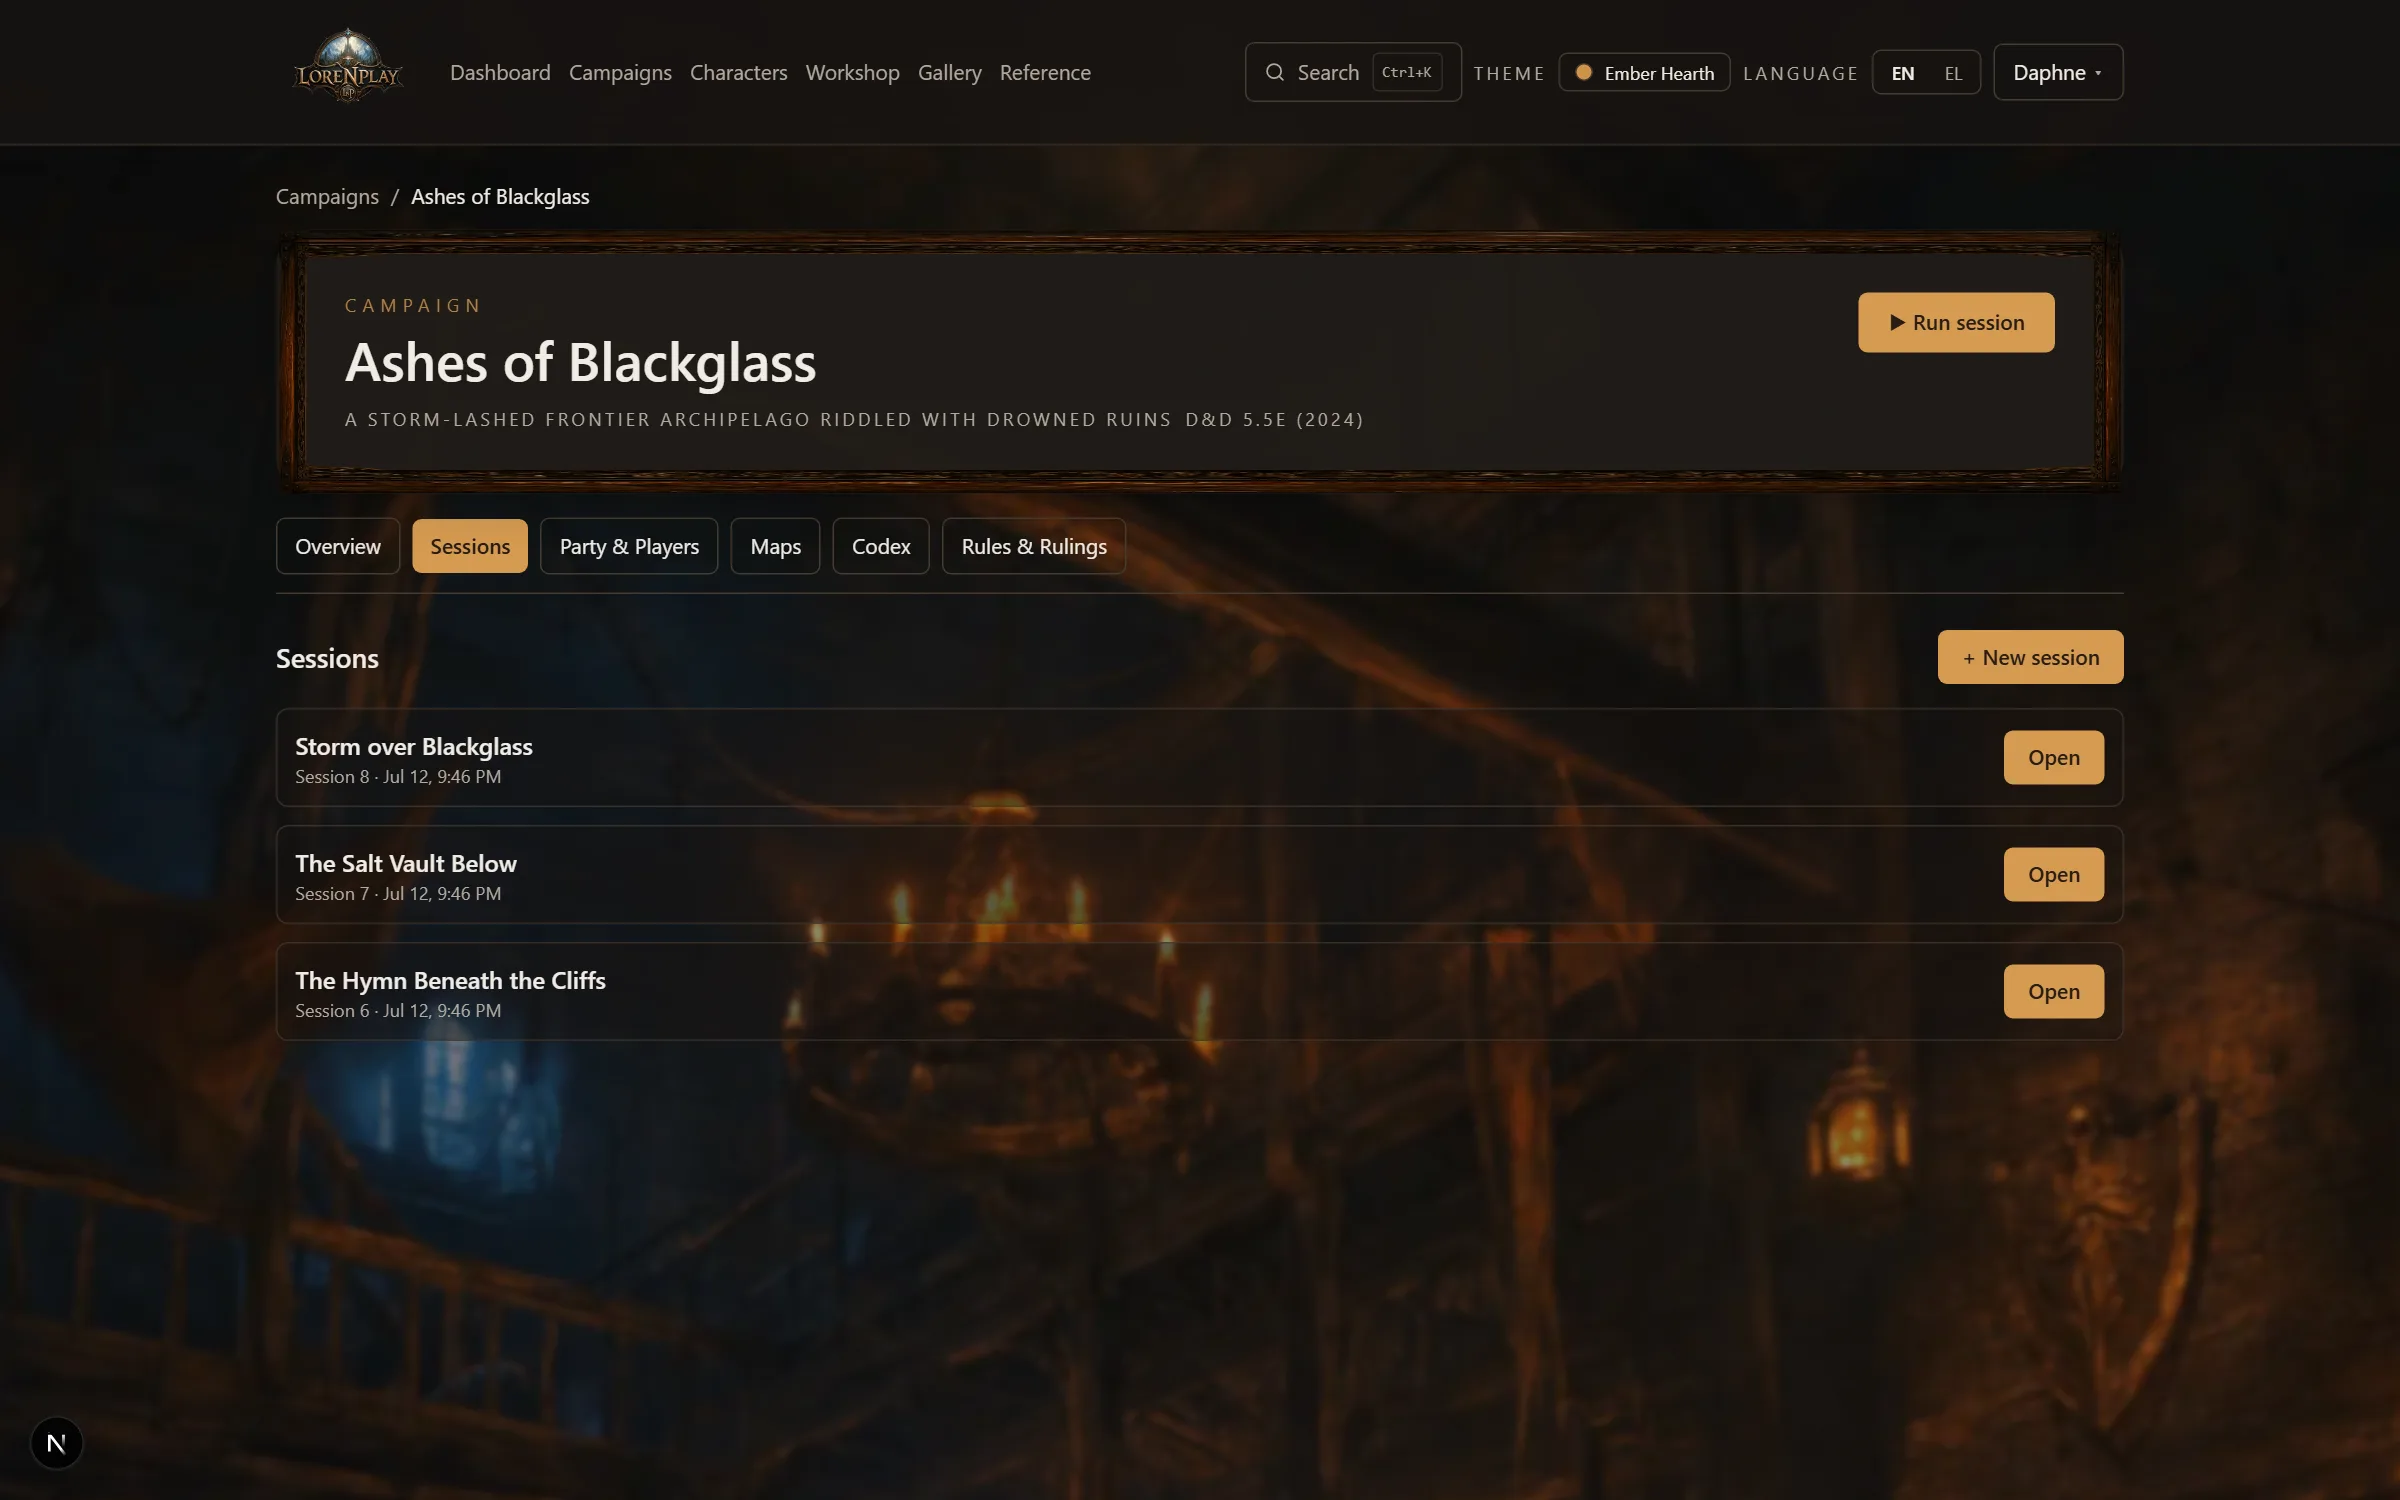
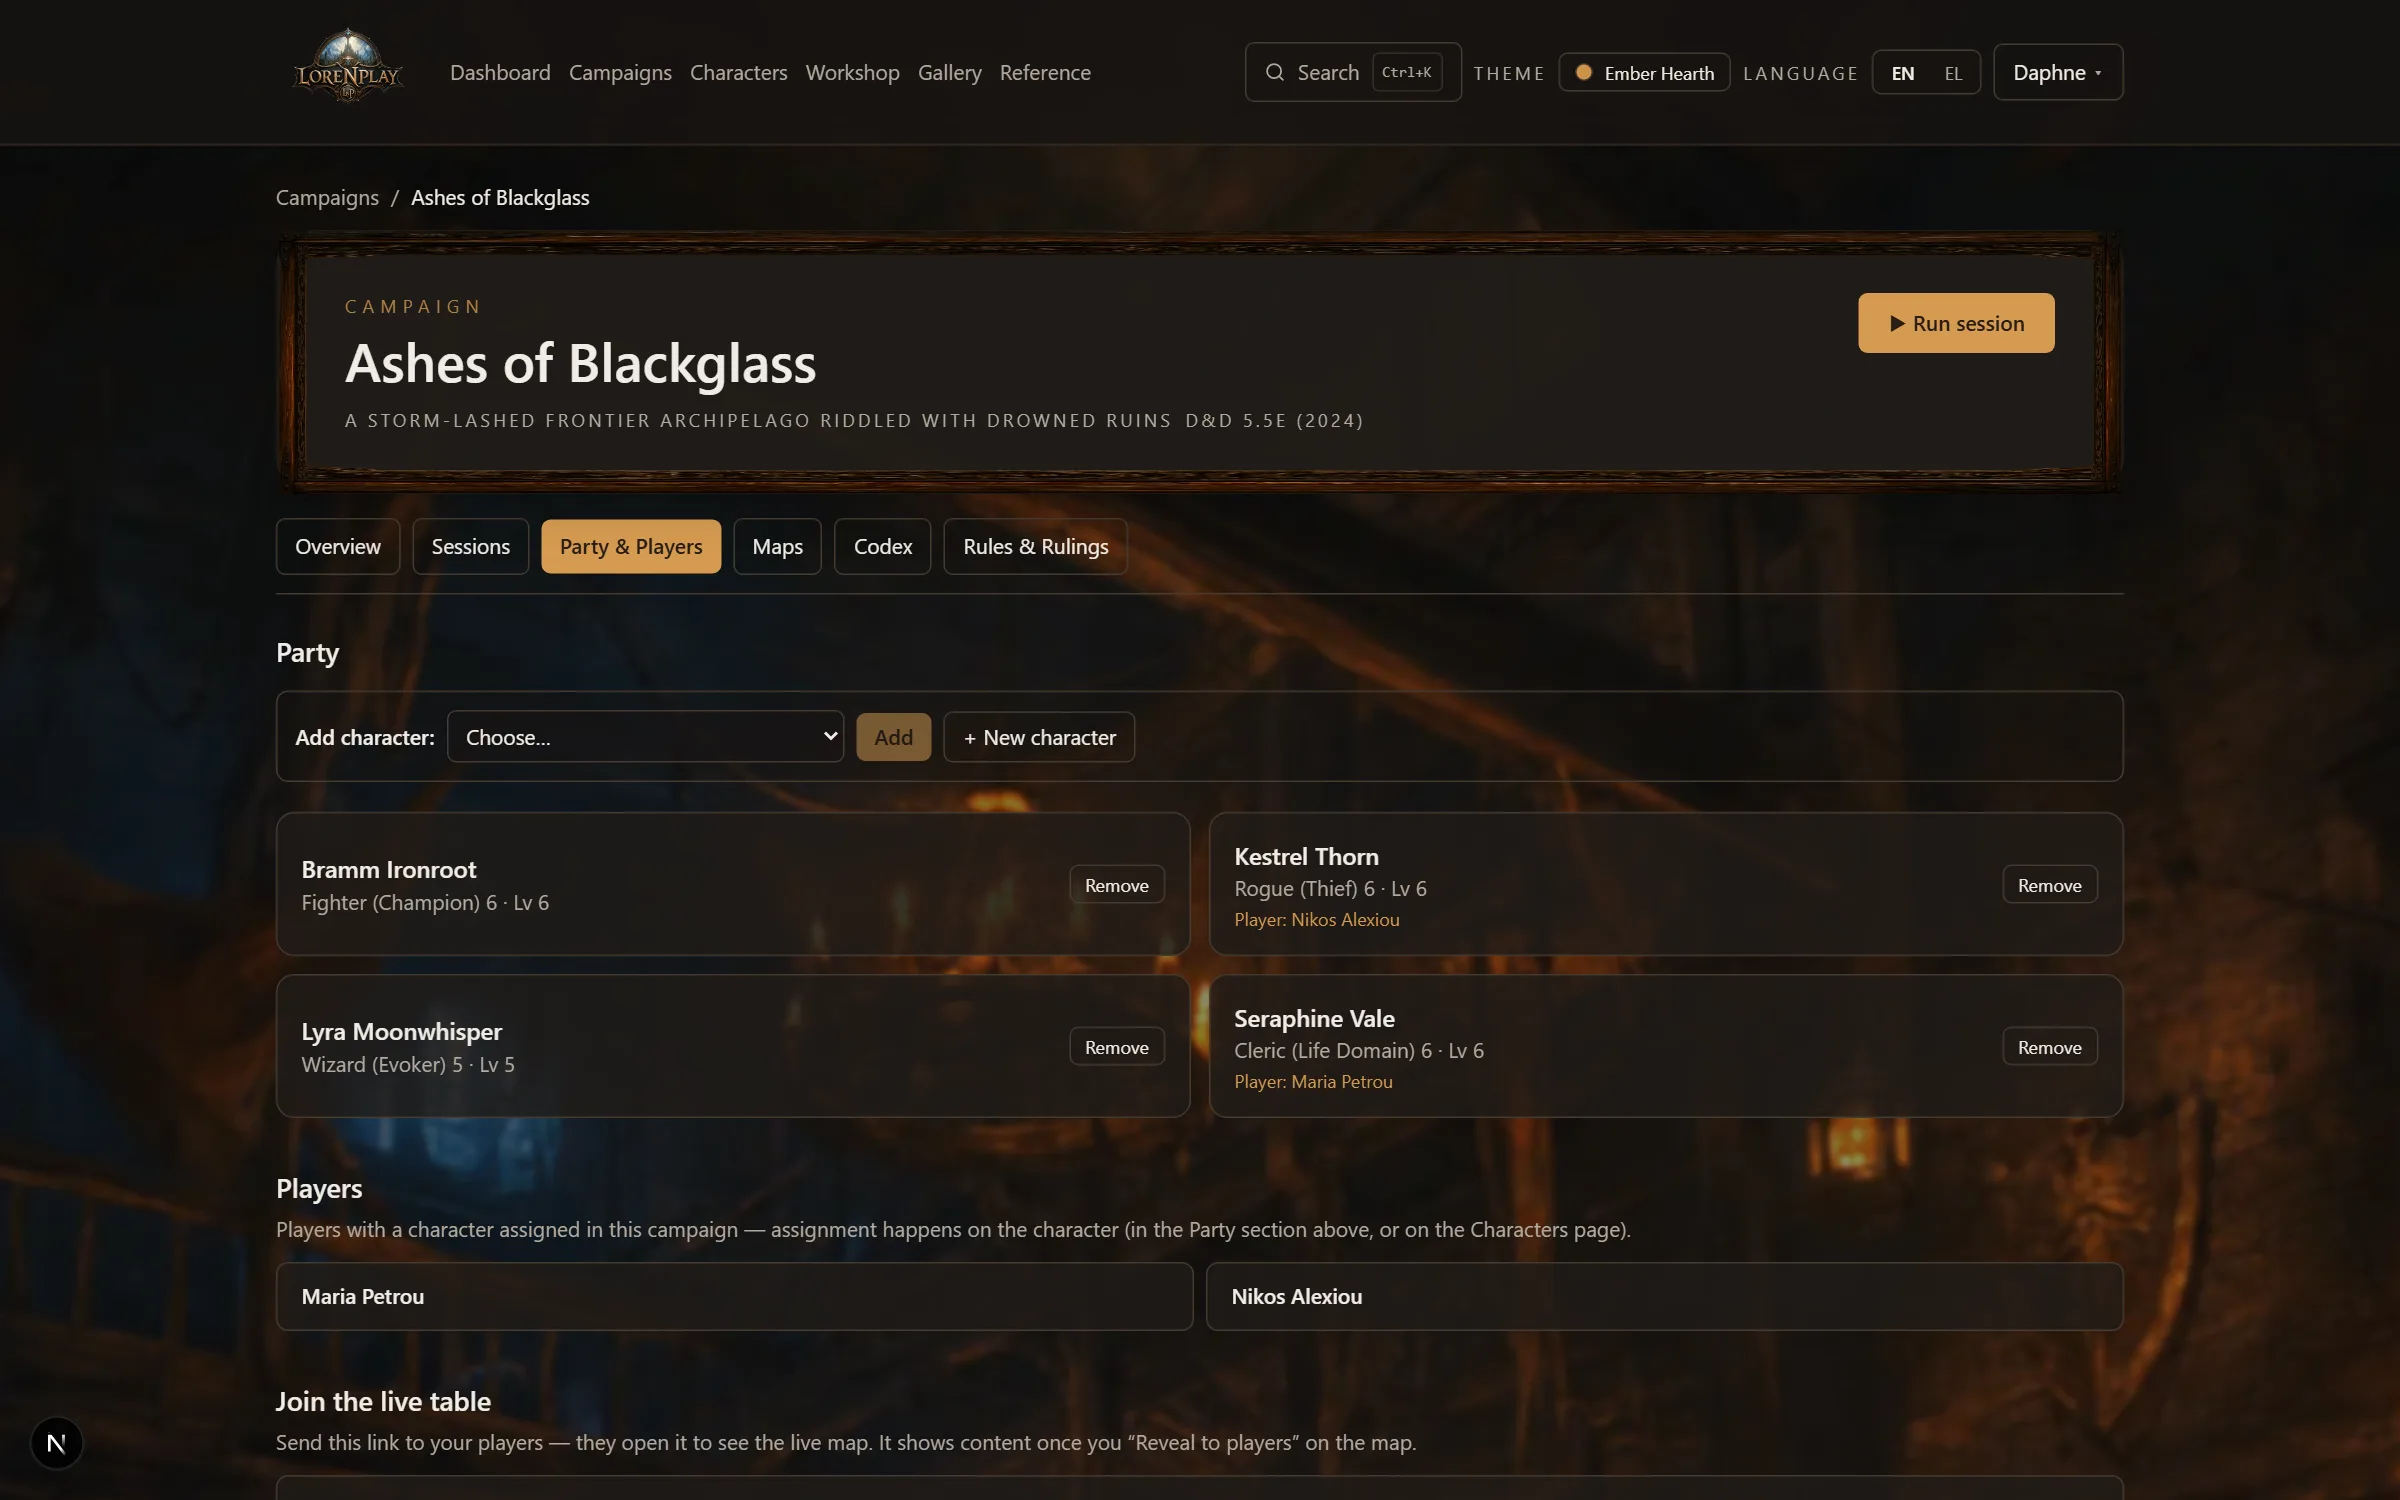
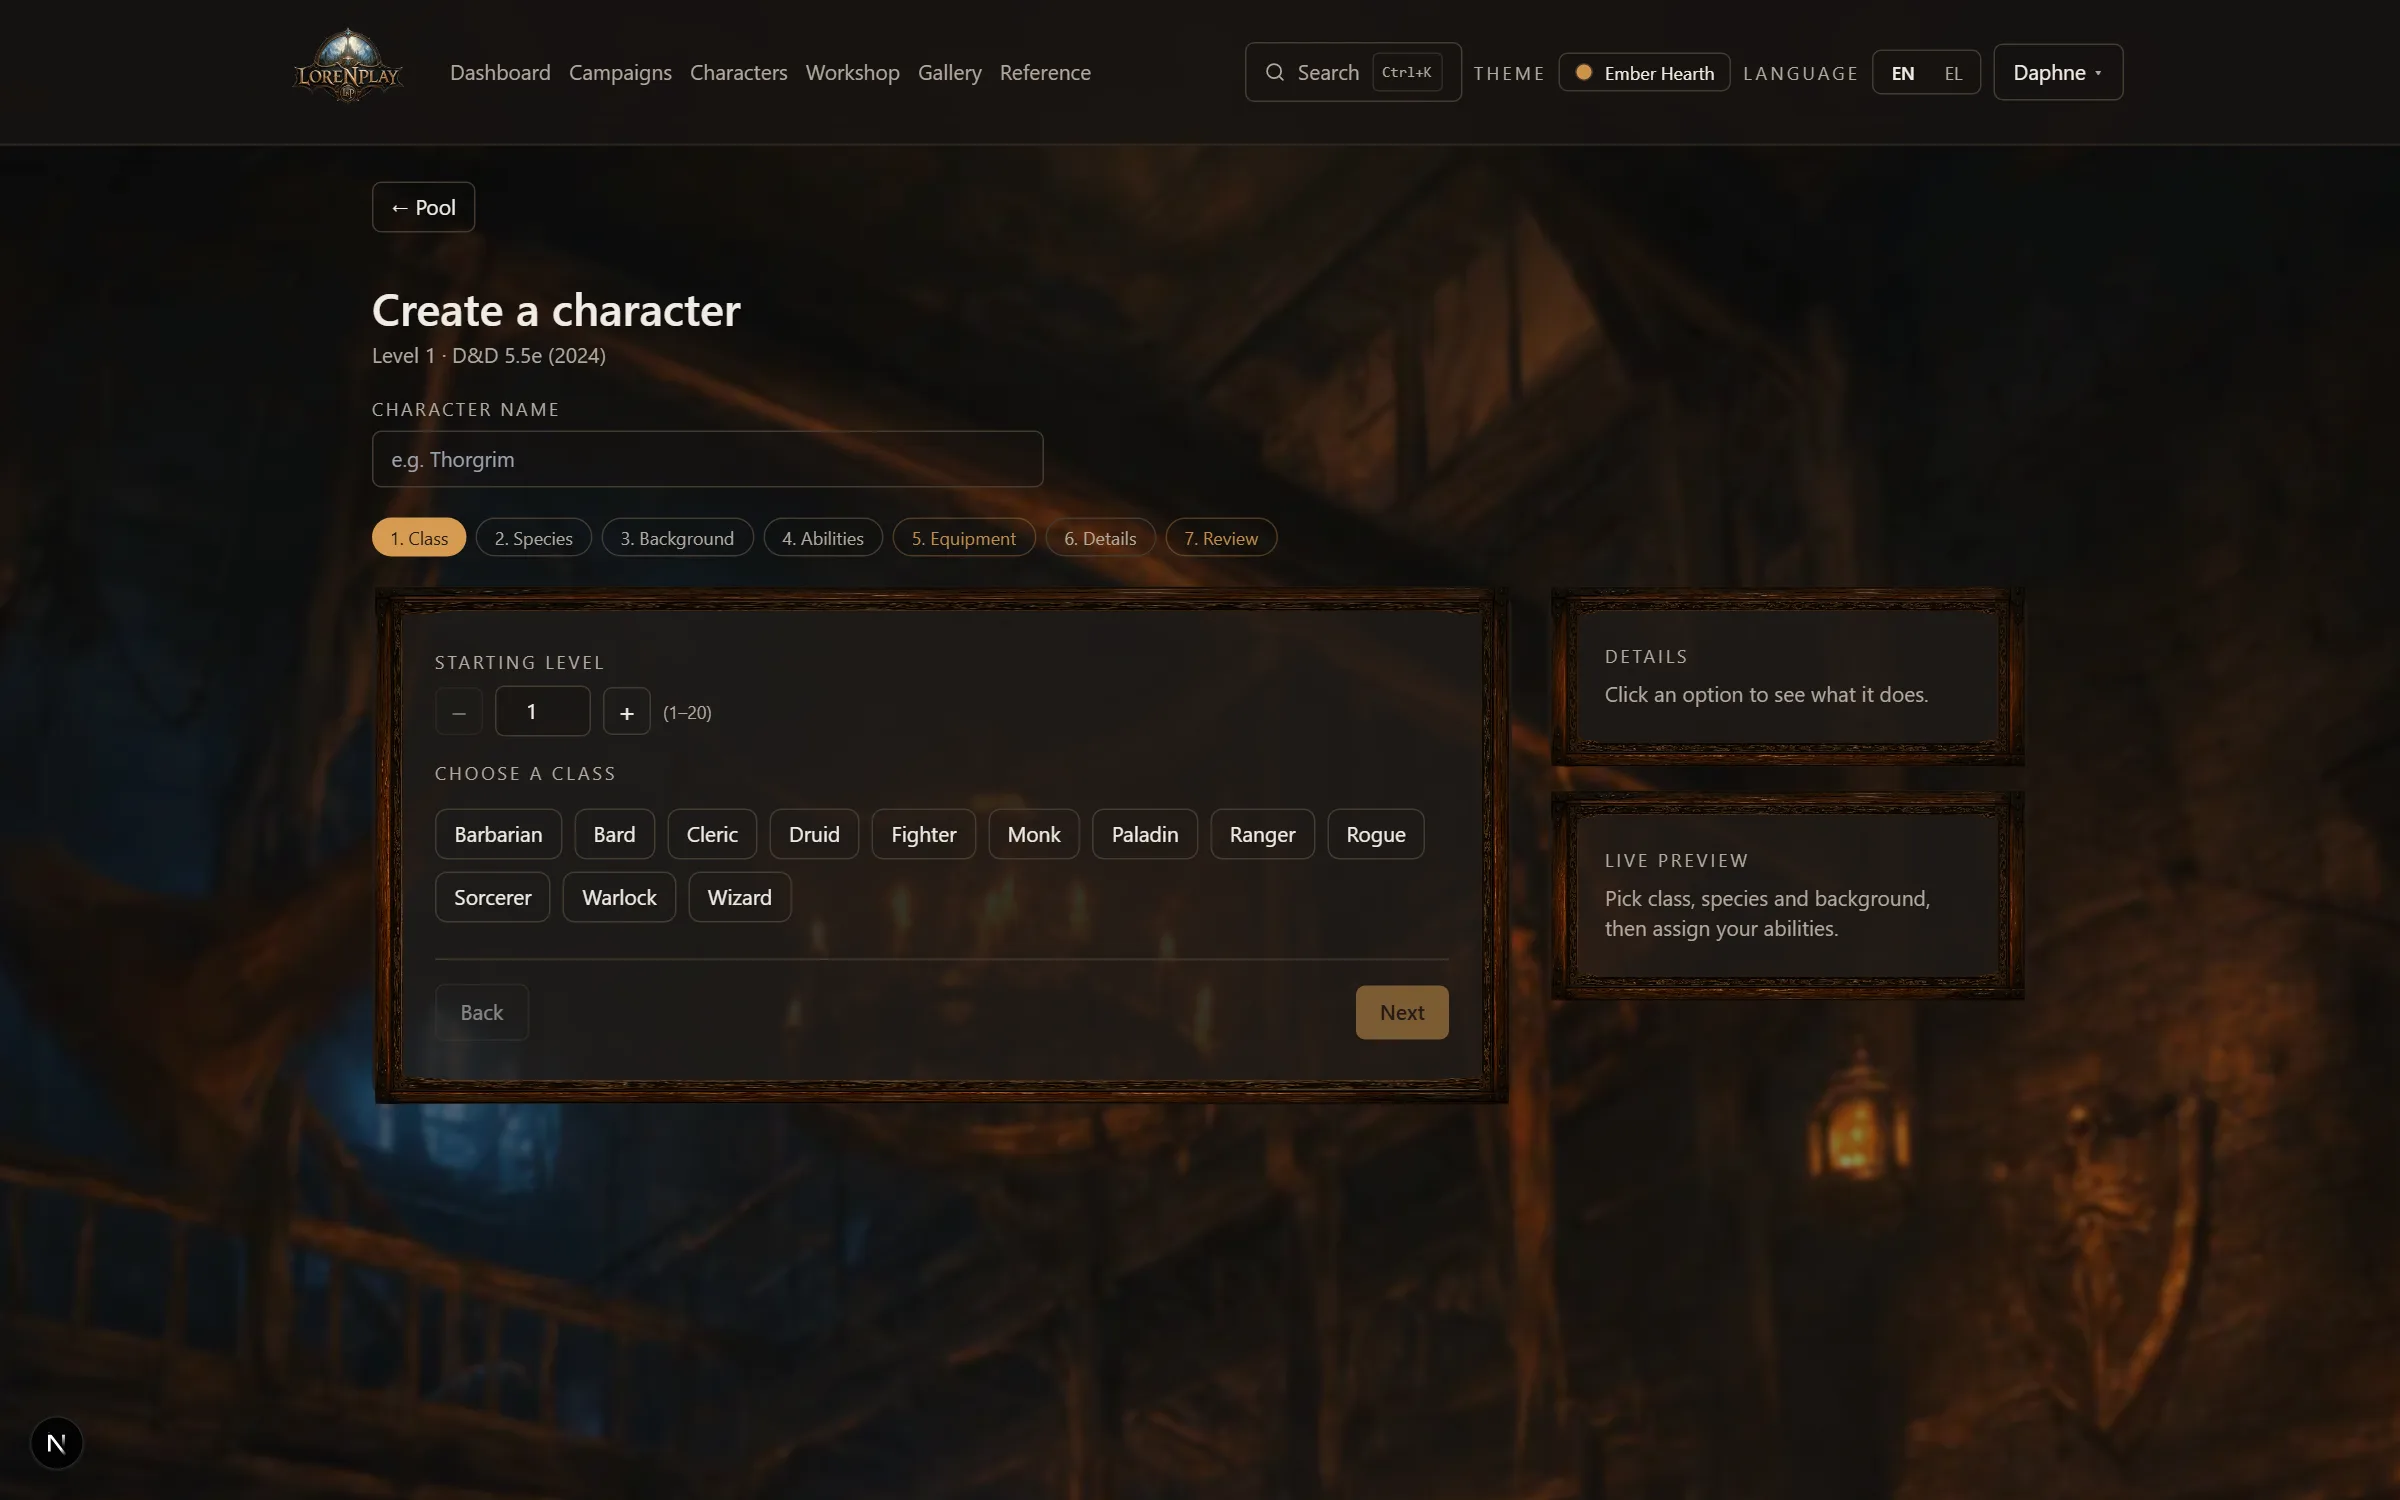
Characters is your character pool: every PC you own, reusable across campaigns. Characters get into the pool three ways — you build them in the wizard, you import them from D&D Beyond, or a player sends you theirs. One character plays in one campaign at a time.
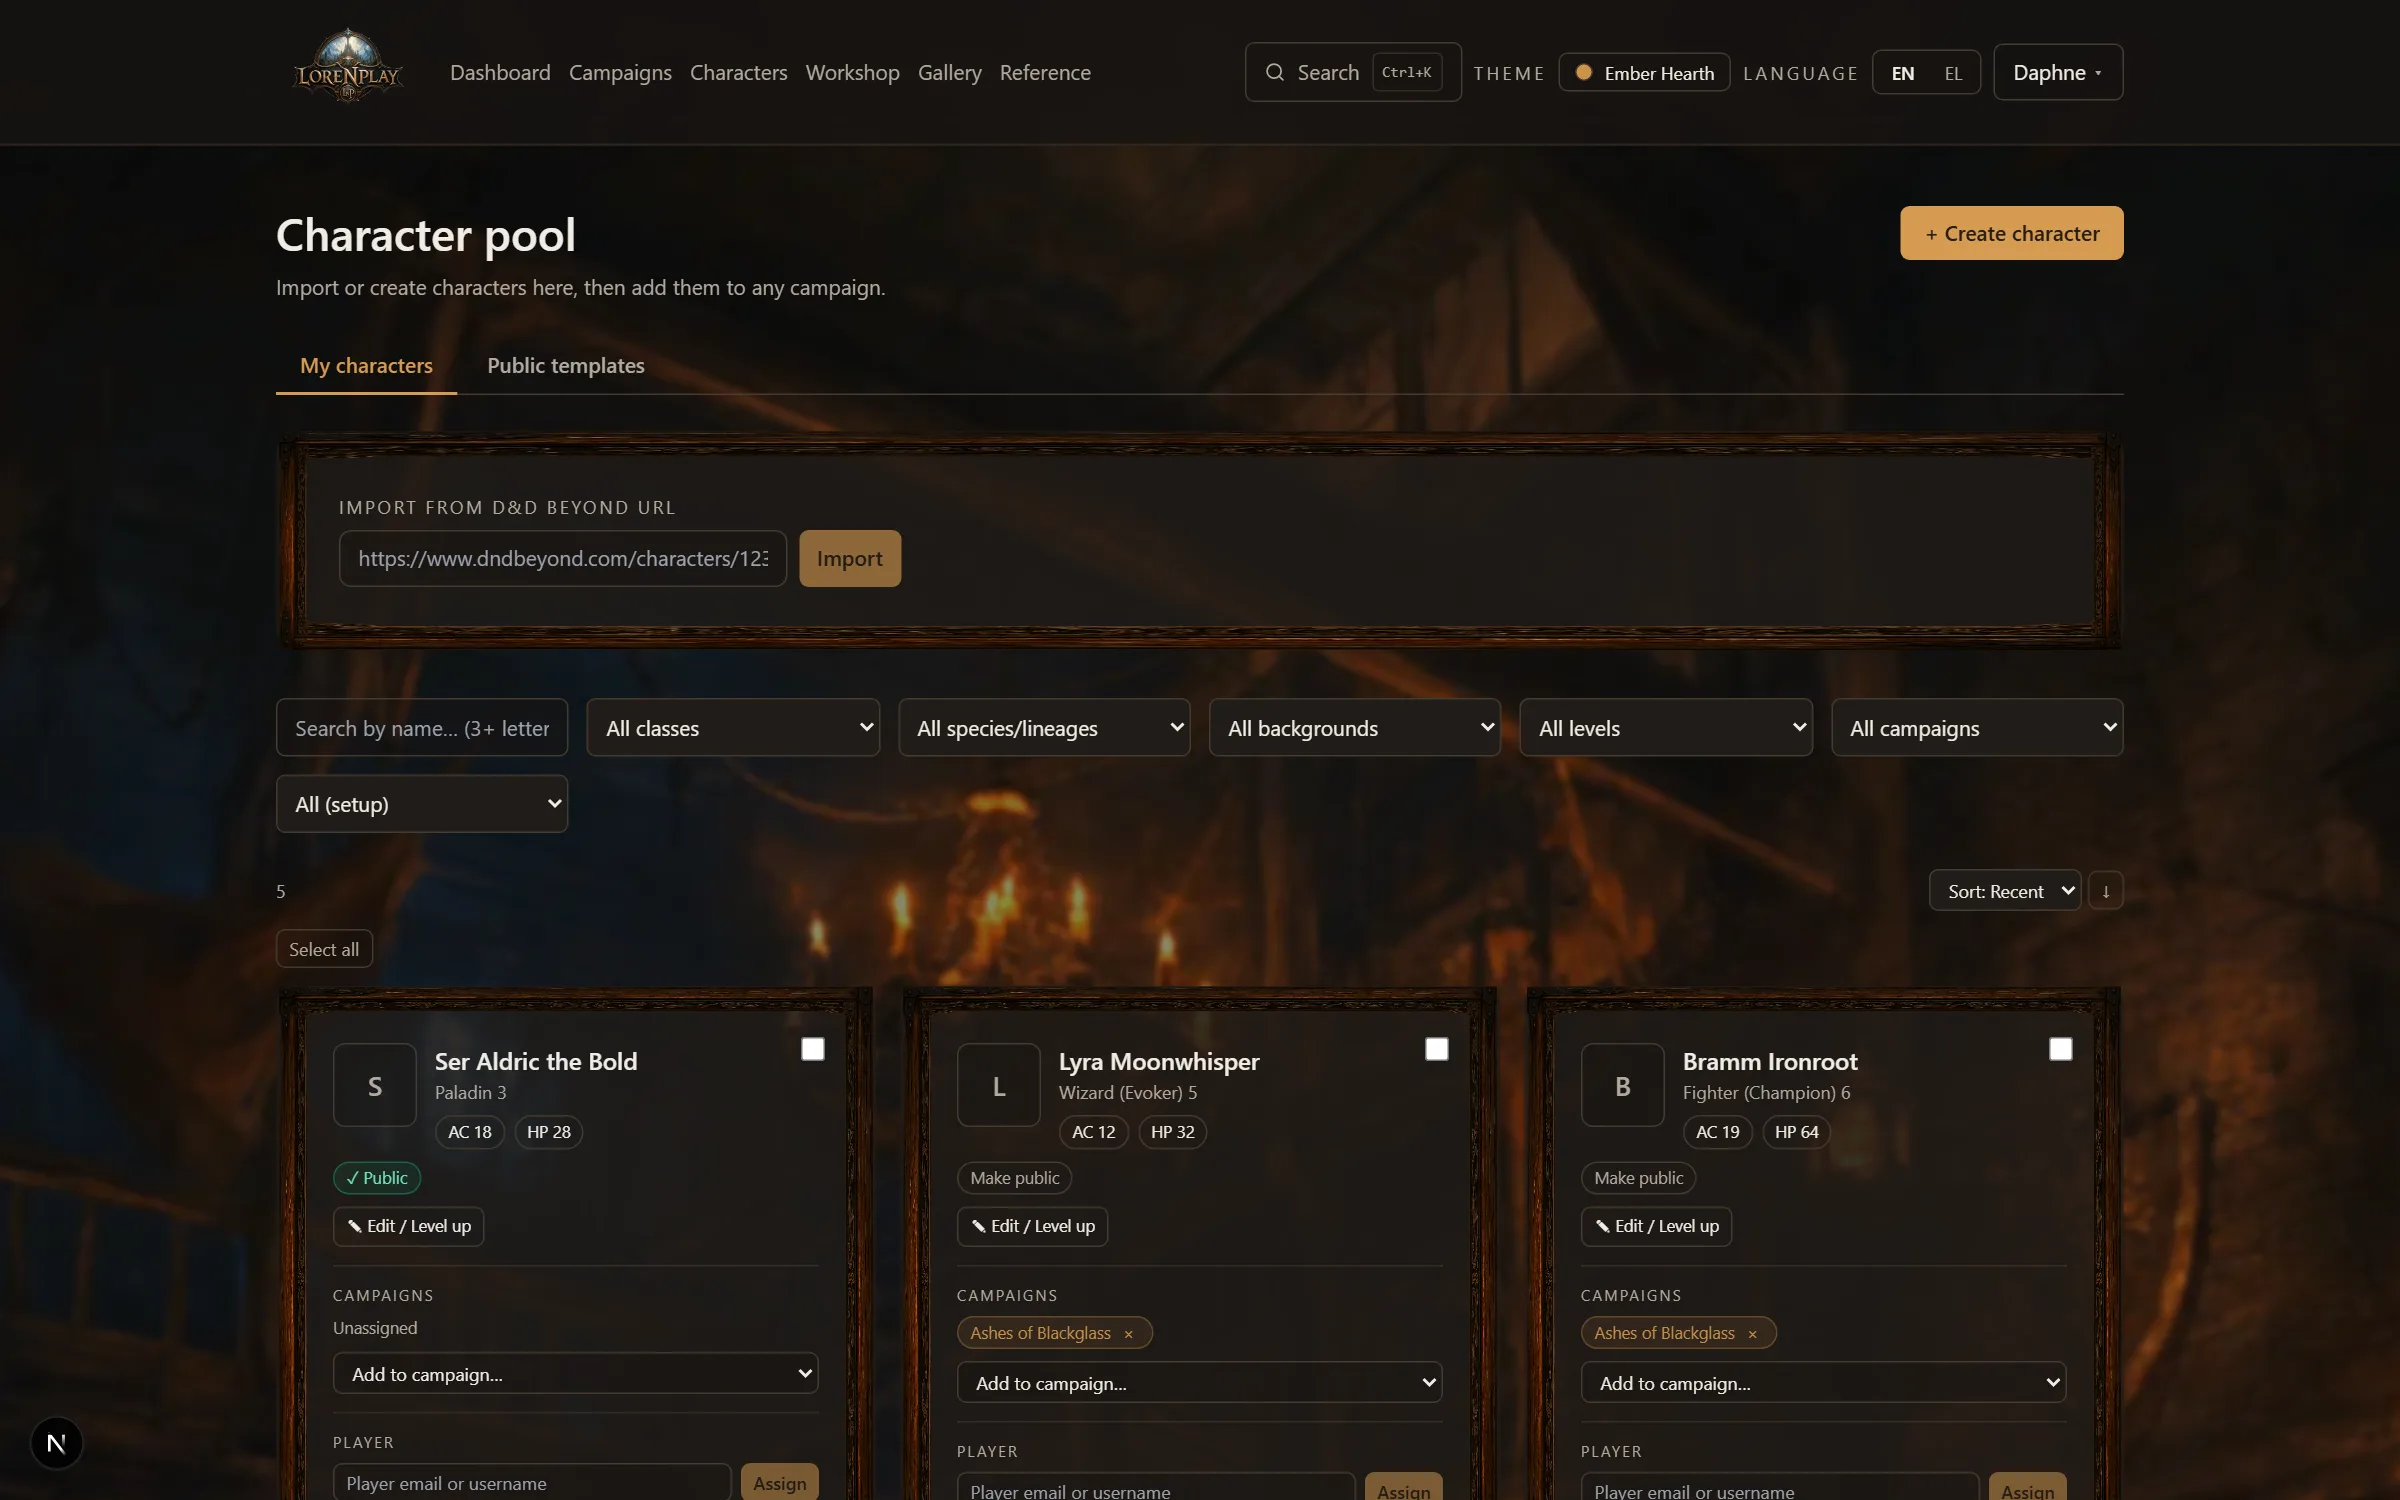
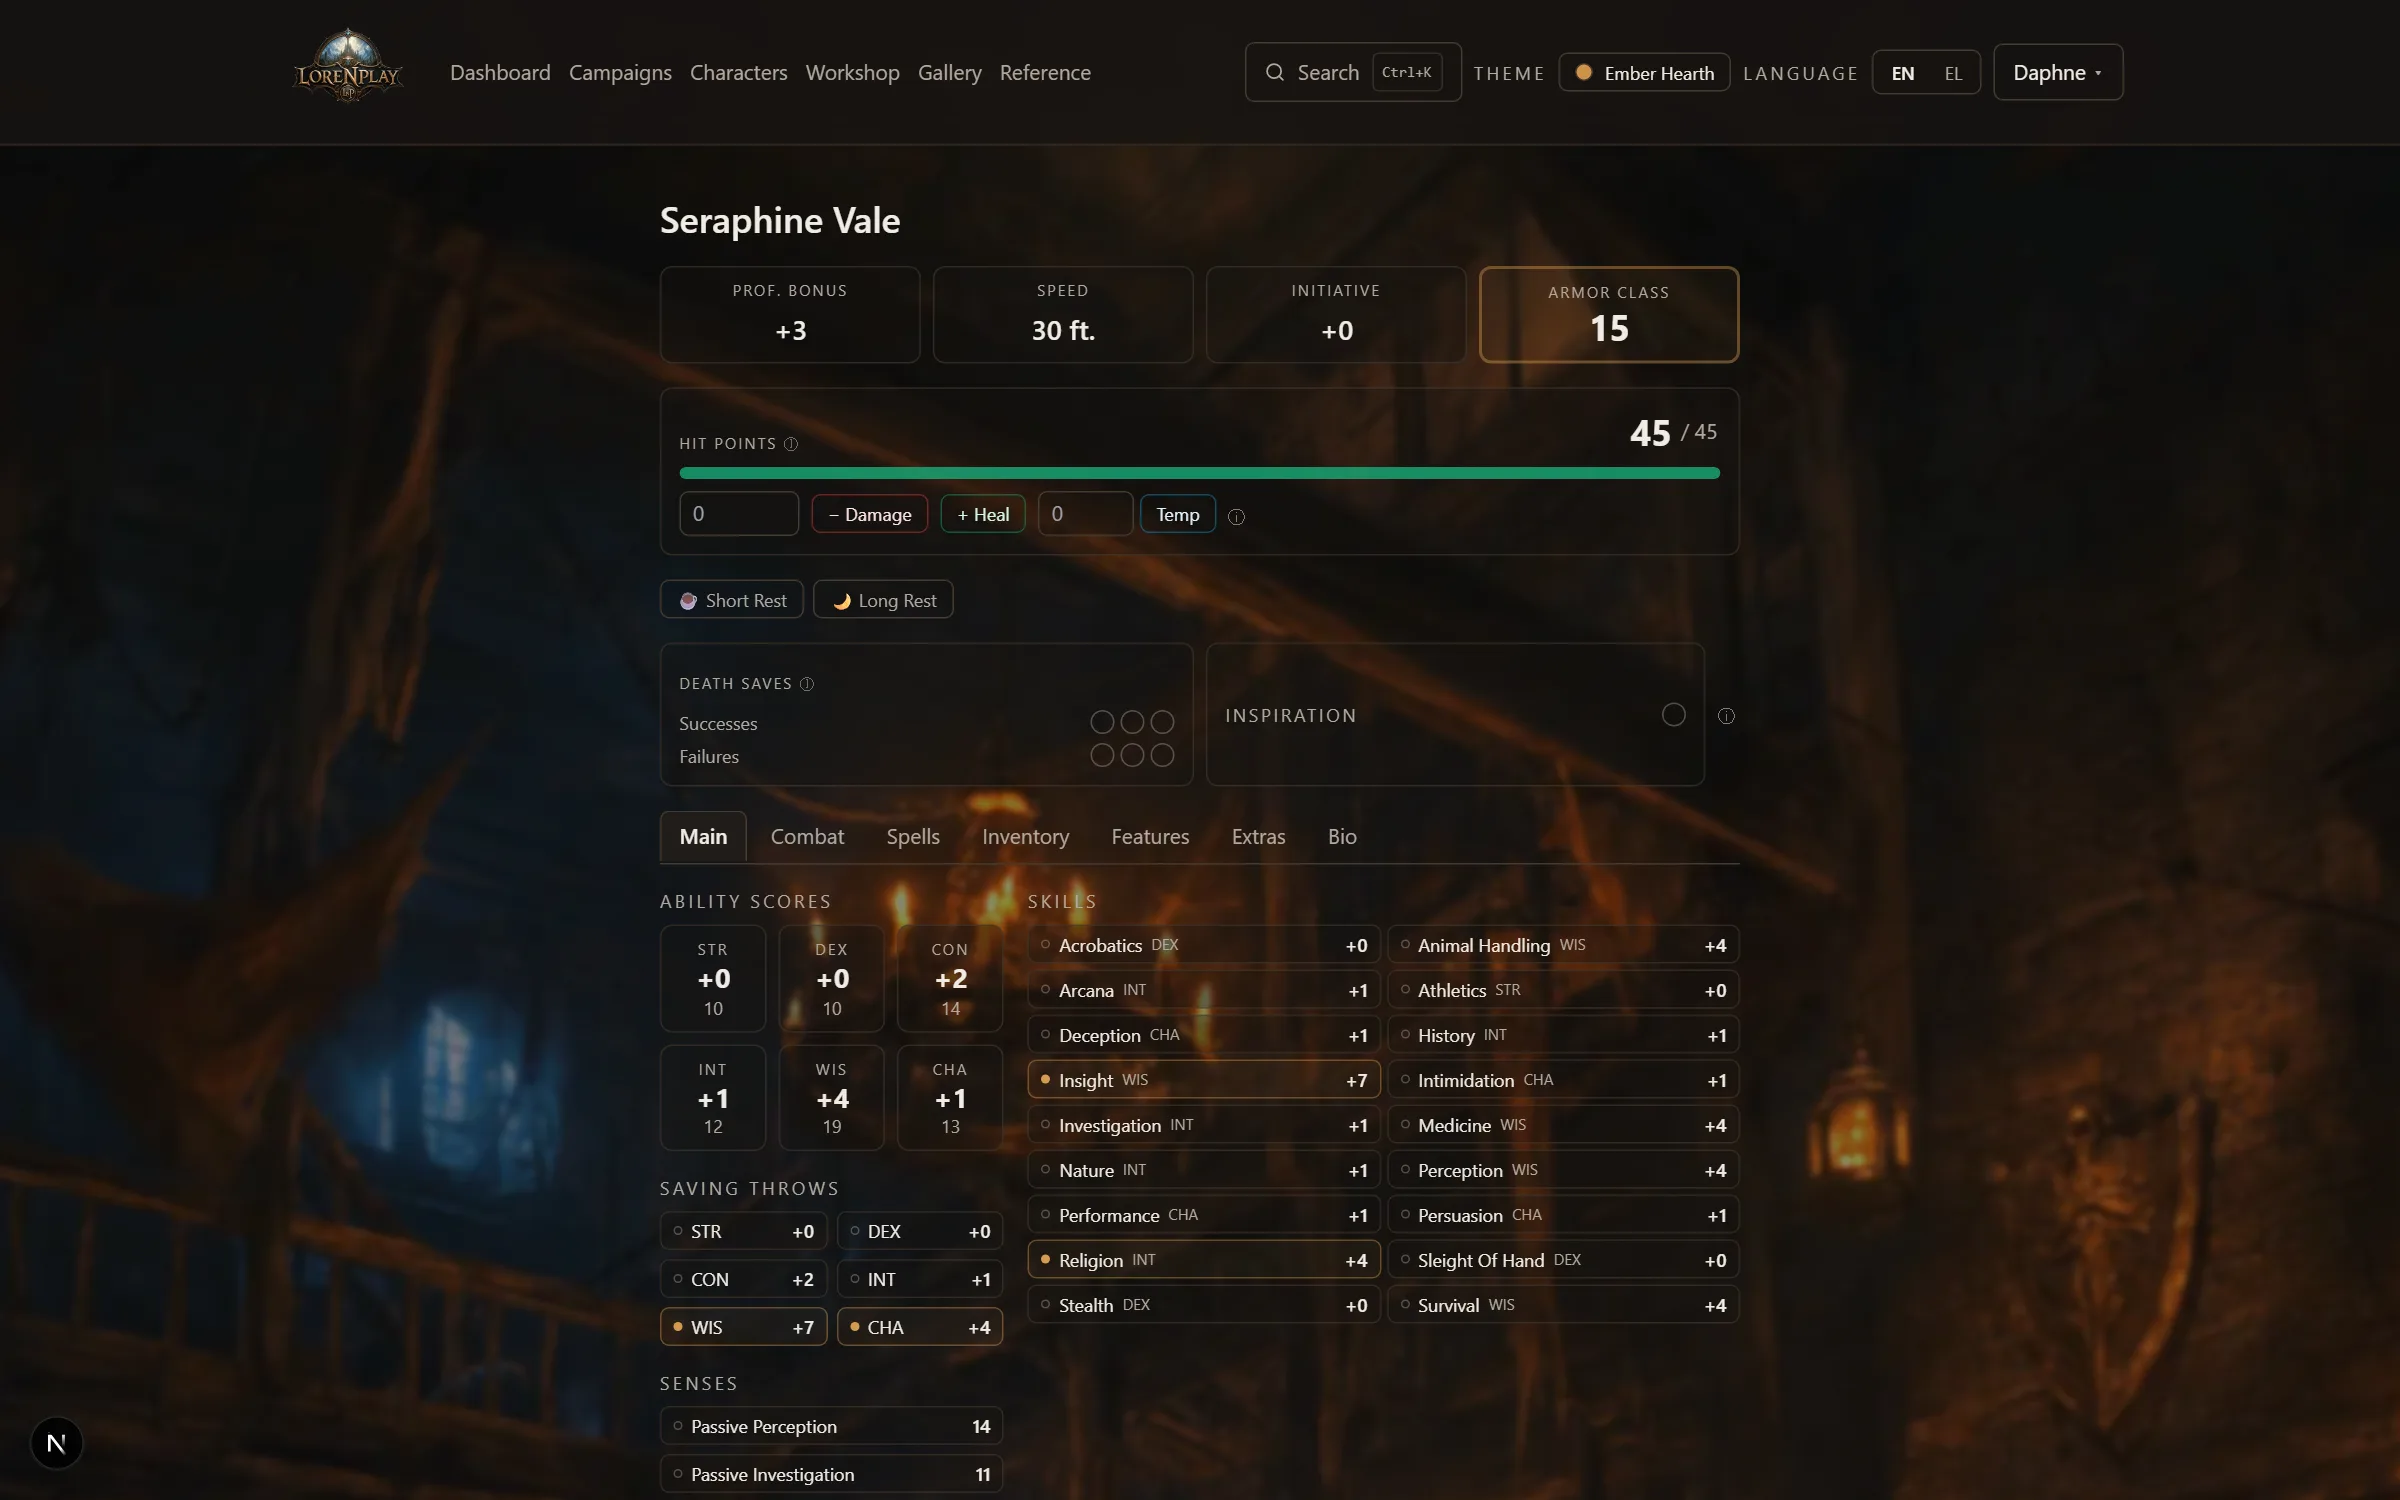
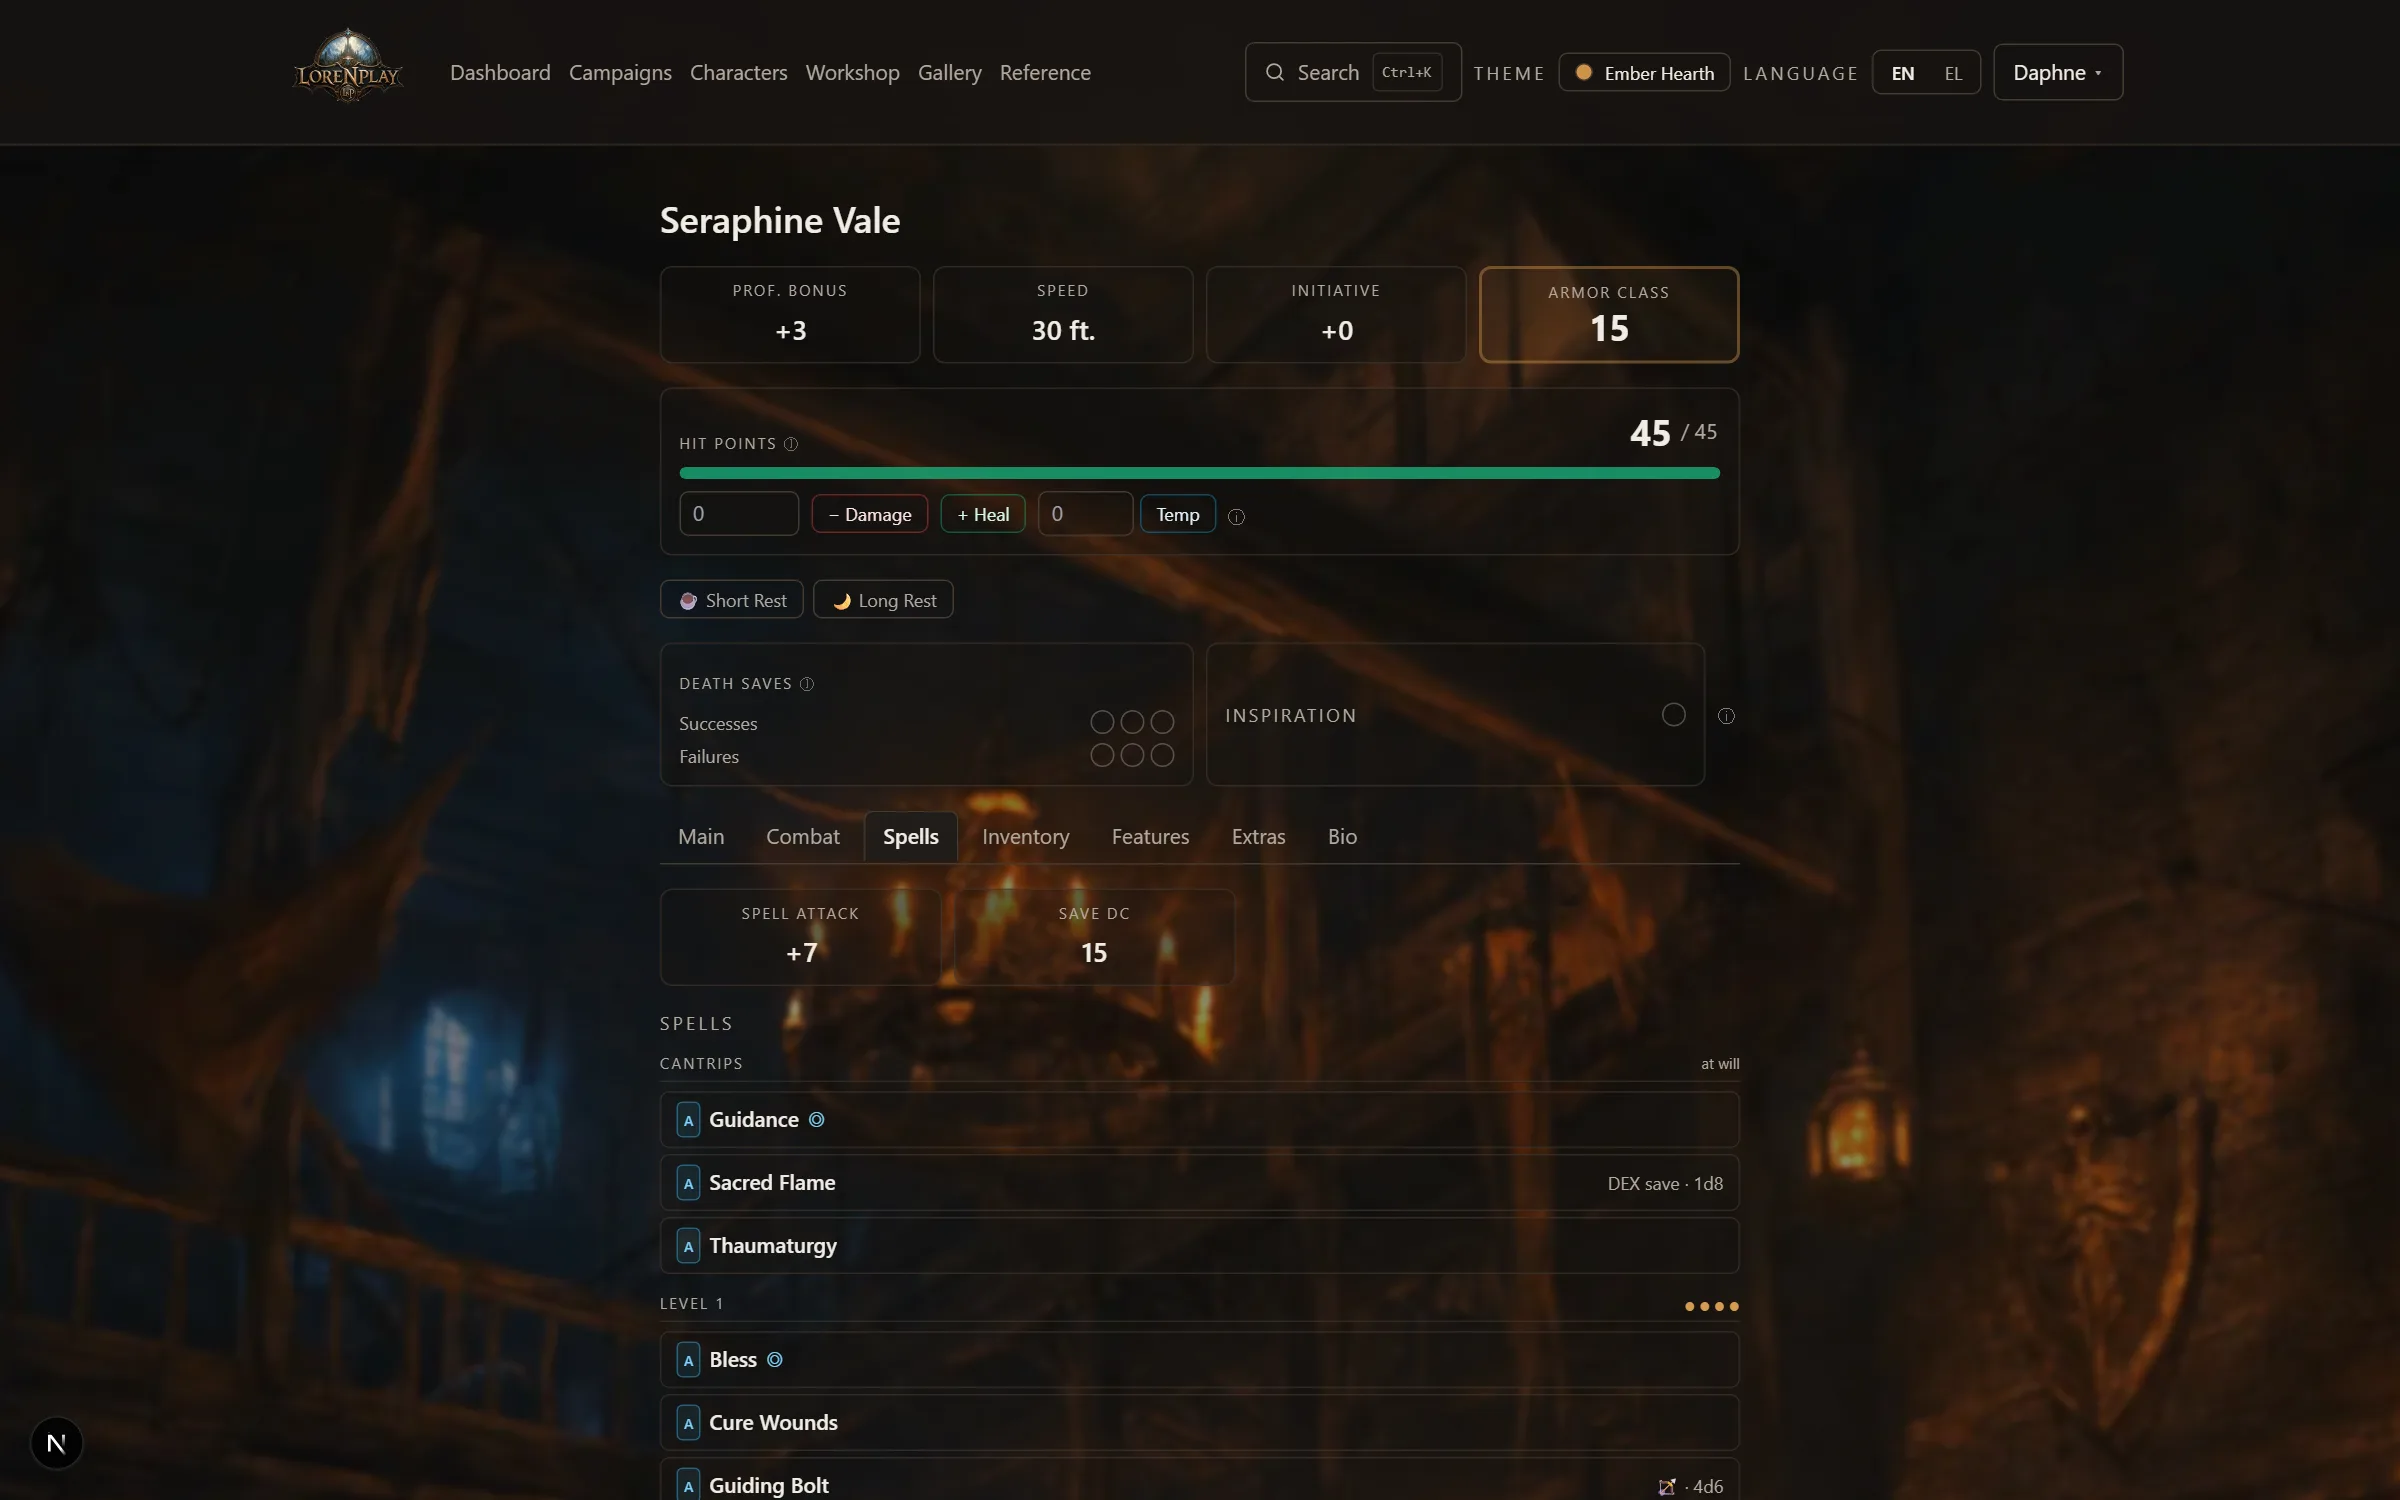
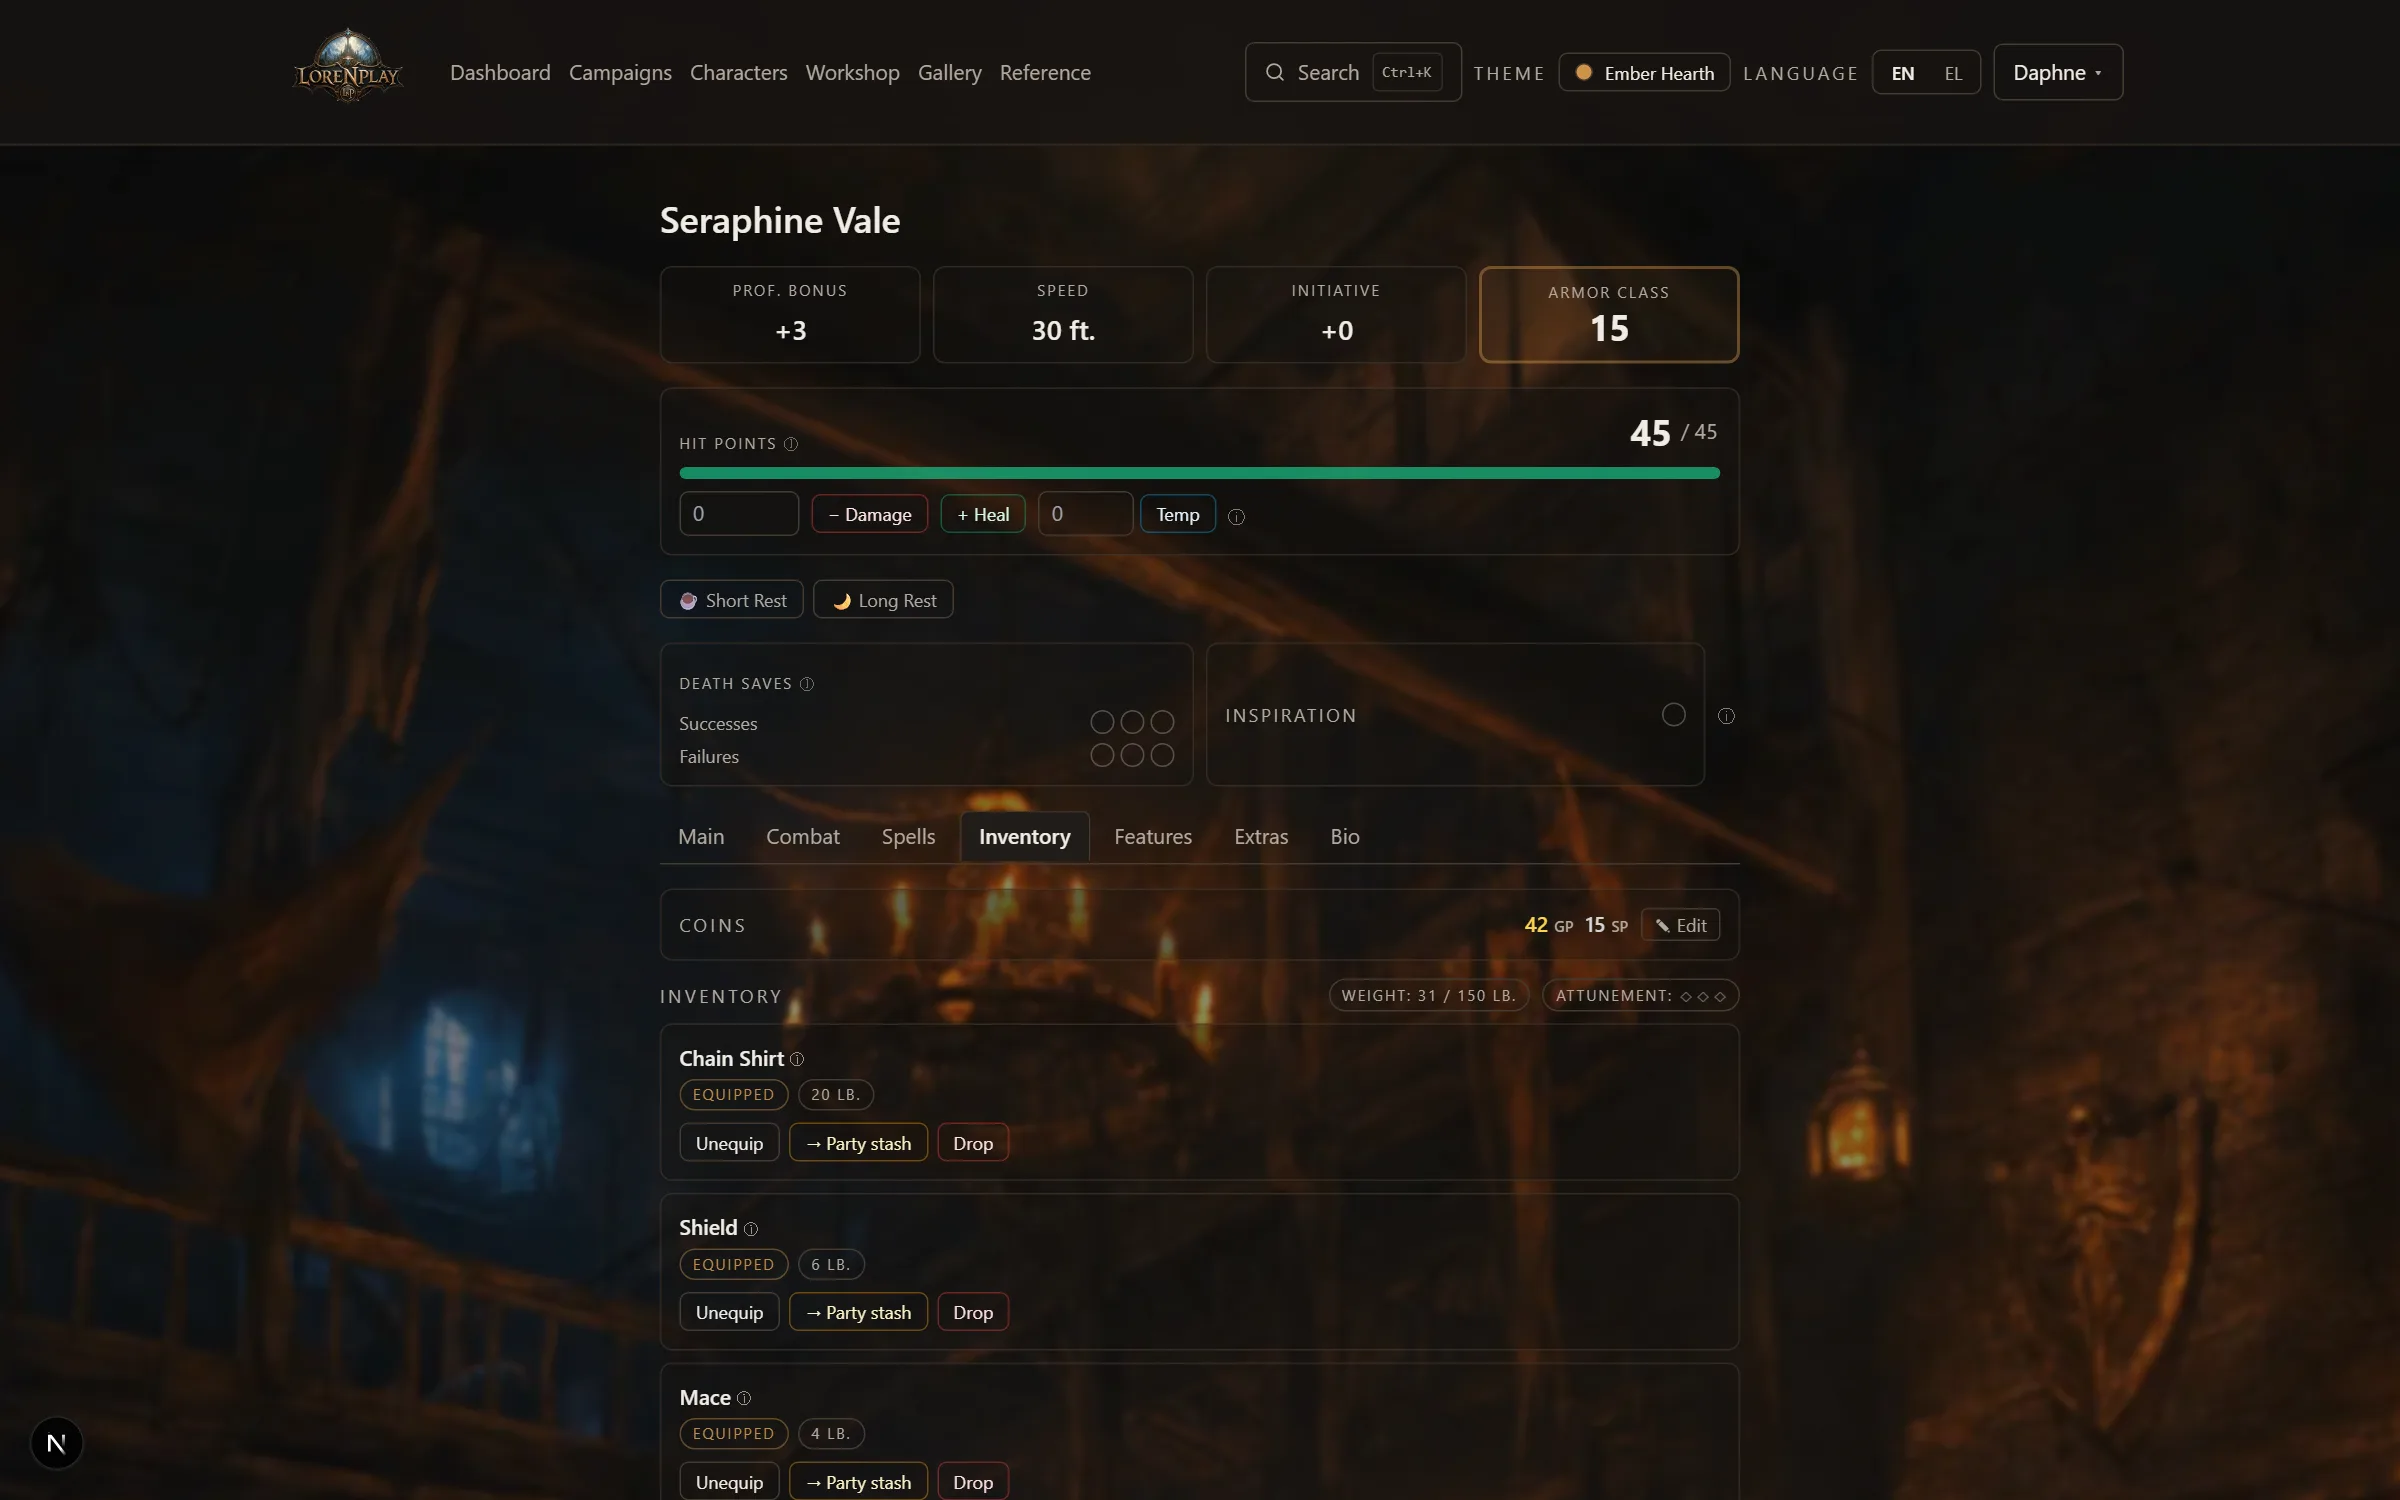
From the character pool, paste a D&D Beyond character URL and press Import. The character must be set to Public on D&D Beyond for us to read it. The importer rebuilds the sheet into the same computed model the wizard uses, so from then on the character behaves exactly like a wizard-built one — and the ⟳ Resync from D&D Beyond button on an imported character re-pulls the latest version (overwriting changes made here since).
No URL? Use the PDF. Press Import PDF next to it and upload the character sheet PDF that D&D Beyond exports (on the character sheet: ⚙ → Export → PDF). This works for characters that aren't Public, and you get the same fully computed sheet. Two differences: there is no resync (a file can't be re-fetched), and because a PDF prints totals rather than the reasons behind them, the import tells you about anything it couldn't reproduce — most often which armour to tick as equipped. Check those before play.
On the campaign's Overview, How characters advance has three answers. Every campaign starts on Free and stays there until you change it.
| Choice | Who decides a level | What you do |
|---|---|---|
| Free | The player, whenever they like | Nothing — as before |
| Milestone | You: you grant it, and players cannot go past it | ⬆ Grant a level — to the whole party or one character |
| Experience points | The XP: a level opens when a character's XP reaches the line | ⬆ Award XP — or, at the end of a battle, the map's XP box |
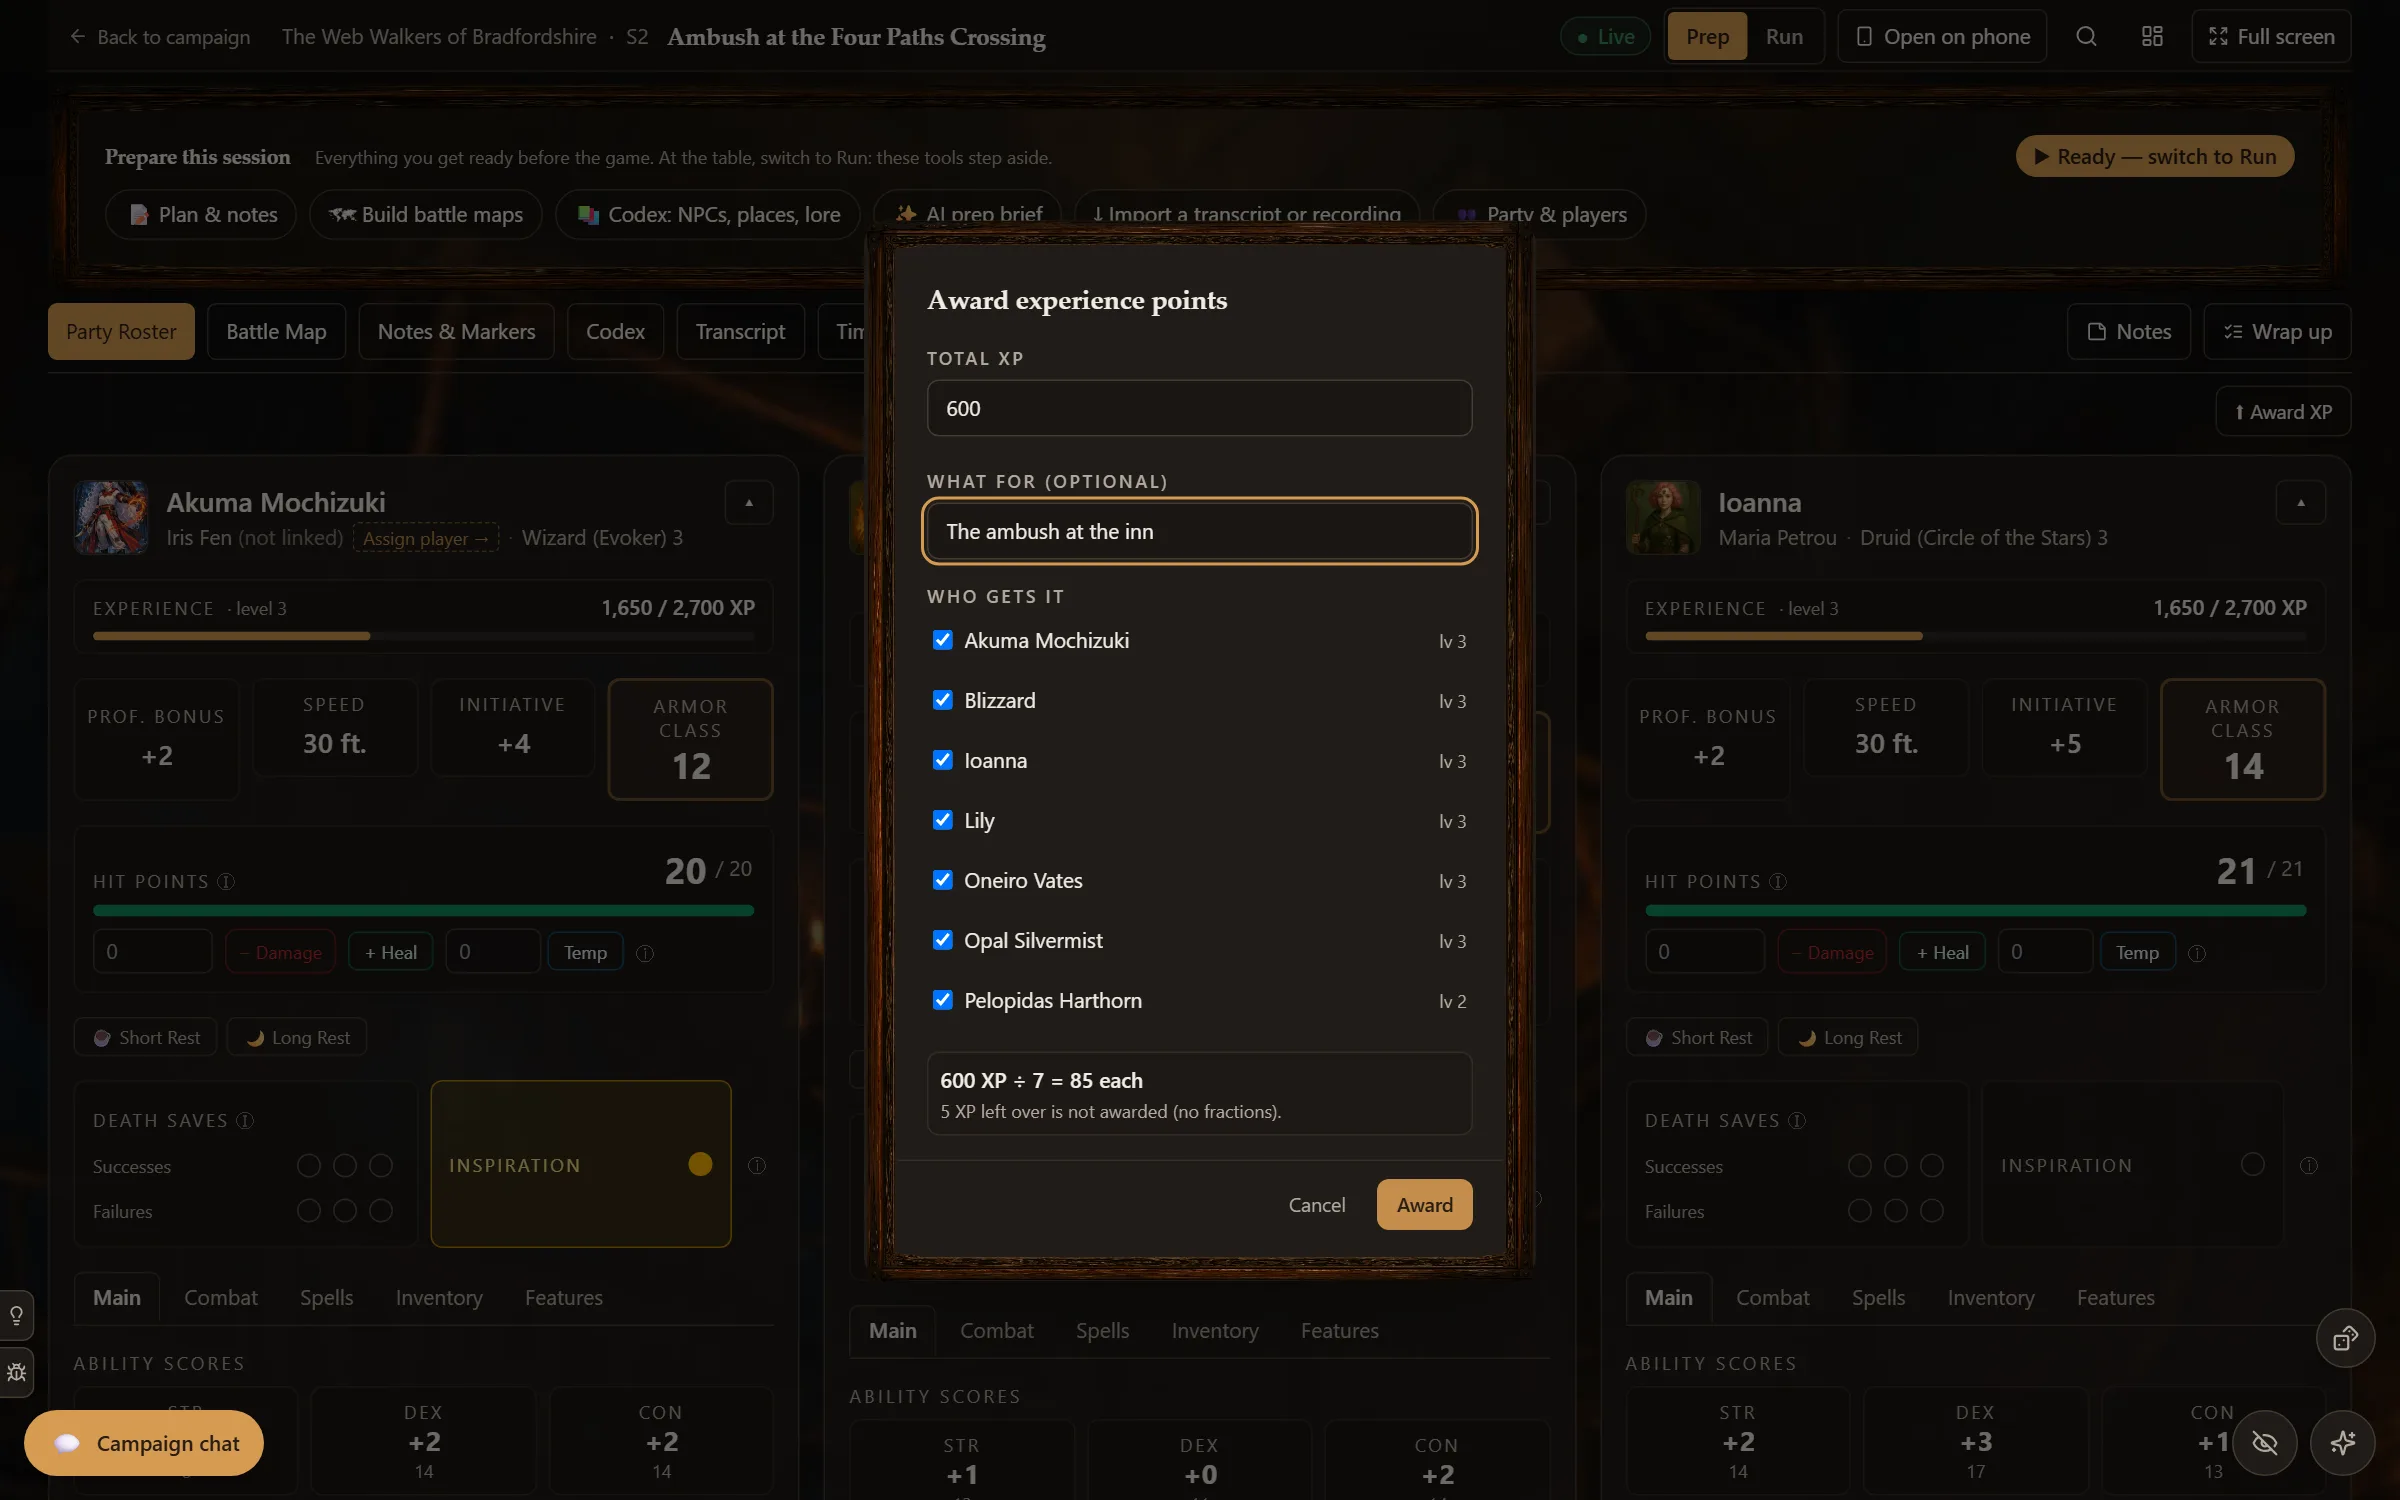
Award XP is on the session's Party roster, in Wrap up, and on the campaign's Party page. Type the total, what it was for, and tick who gets it: the total is split among them, rounded down (450 XP among four is 112 each). Each award writes a line in the Timeline and the Chronicle, shows a toast on the player's screen, and has Undo on your toast.
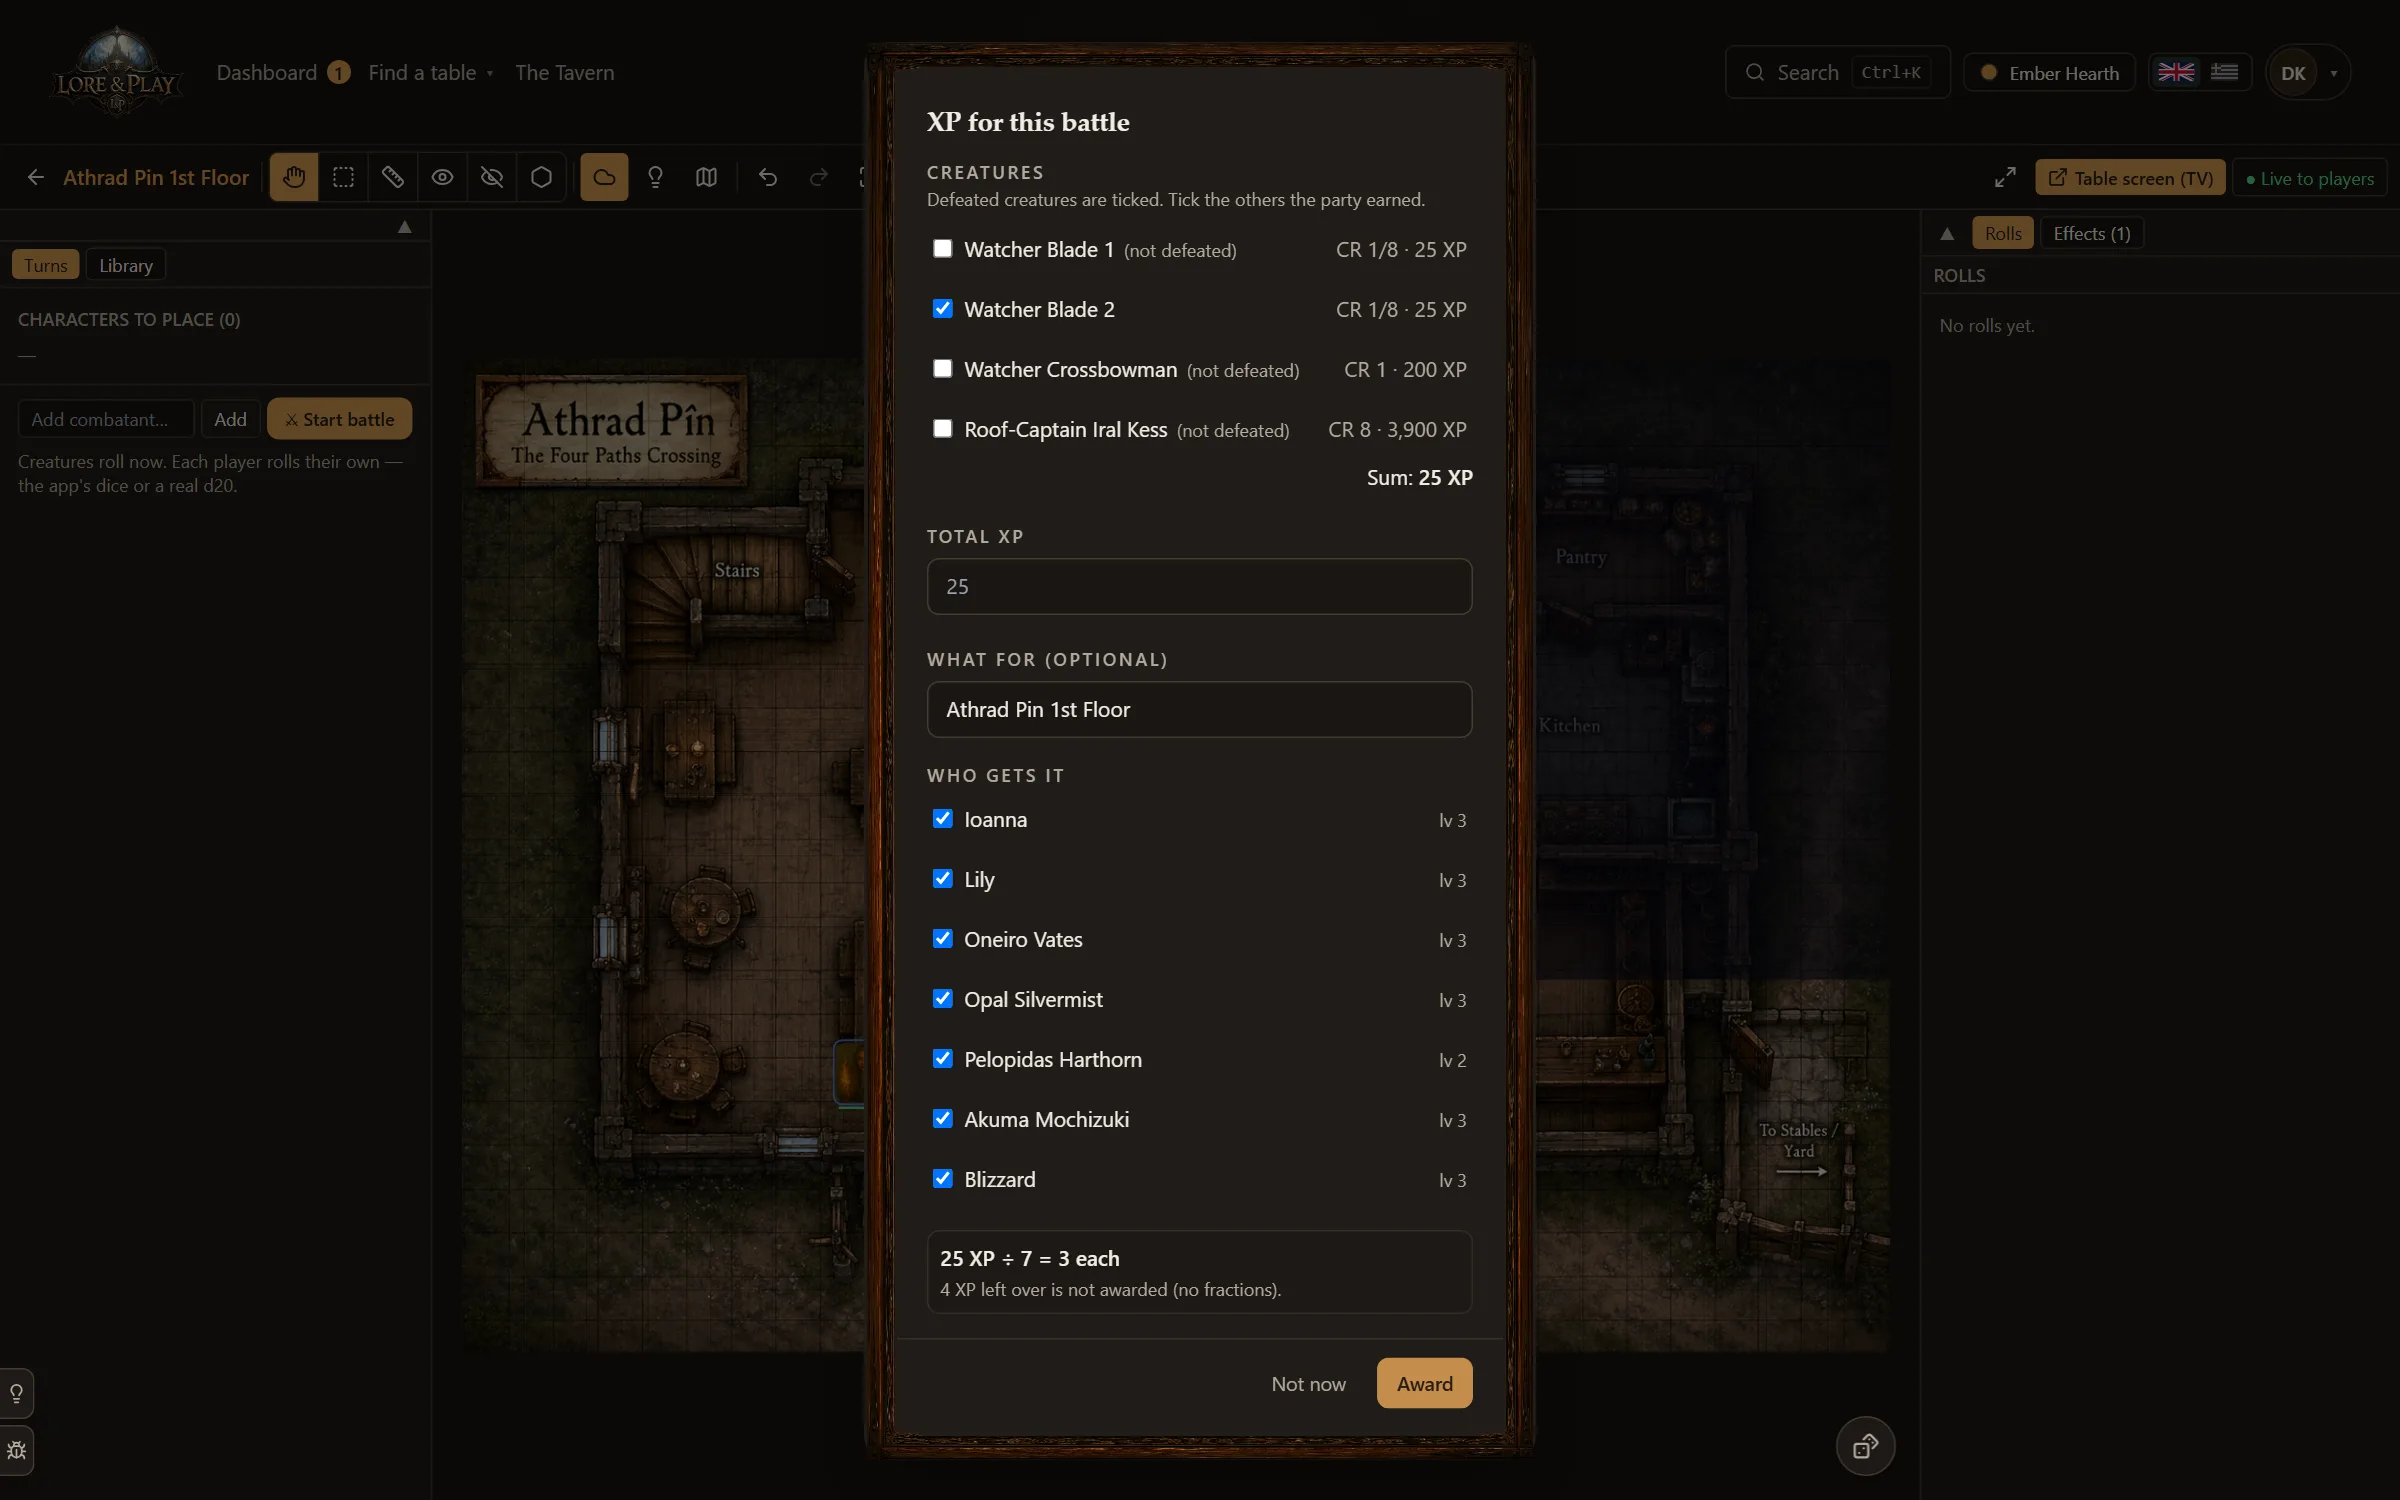
The battle's XP box. In an XP campaign, pressing End on the initiative tracker opens a box before anything is given: every hostile creature on the map with its worth — the defeated ticked, the ones who fled or were talked down listed unticked — and the characters with a token on the map ticked. The sum follows your ticks, or type another total. Not now gives nothing. Ending the same battle again after an Undo says the XP was already given instead of offering it twice.
Players see Ready for level N on their sheet and their home the moment a level opens, and the level-up editor stops there and says why. You can always raise or lower a level by hand, in every mode, and only you can change a character's XP.
The session workspace is your screen for game night. Open a session from the Campaign Hub (or from Run a game on the dashboard), and everything for the evening is in one place, organised in tabs.
The bar along the top is all the header a session has: Back, the campaign, the session (click its name to rename it), whether it is ● Live — recording, or the map your players see was revealed from here — and on the right Prep | Run, Open on phone and Full screen (remembered on that device; a reload brings you back to the map you had open).
A session has two modes. Prep is every tool, with a strip across the top for getting ready: plan and notes, building battle maps, the Codex, the AI prep brief, importing a transcript or recording, the party. Run is the same screen without the tools that build a game — only what you use at the table. Each device remembers its own choice, so the laptop at the table can stay in Run while your desk stays in Prep.
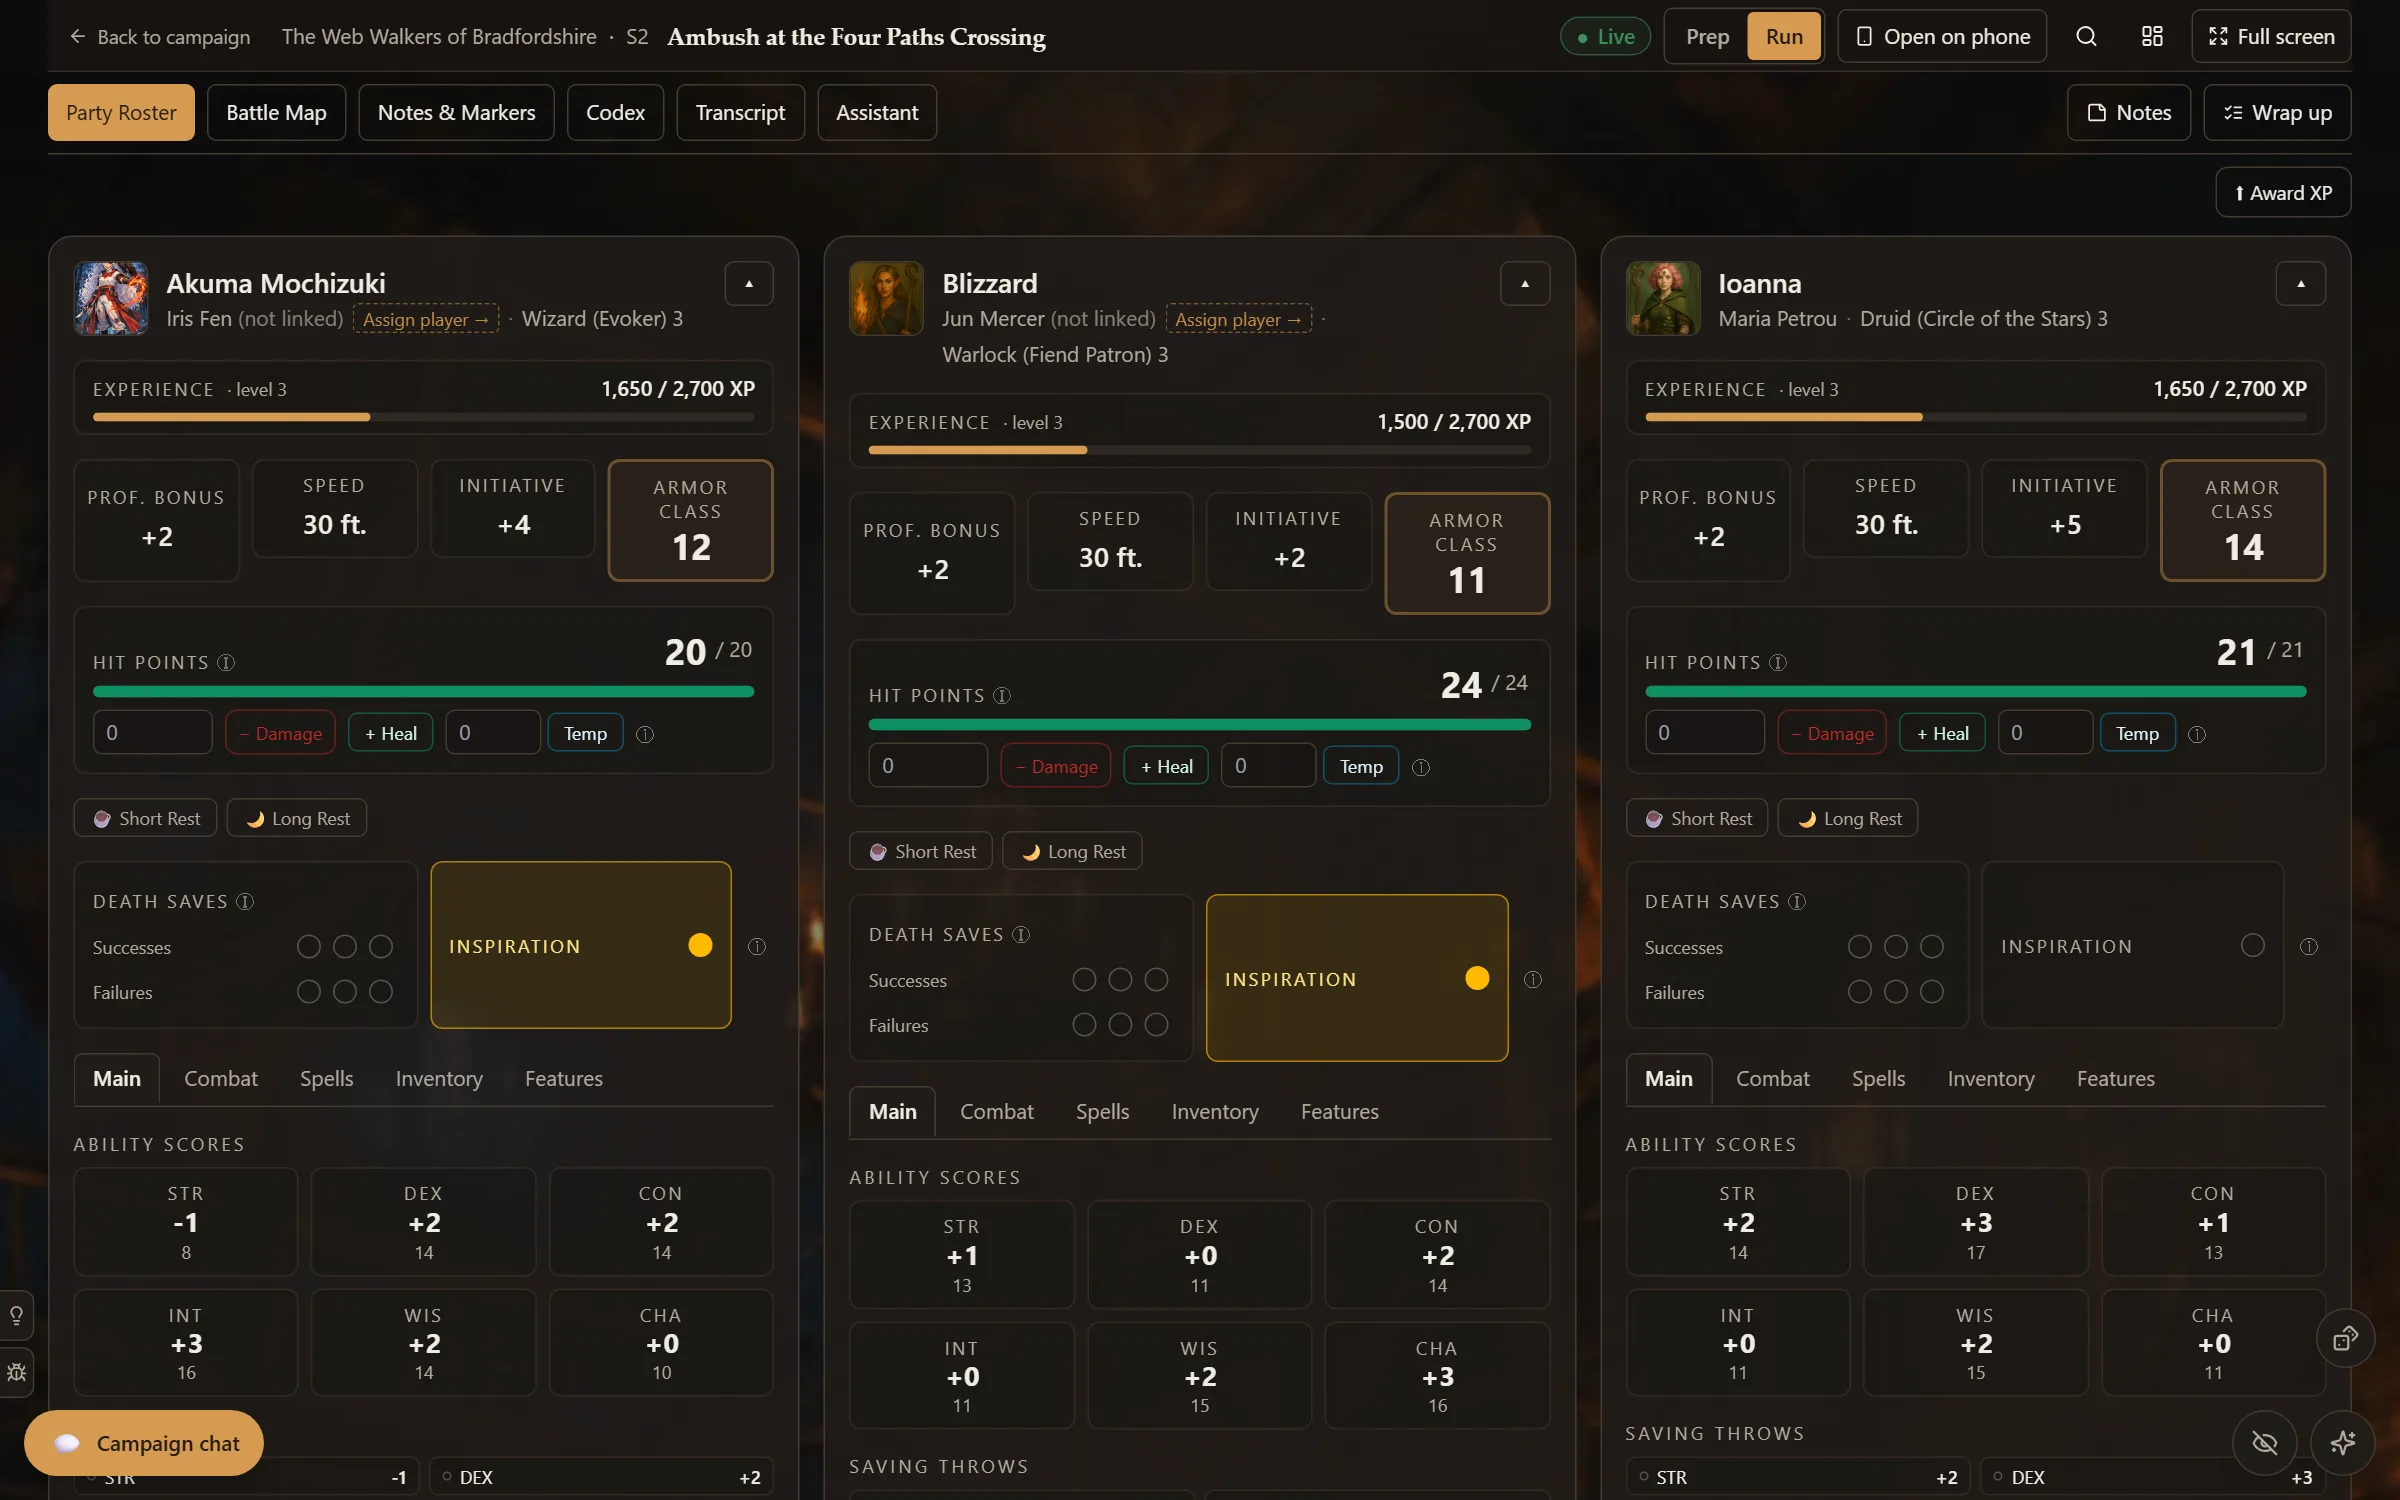
| Tab | What it does |
|---|---|
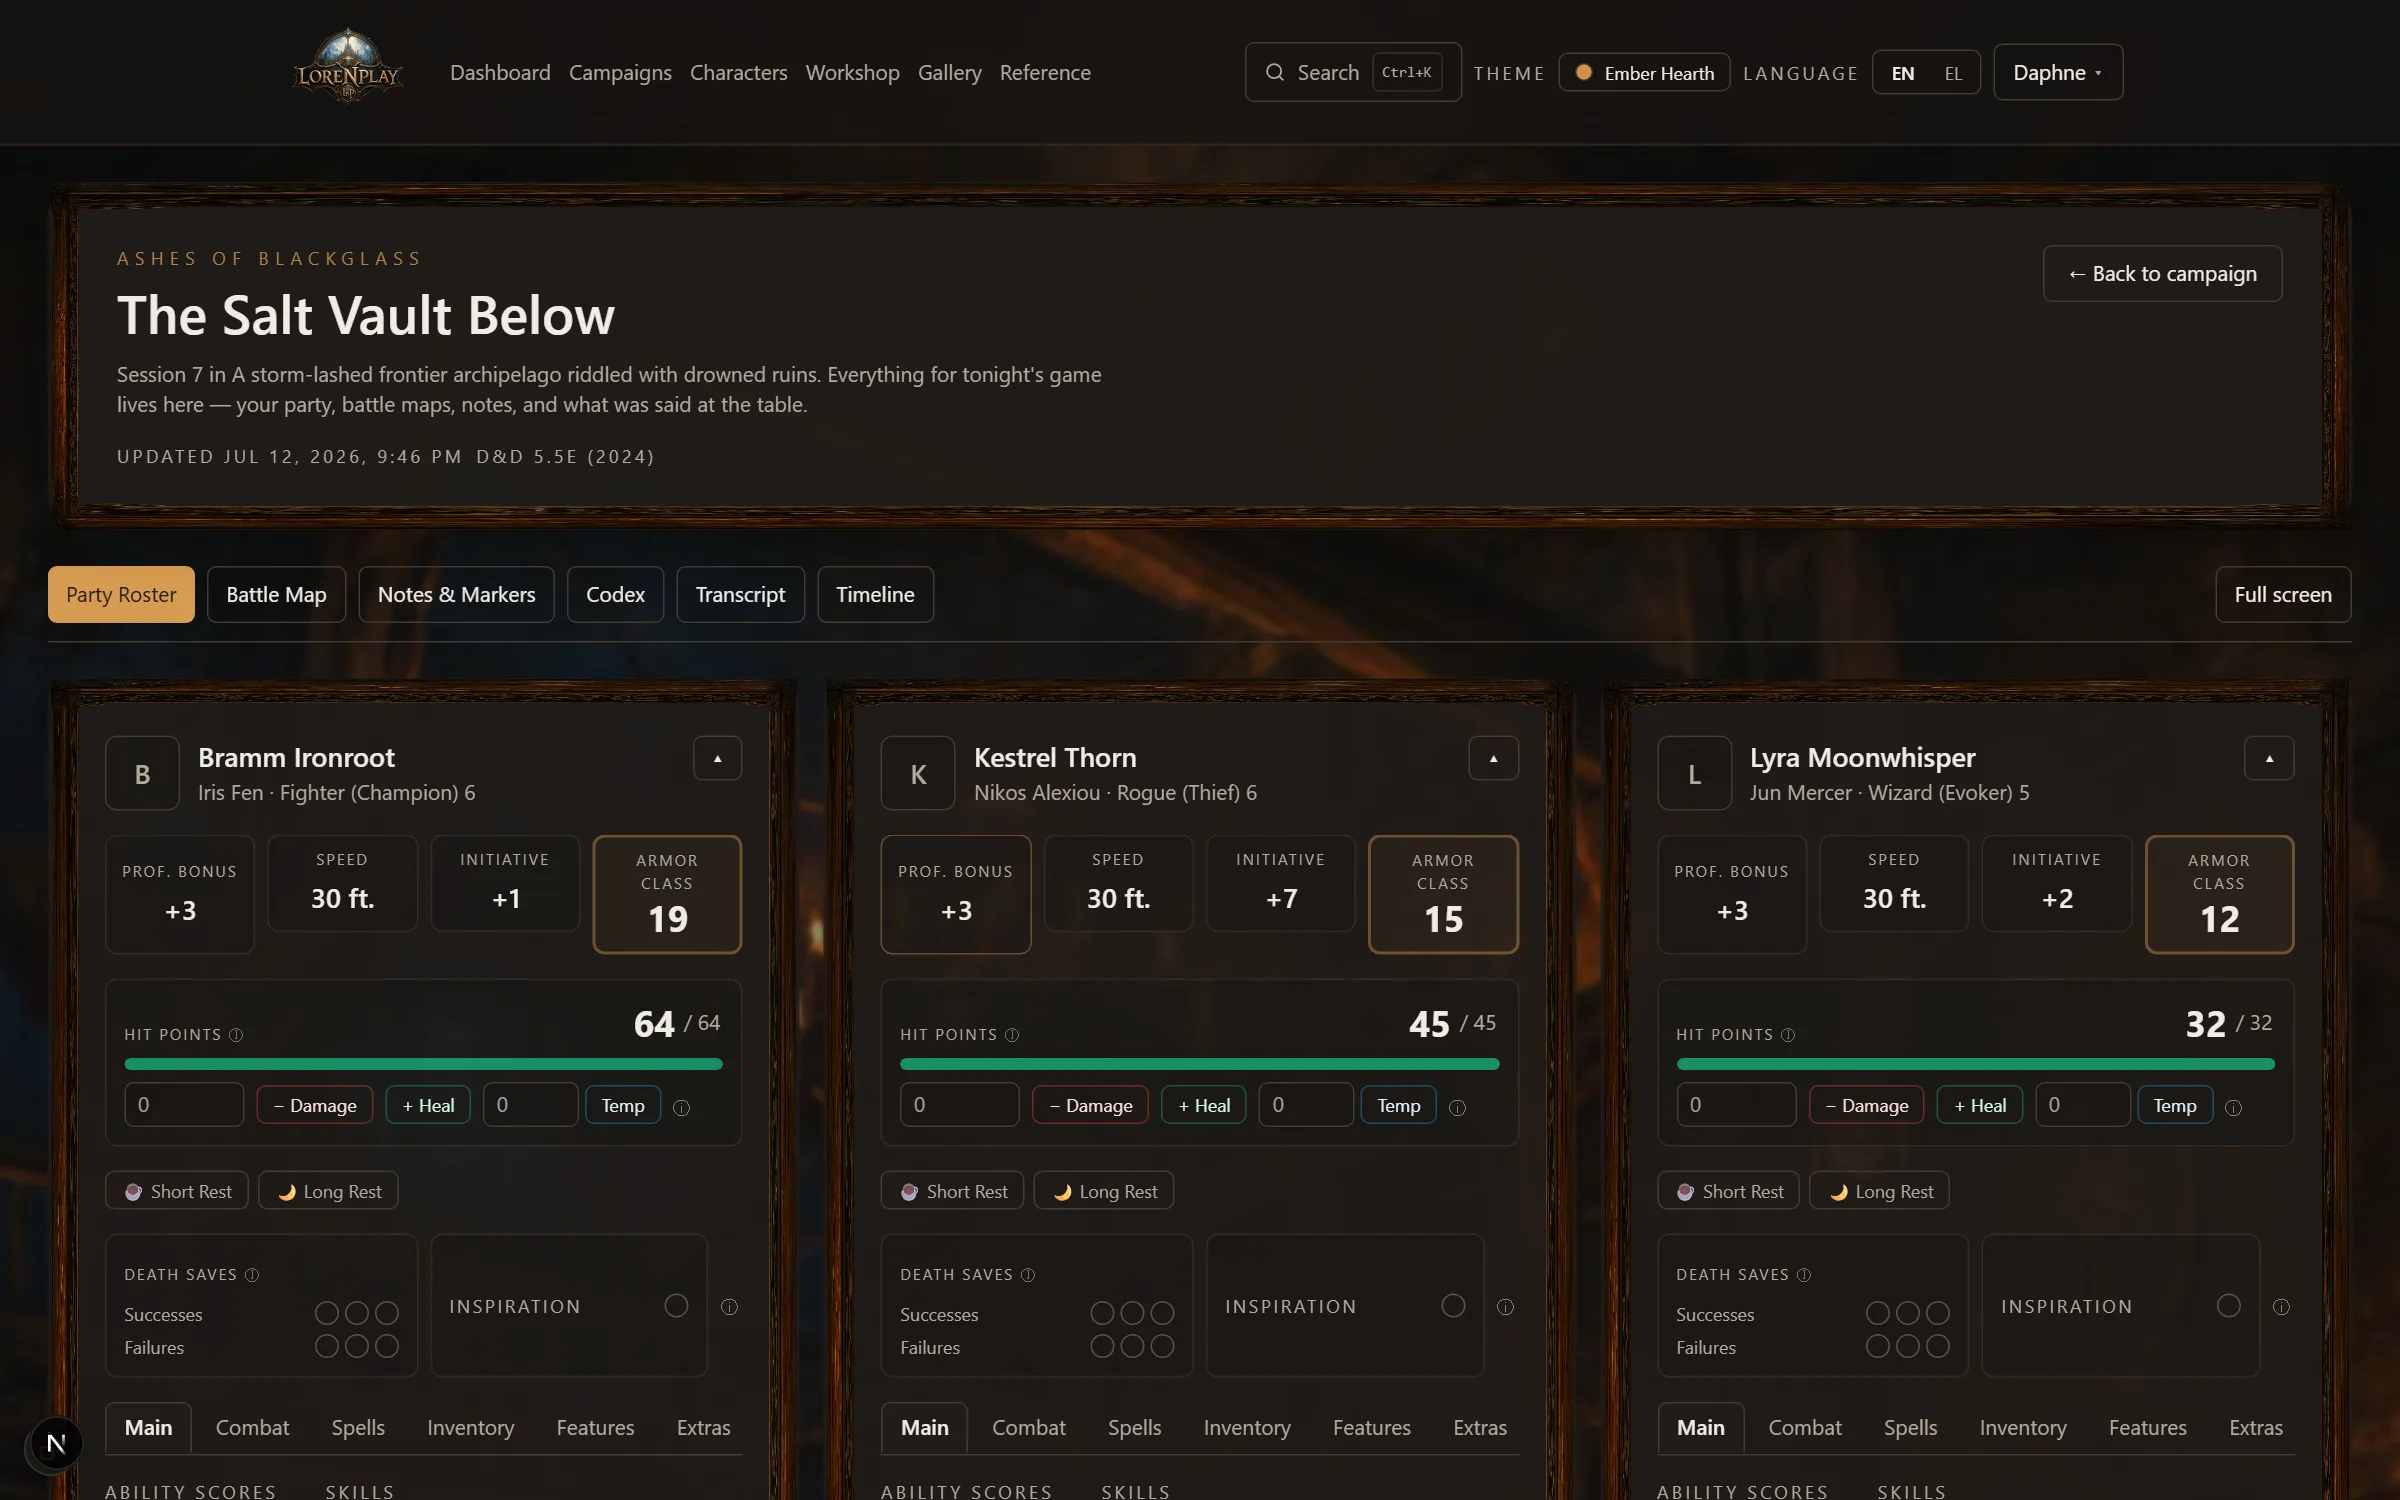
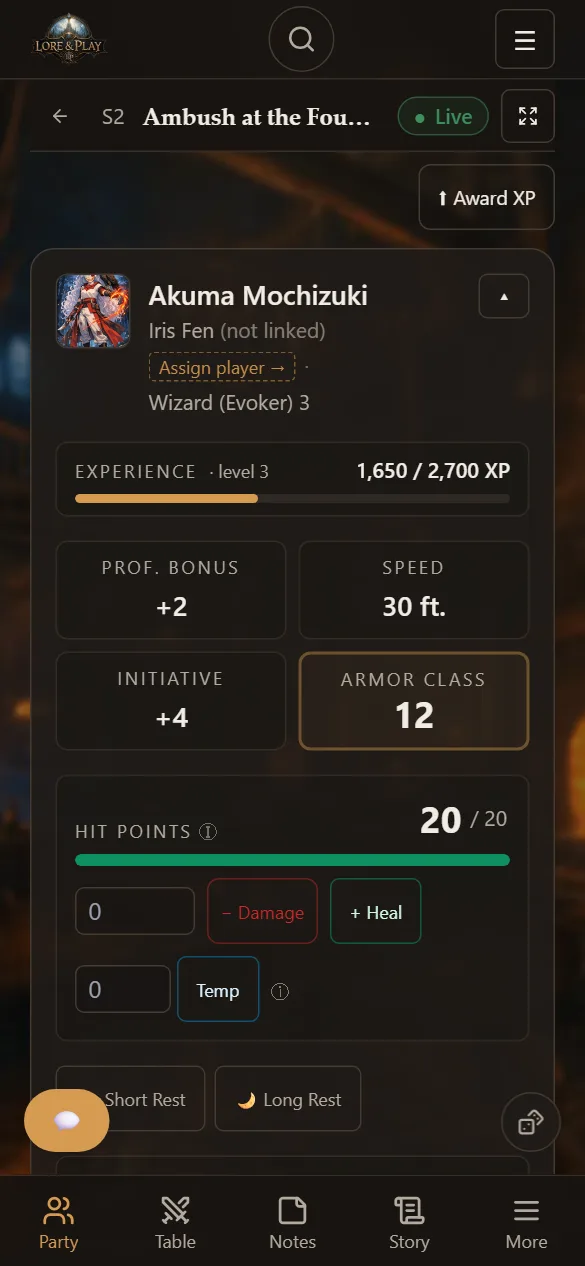
| Party Roster | Live PC cards: HP, temp HP, rests, conditions, inspiration, XP. What you change here is what players see. |
| Battle Map | The campaign's maps: open one live, or create a new one (§8). |
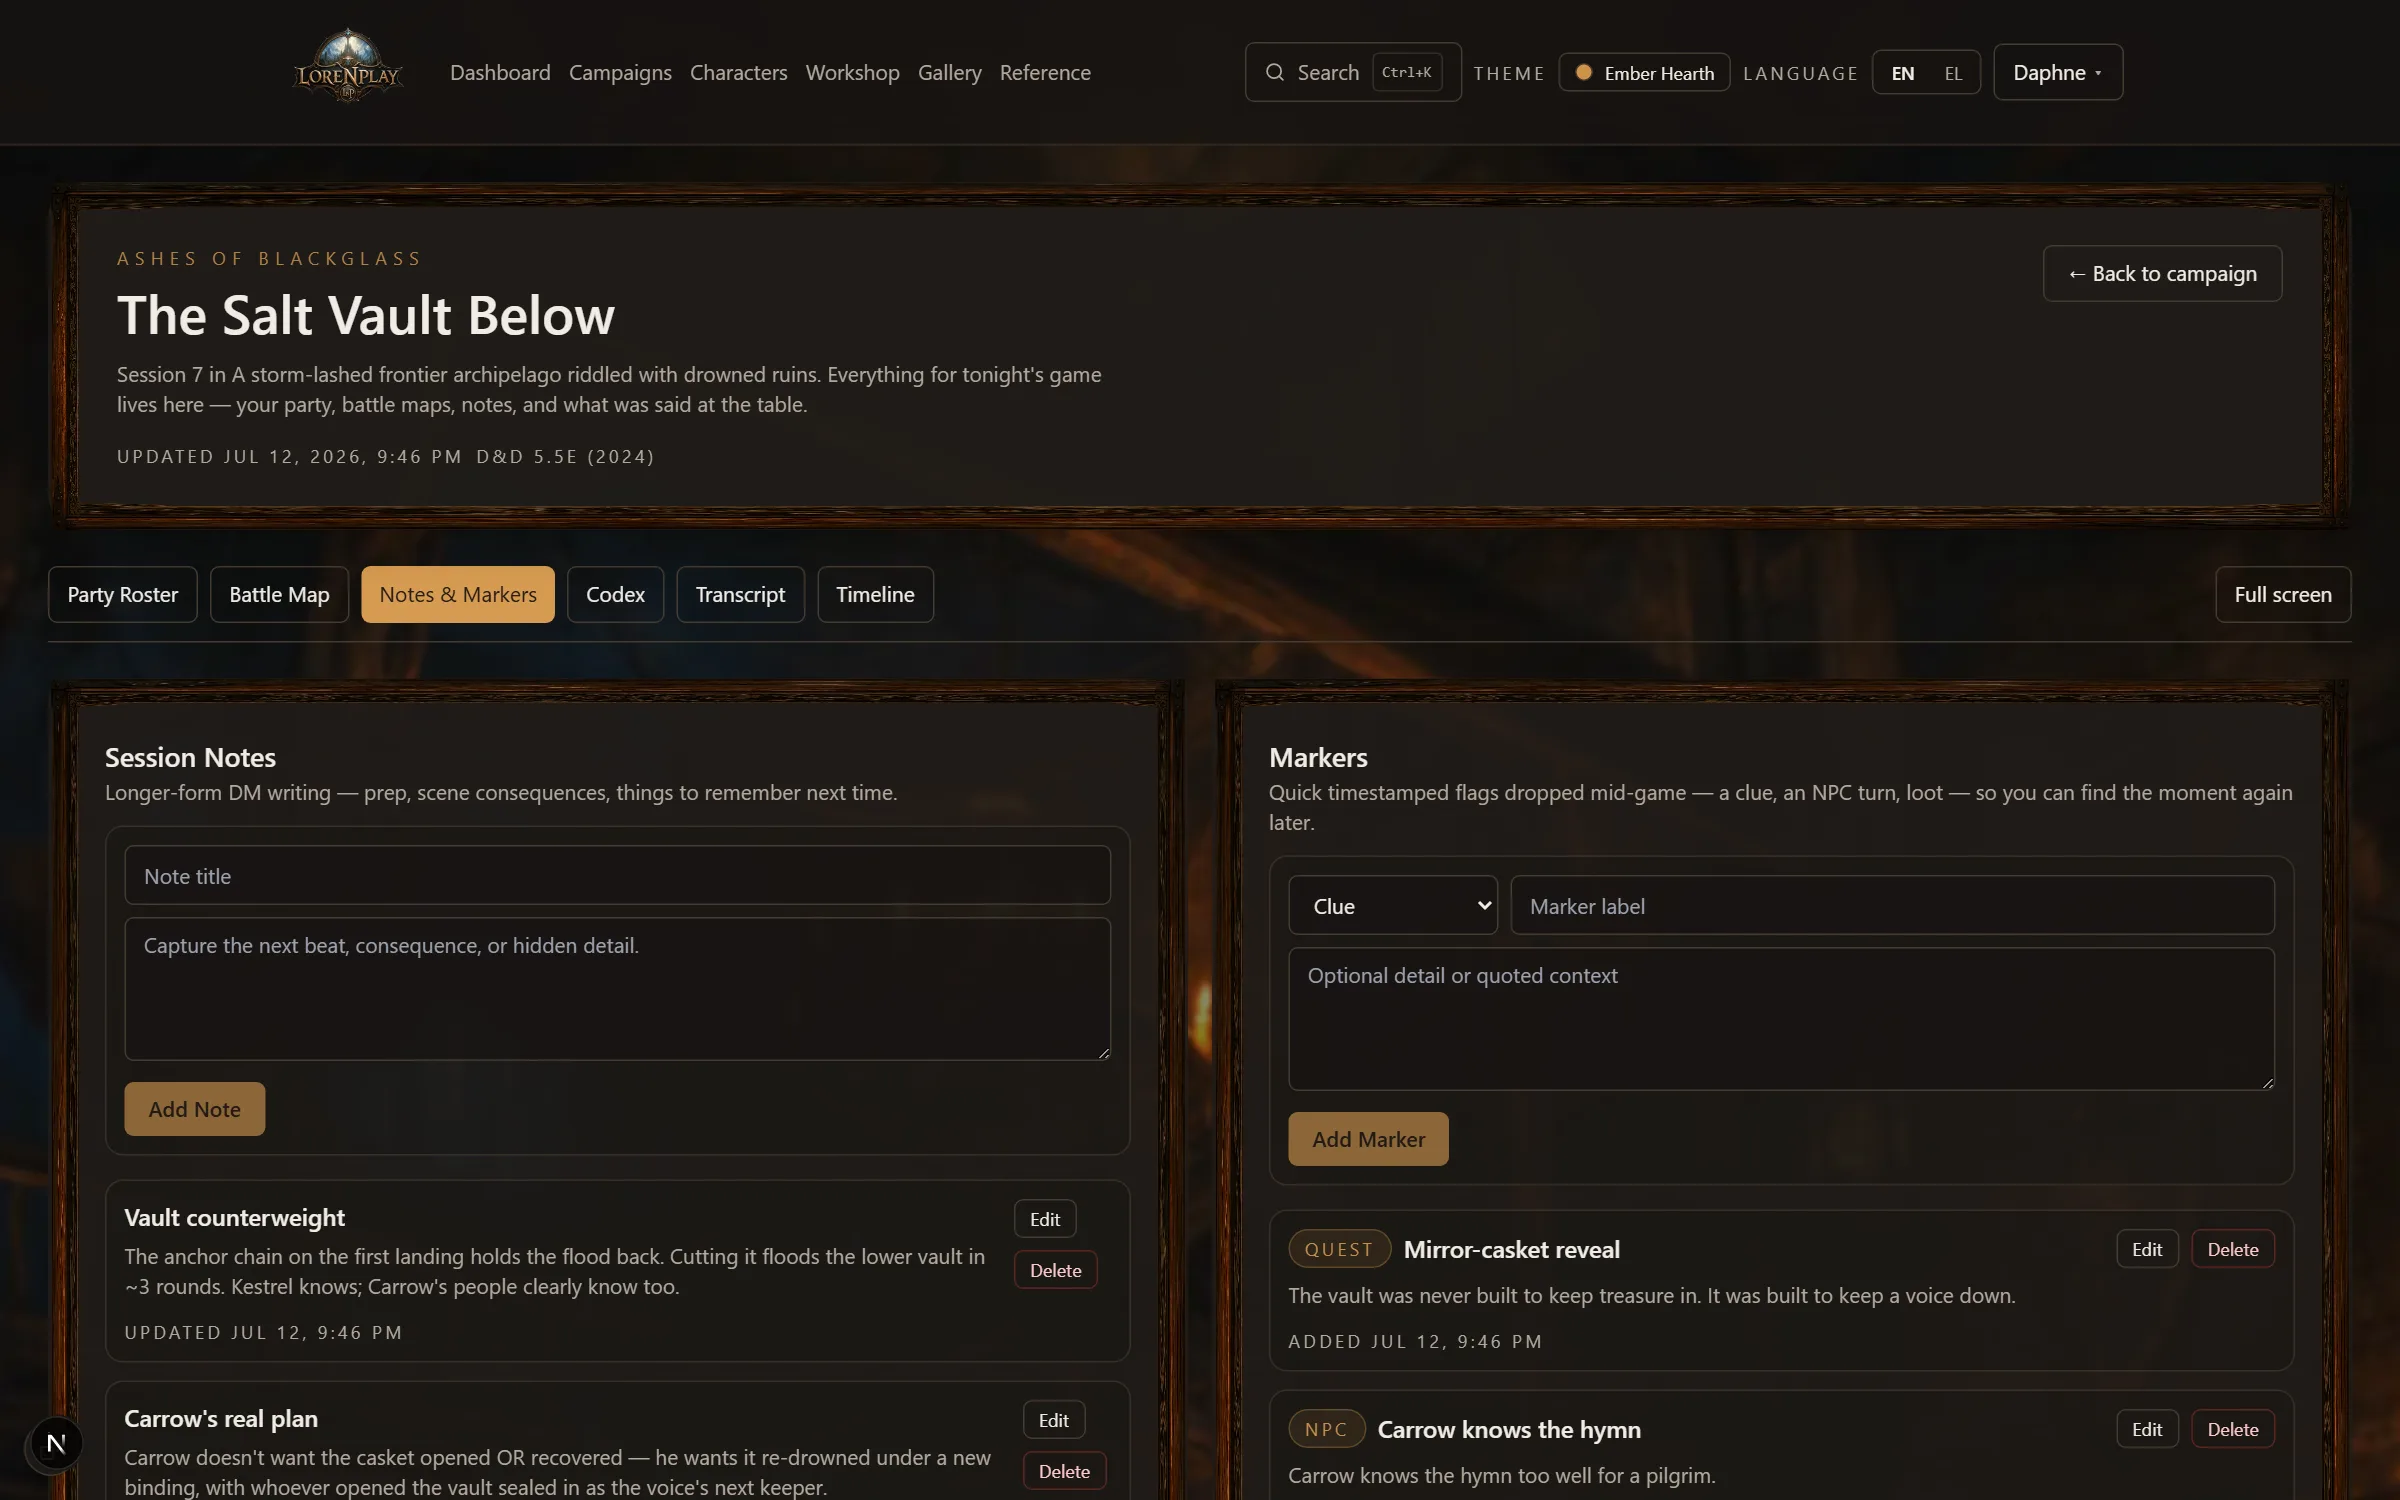
| Notes & Markers | Session notes (including DM-only secrets) and quick timestamped markers: clue, combat, NPC, loot, quest. The Notes button opens the same notes as a drawer from every tab. |
| Codex | The campaign codex, in the room with you — look up an NPC mid-scene without leaving the workspace. |
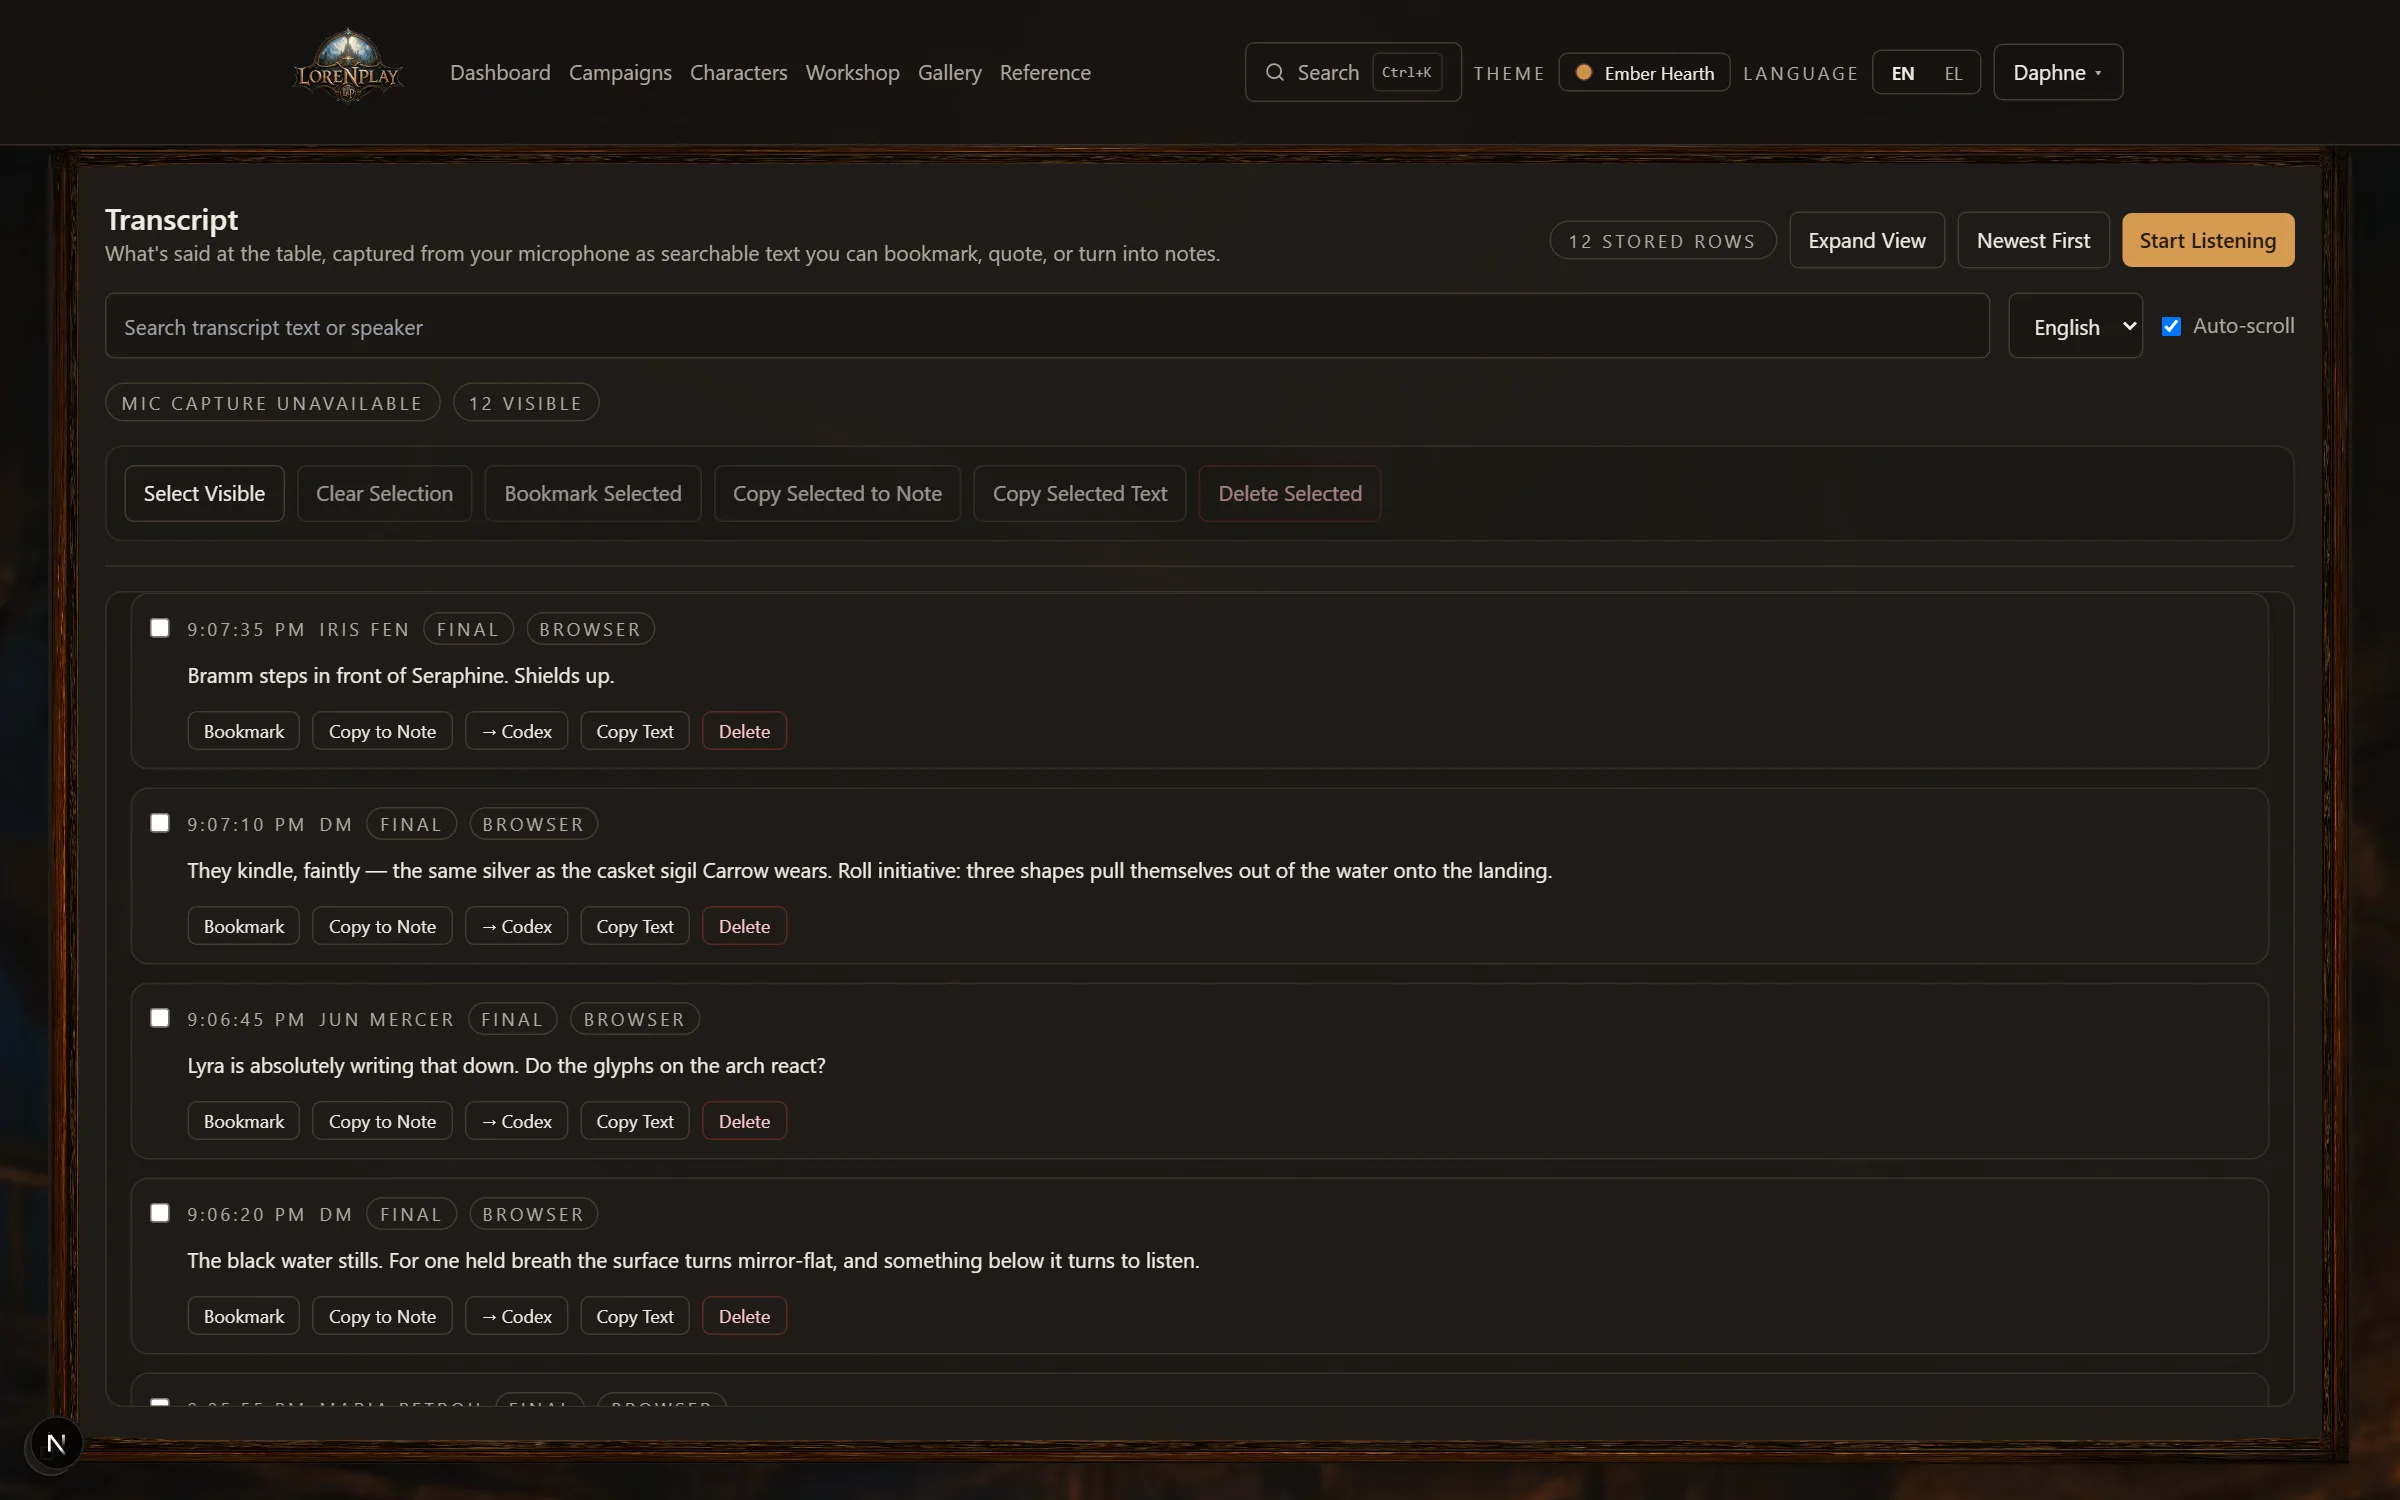
| Transcript | The live transcript of what's said at the table (see below). |
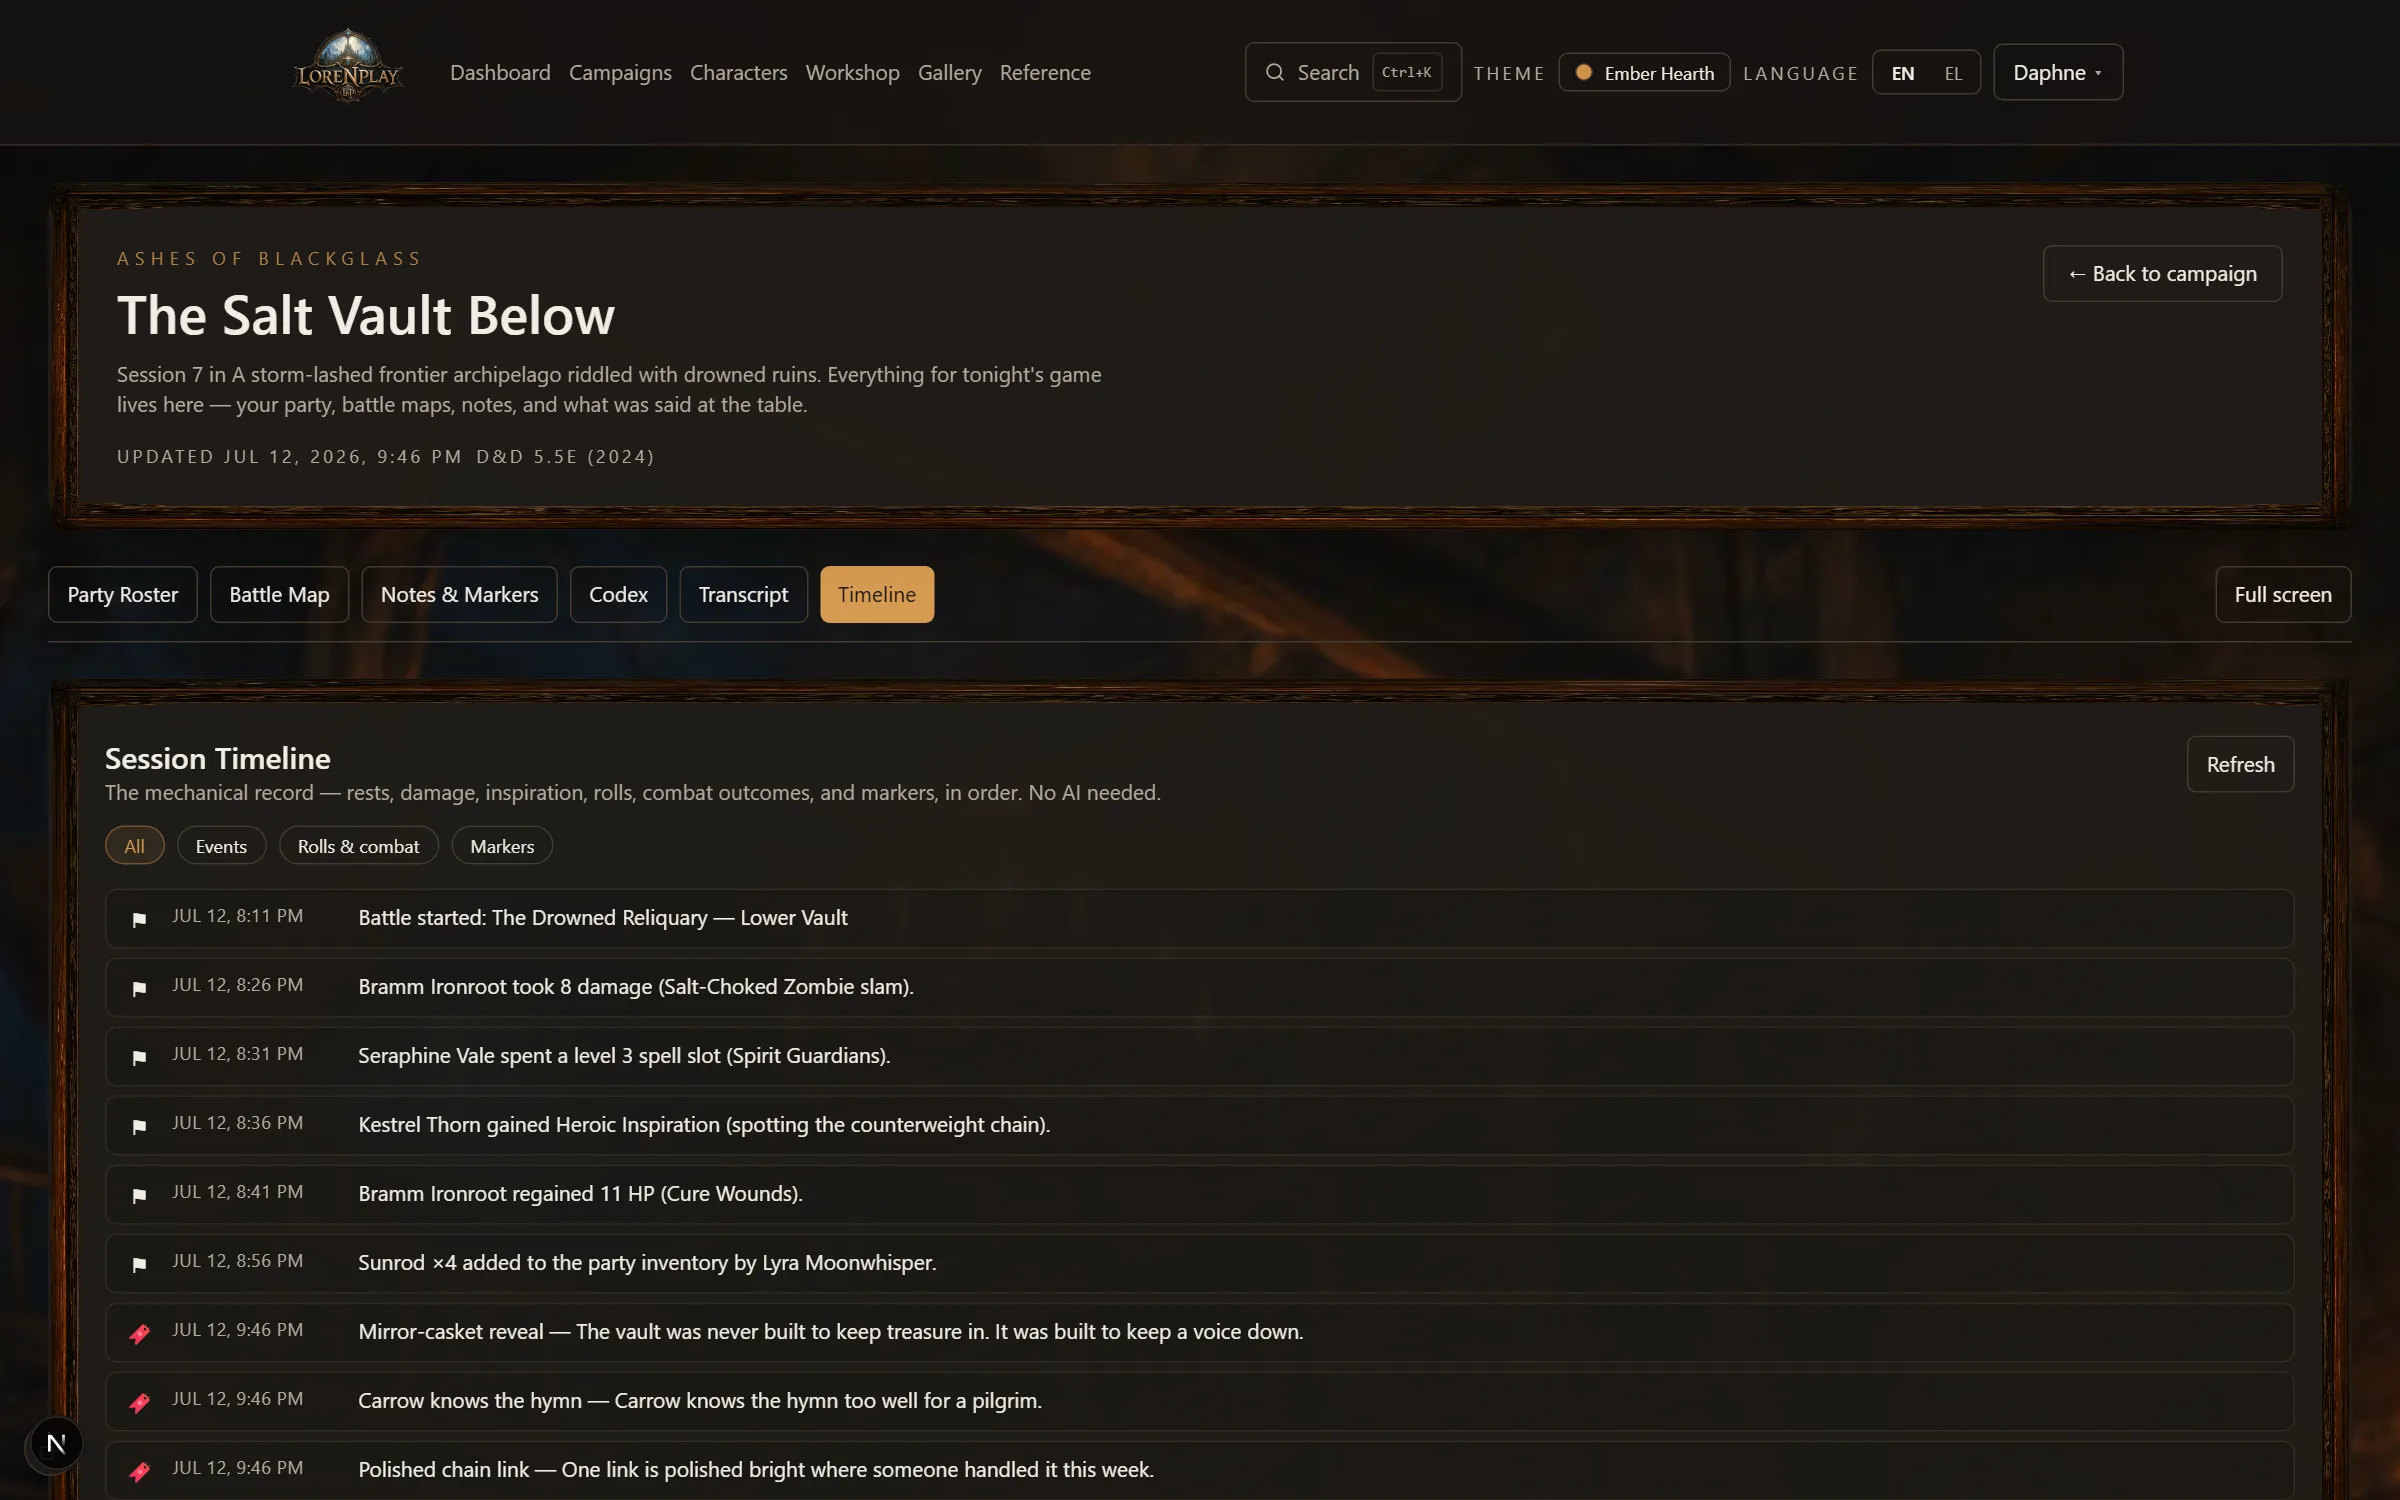
| Timeline | In Prep: the structured event log — rests, damage, spell slots, inspiration, battles, XP — written automatically as you play. |
| Assistant | The AI copilot, grounded in this session's transcript, notes, and codex (§14). |
On a computer, Prep is a book. The session sits in the middle, bound in the campaign's cover, its tabs hanging above it as ribbons. On a wide screen the campaign's sessions stand on a small shelf to its left — each a chapter, one click to its own prep — and a notepad to its right keeps the Notes and Wrap up open beside the book (on a narrower screen they are the two buttons beside the tabs).
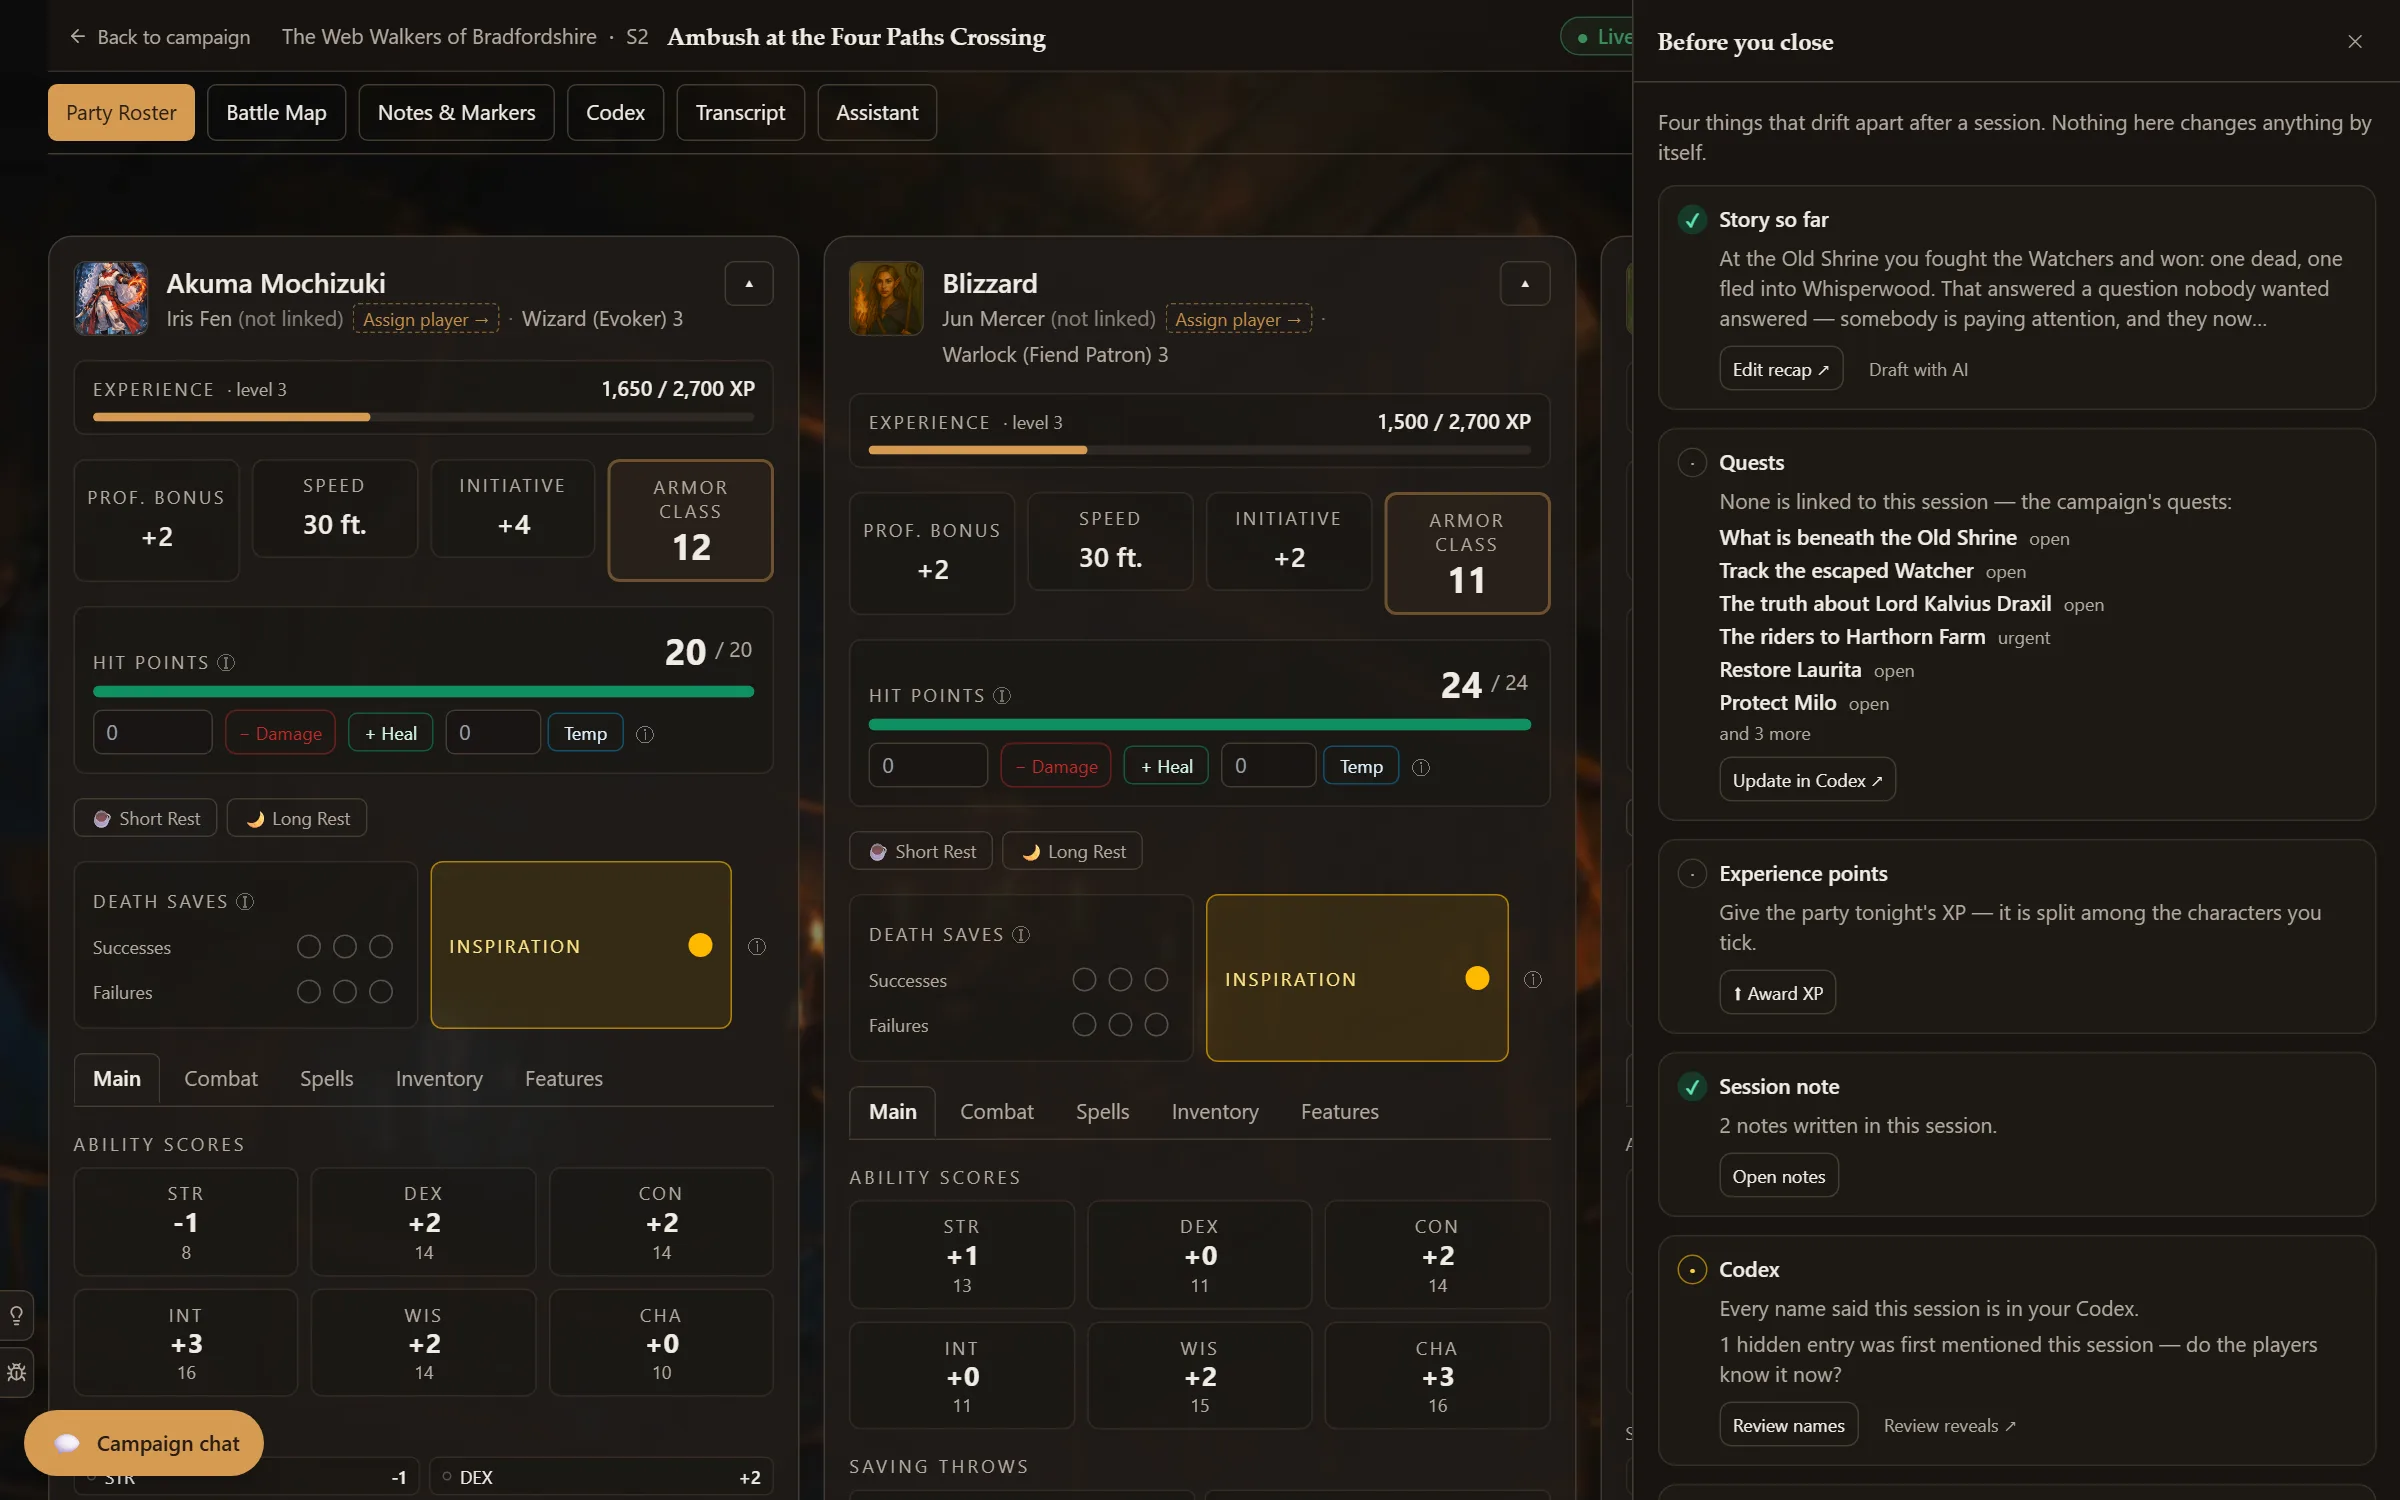
Wrap up (top right of the tabs) is a short checklist for the end of the night. It changes nothing by itself; each line takes you where the work is: the story so far (edit it, or draft it with AI), the quests this session touched, Experience points or Levels (Award XP or Grant a level, §5), a session note, the Codex (names heard tonight that are not in it yet), and Played?
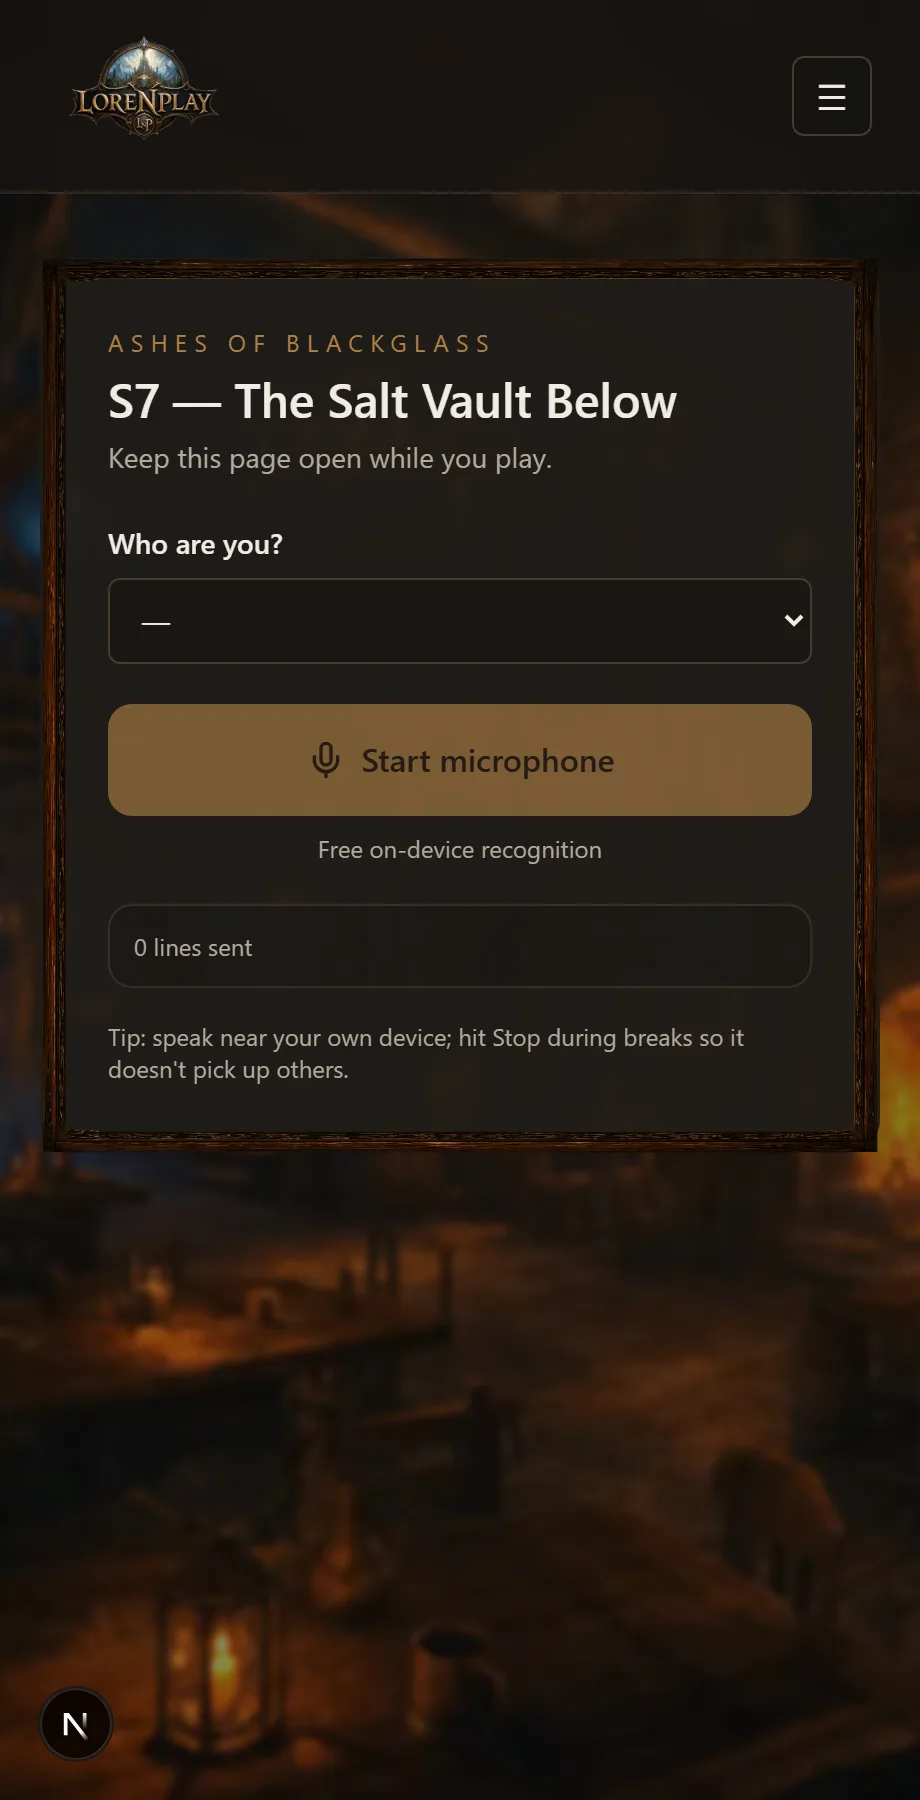
Lore & Play can capture what is said at the table. Recording runs in your browser — no install — and lines land in the Transcript tab with speaker and timestamp. From any line you can make a note, a marker, or ask the assistant about it.
The whole table's microphones: set *Table microphones* to Whole table in the Transcript tab. Every player in the campaign can then open their own microphone from Join live table on their own page — no link to send, no QR to scan, and their name is already filled in from their character. Set the recognition language and your own name (I am…) there too: the language applies to every device at the table, not just yours.
What was said that you haven't written down (Prep, under the transcript, and Wrap up's *Review names*) compares tonight's transcript with your Codex. It lists the names spoken that are not in it — and, first, the ones that look like a mishearing of something that is (*“The transcript says Hothoro Faro. Your Codex has Harthorn Farm. Same place?”*). Nothing changes until you click: add the entry, correct the line, or dismiss it.
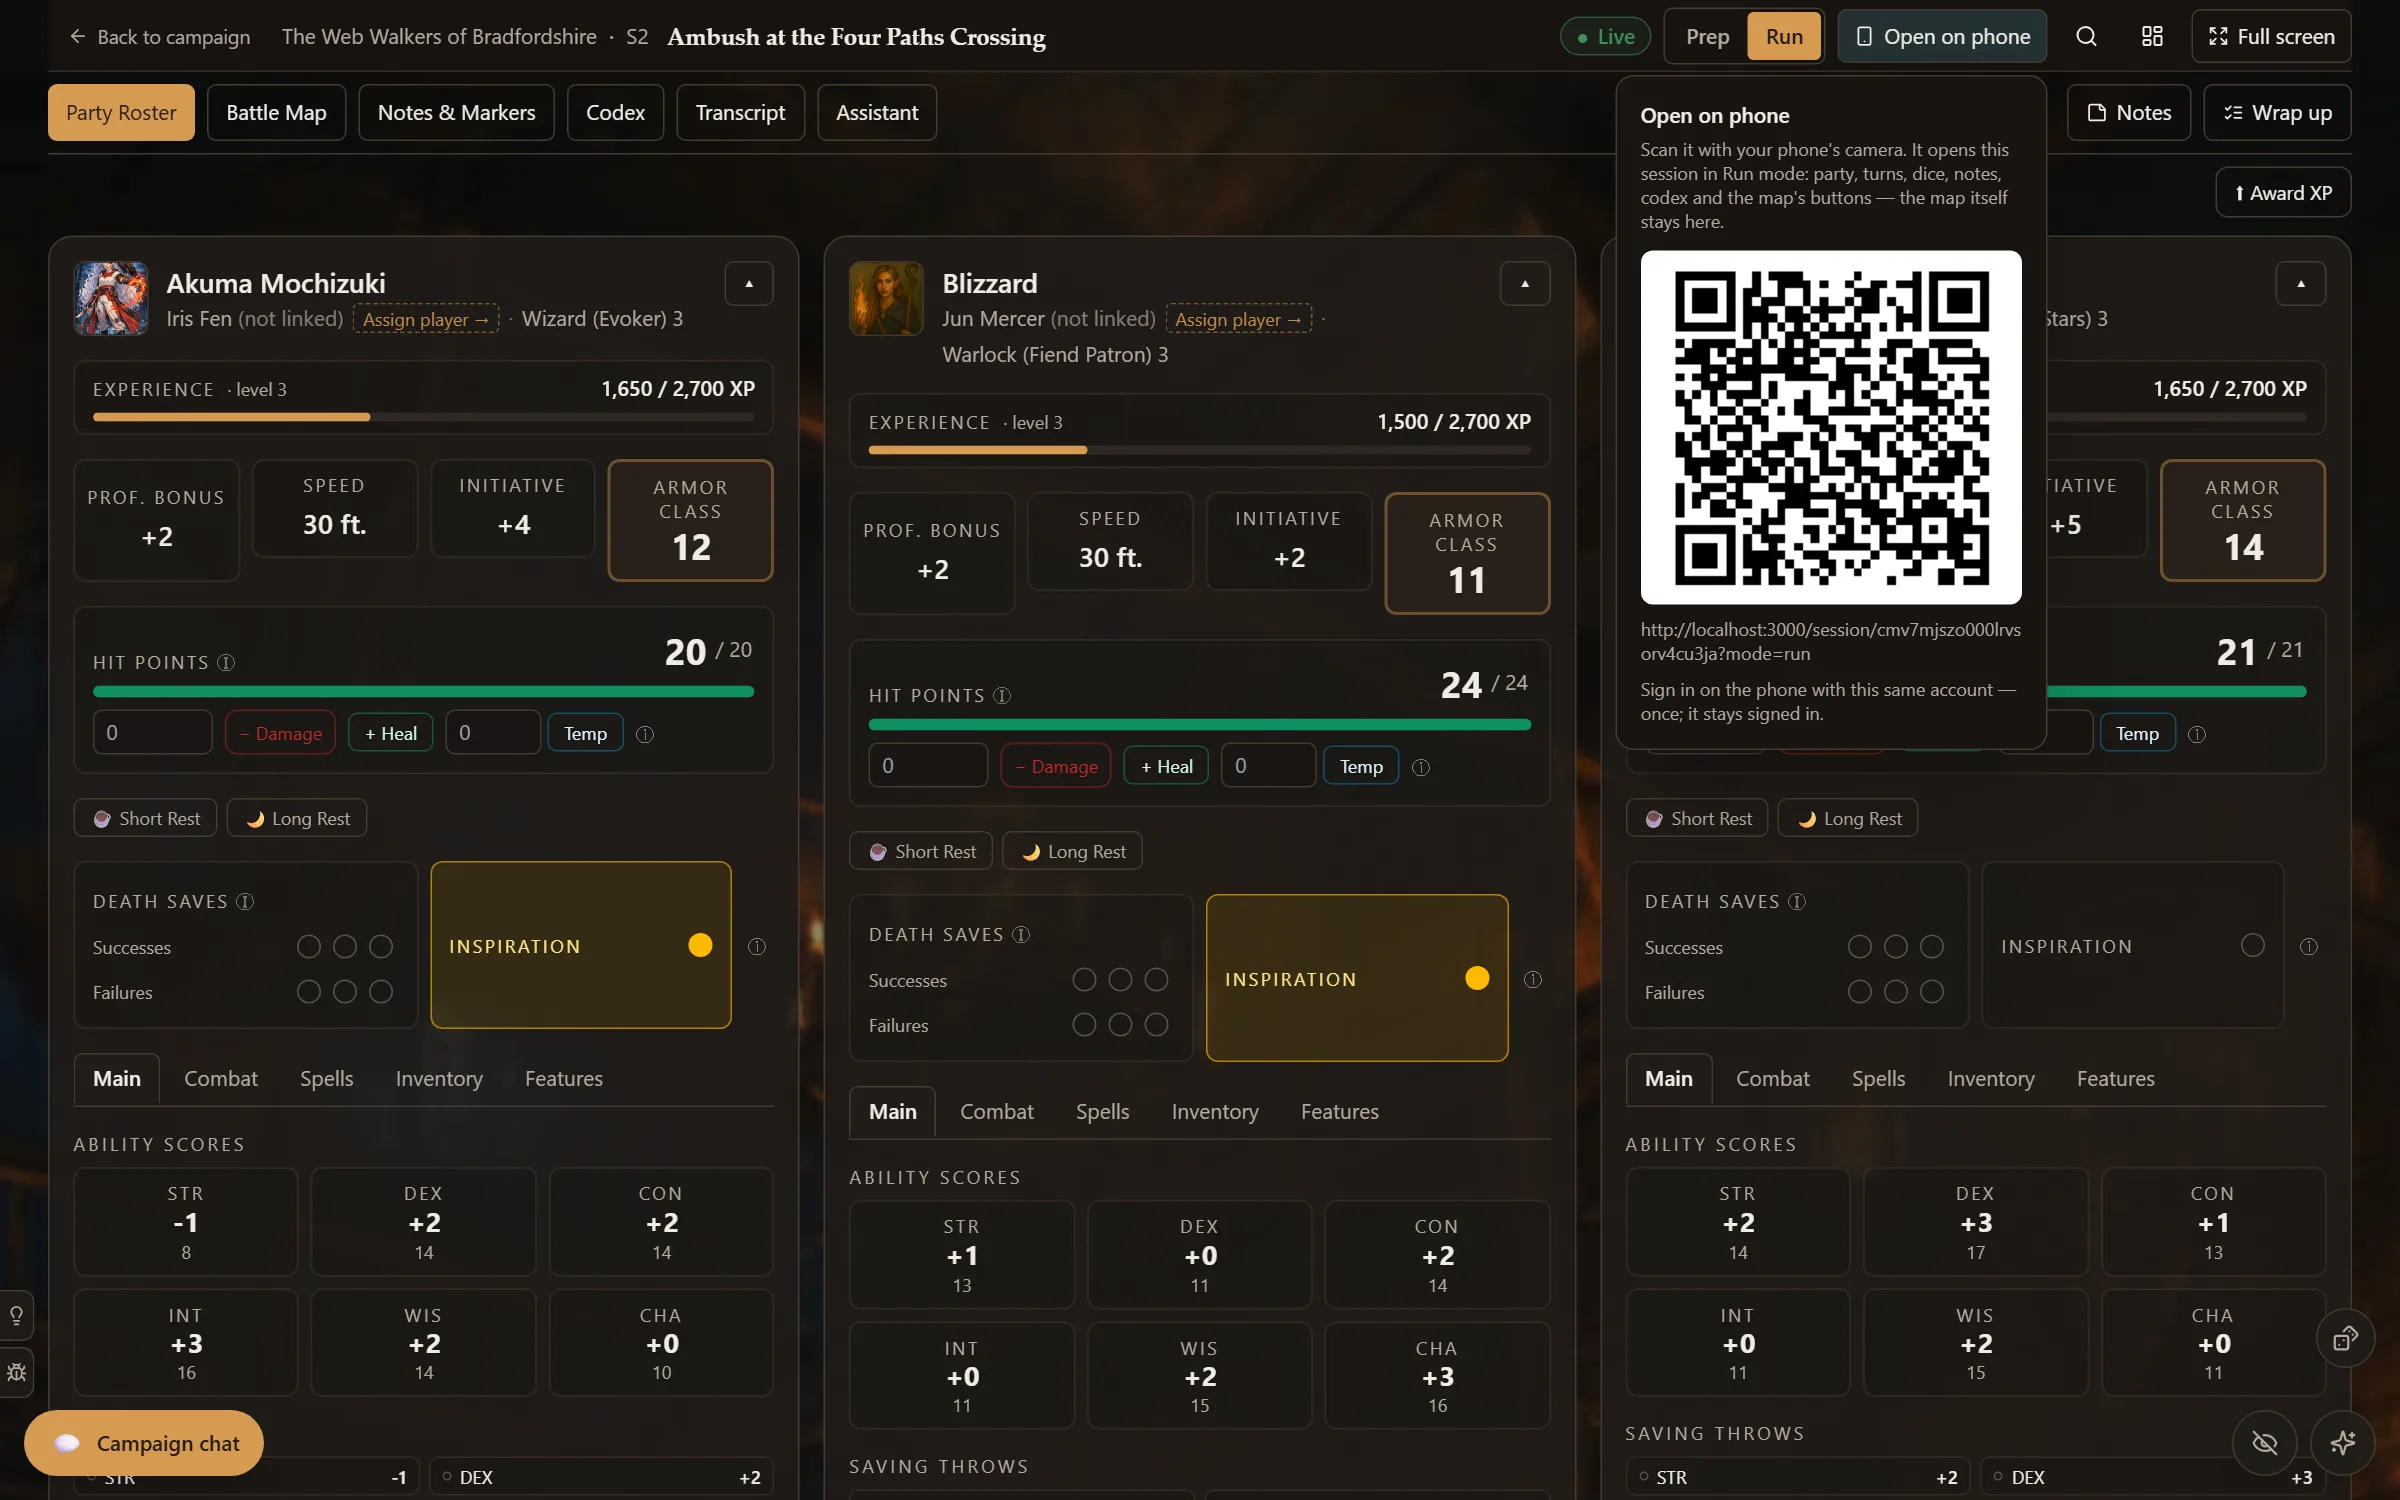
The battle map stays on your computer (or the TV), and your phone becomes the remote. Press Open on phone in the session bar: a QR code opens this session in Run mode. Sign in on the phone with the same account once and it stays signed in.
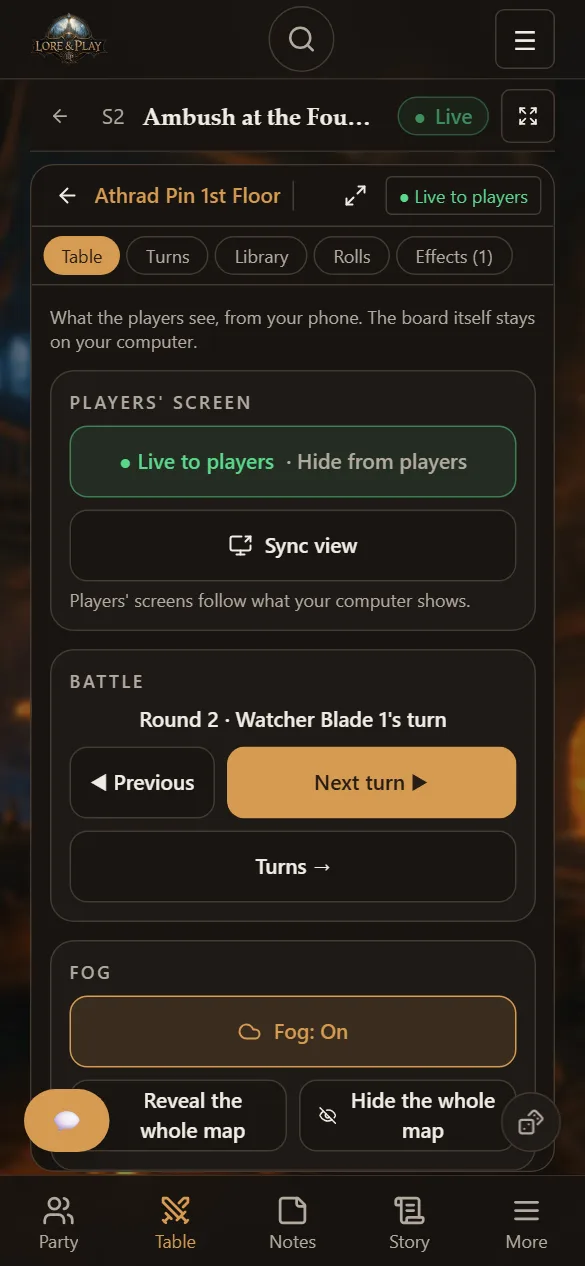
The battle map is a full virtual tabletop: token movement, initiative, fog of war, spell templates, dice, and live sync to your players' screens. Maps belong to the campaign, so any session can reopen an old map.
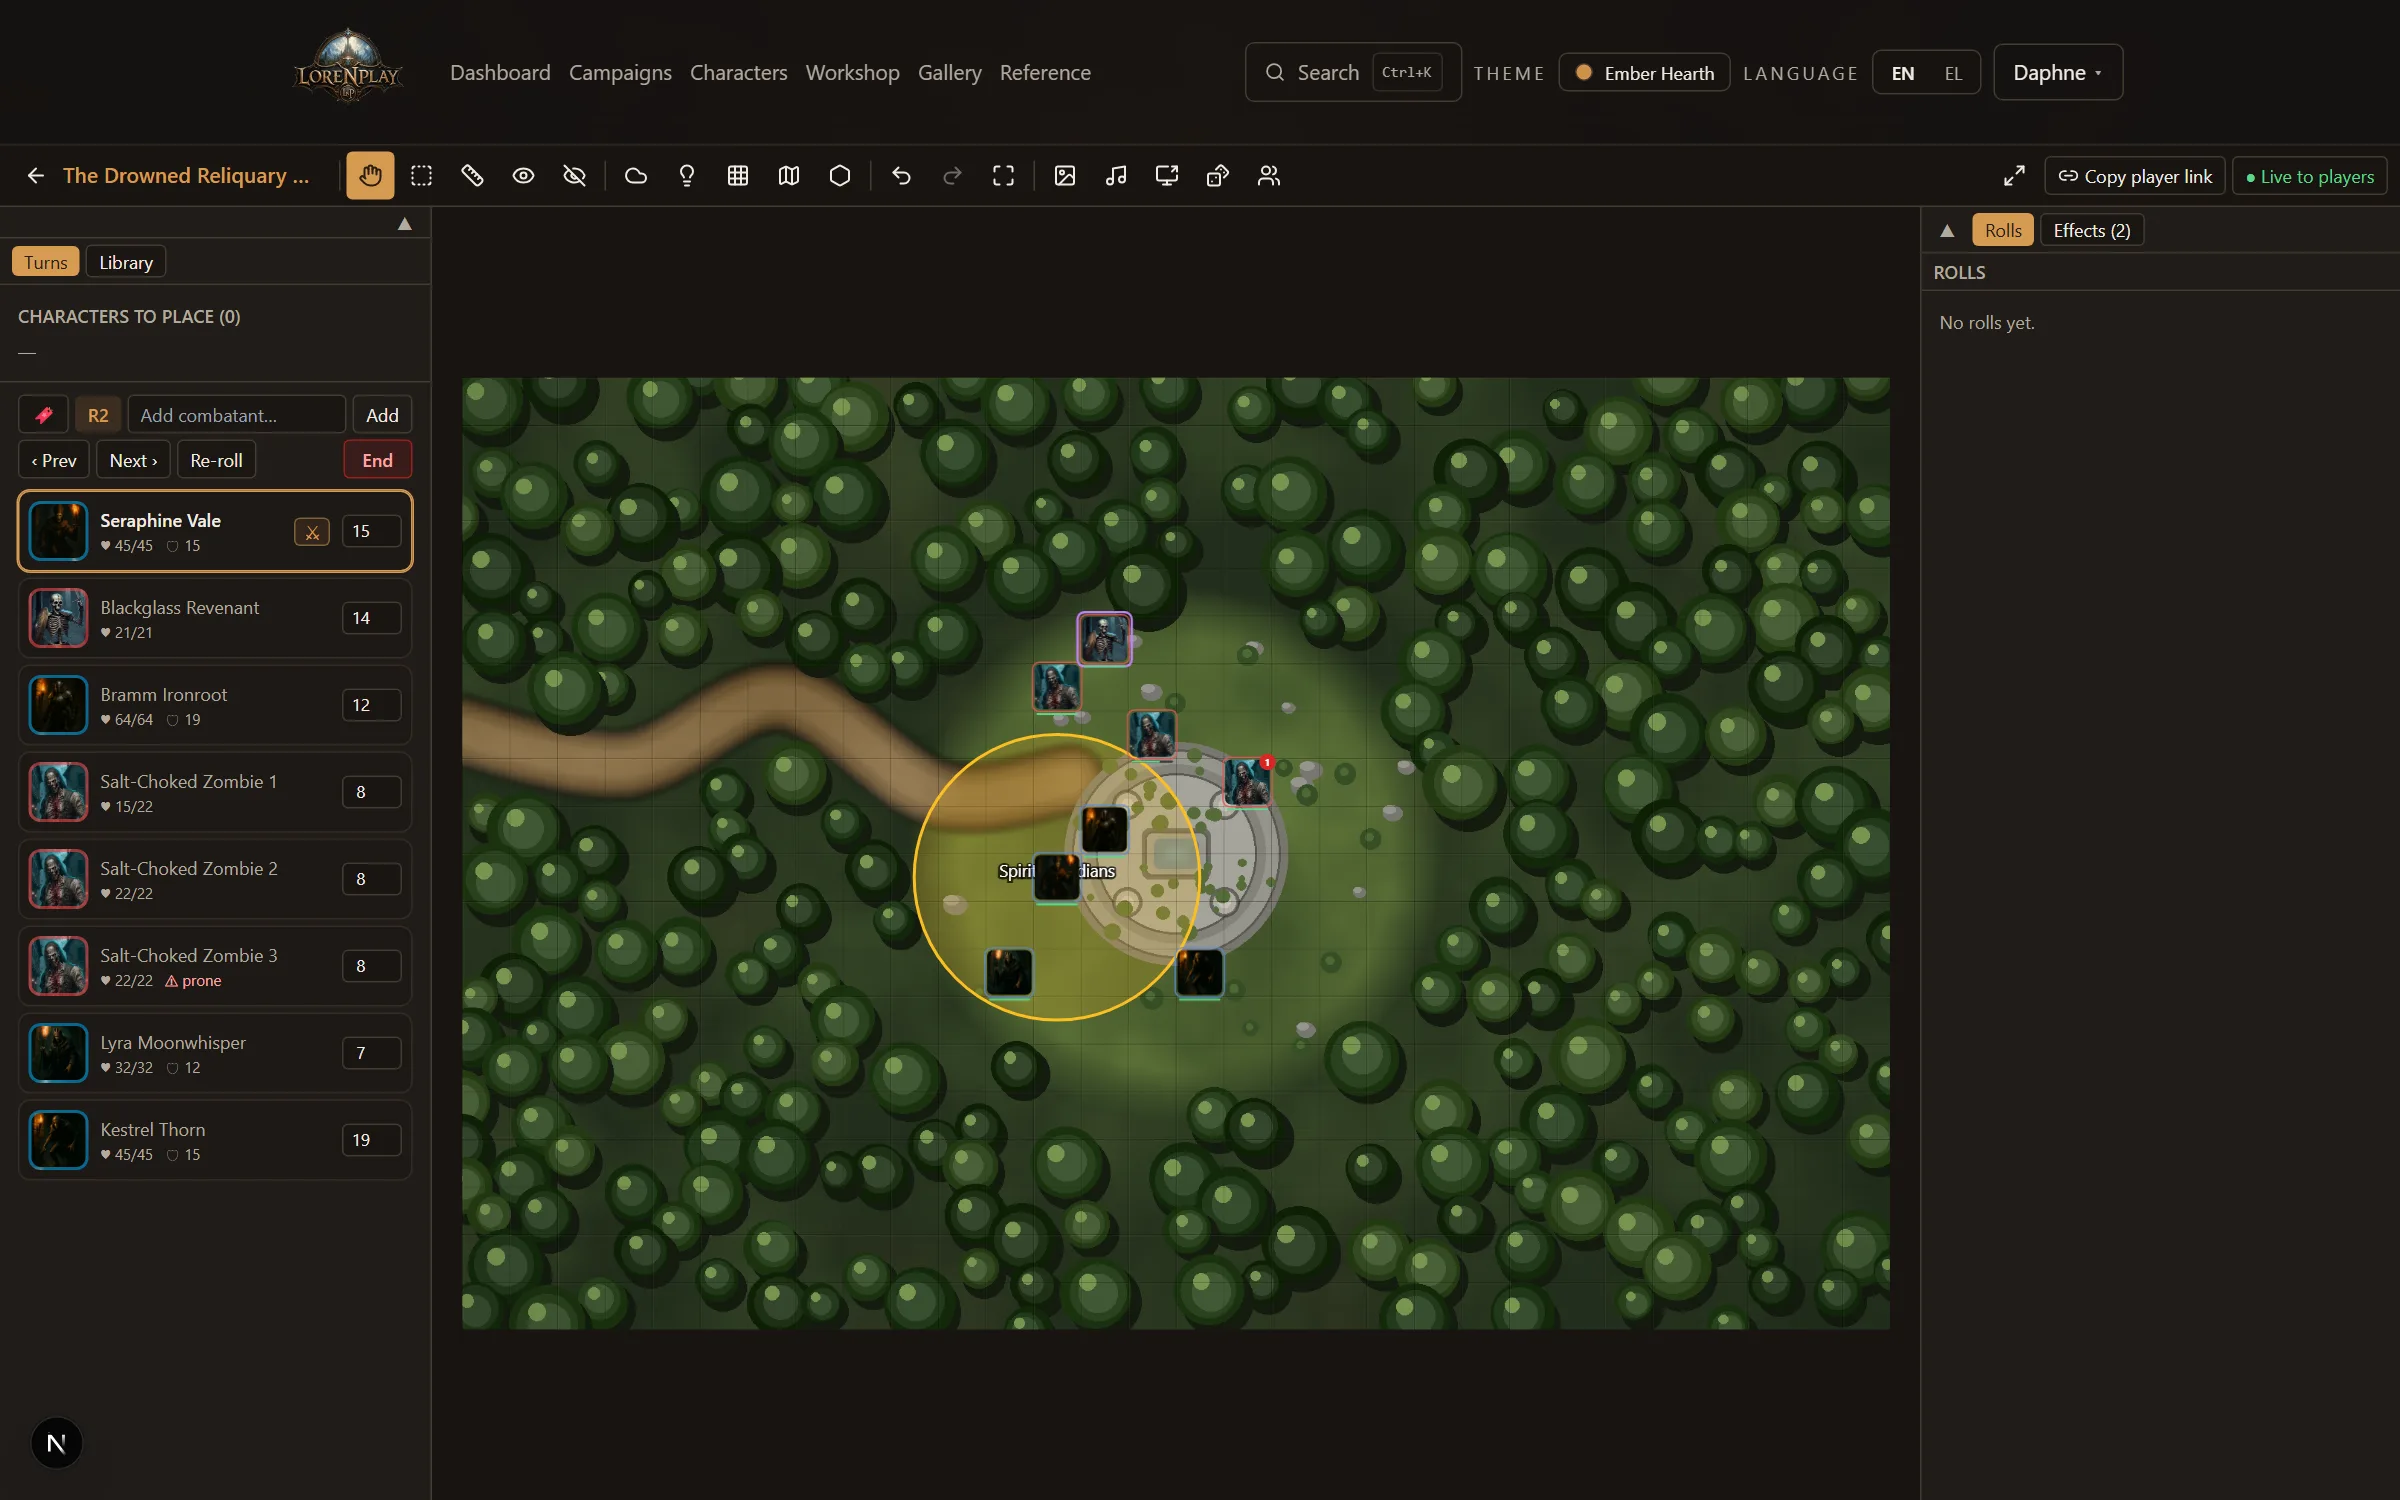
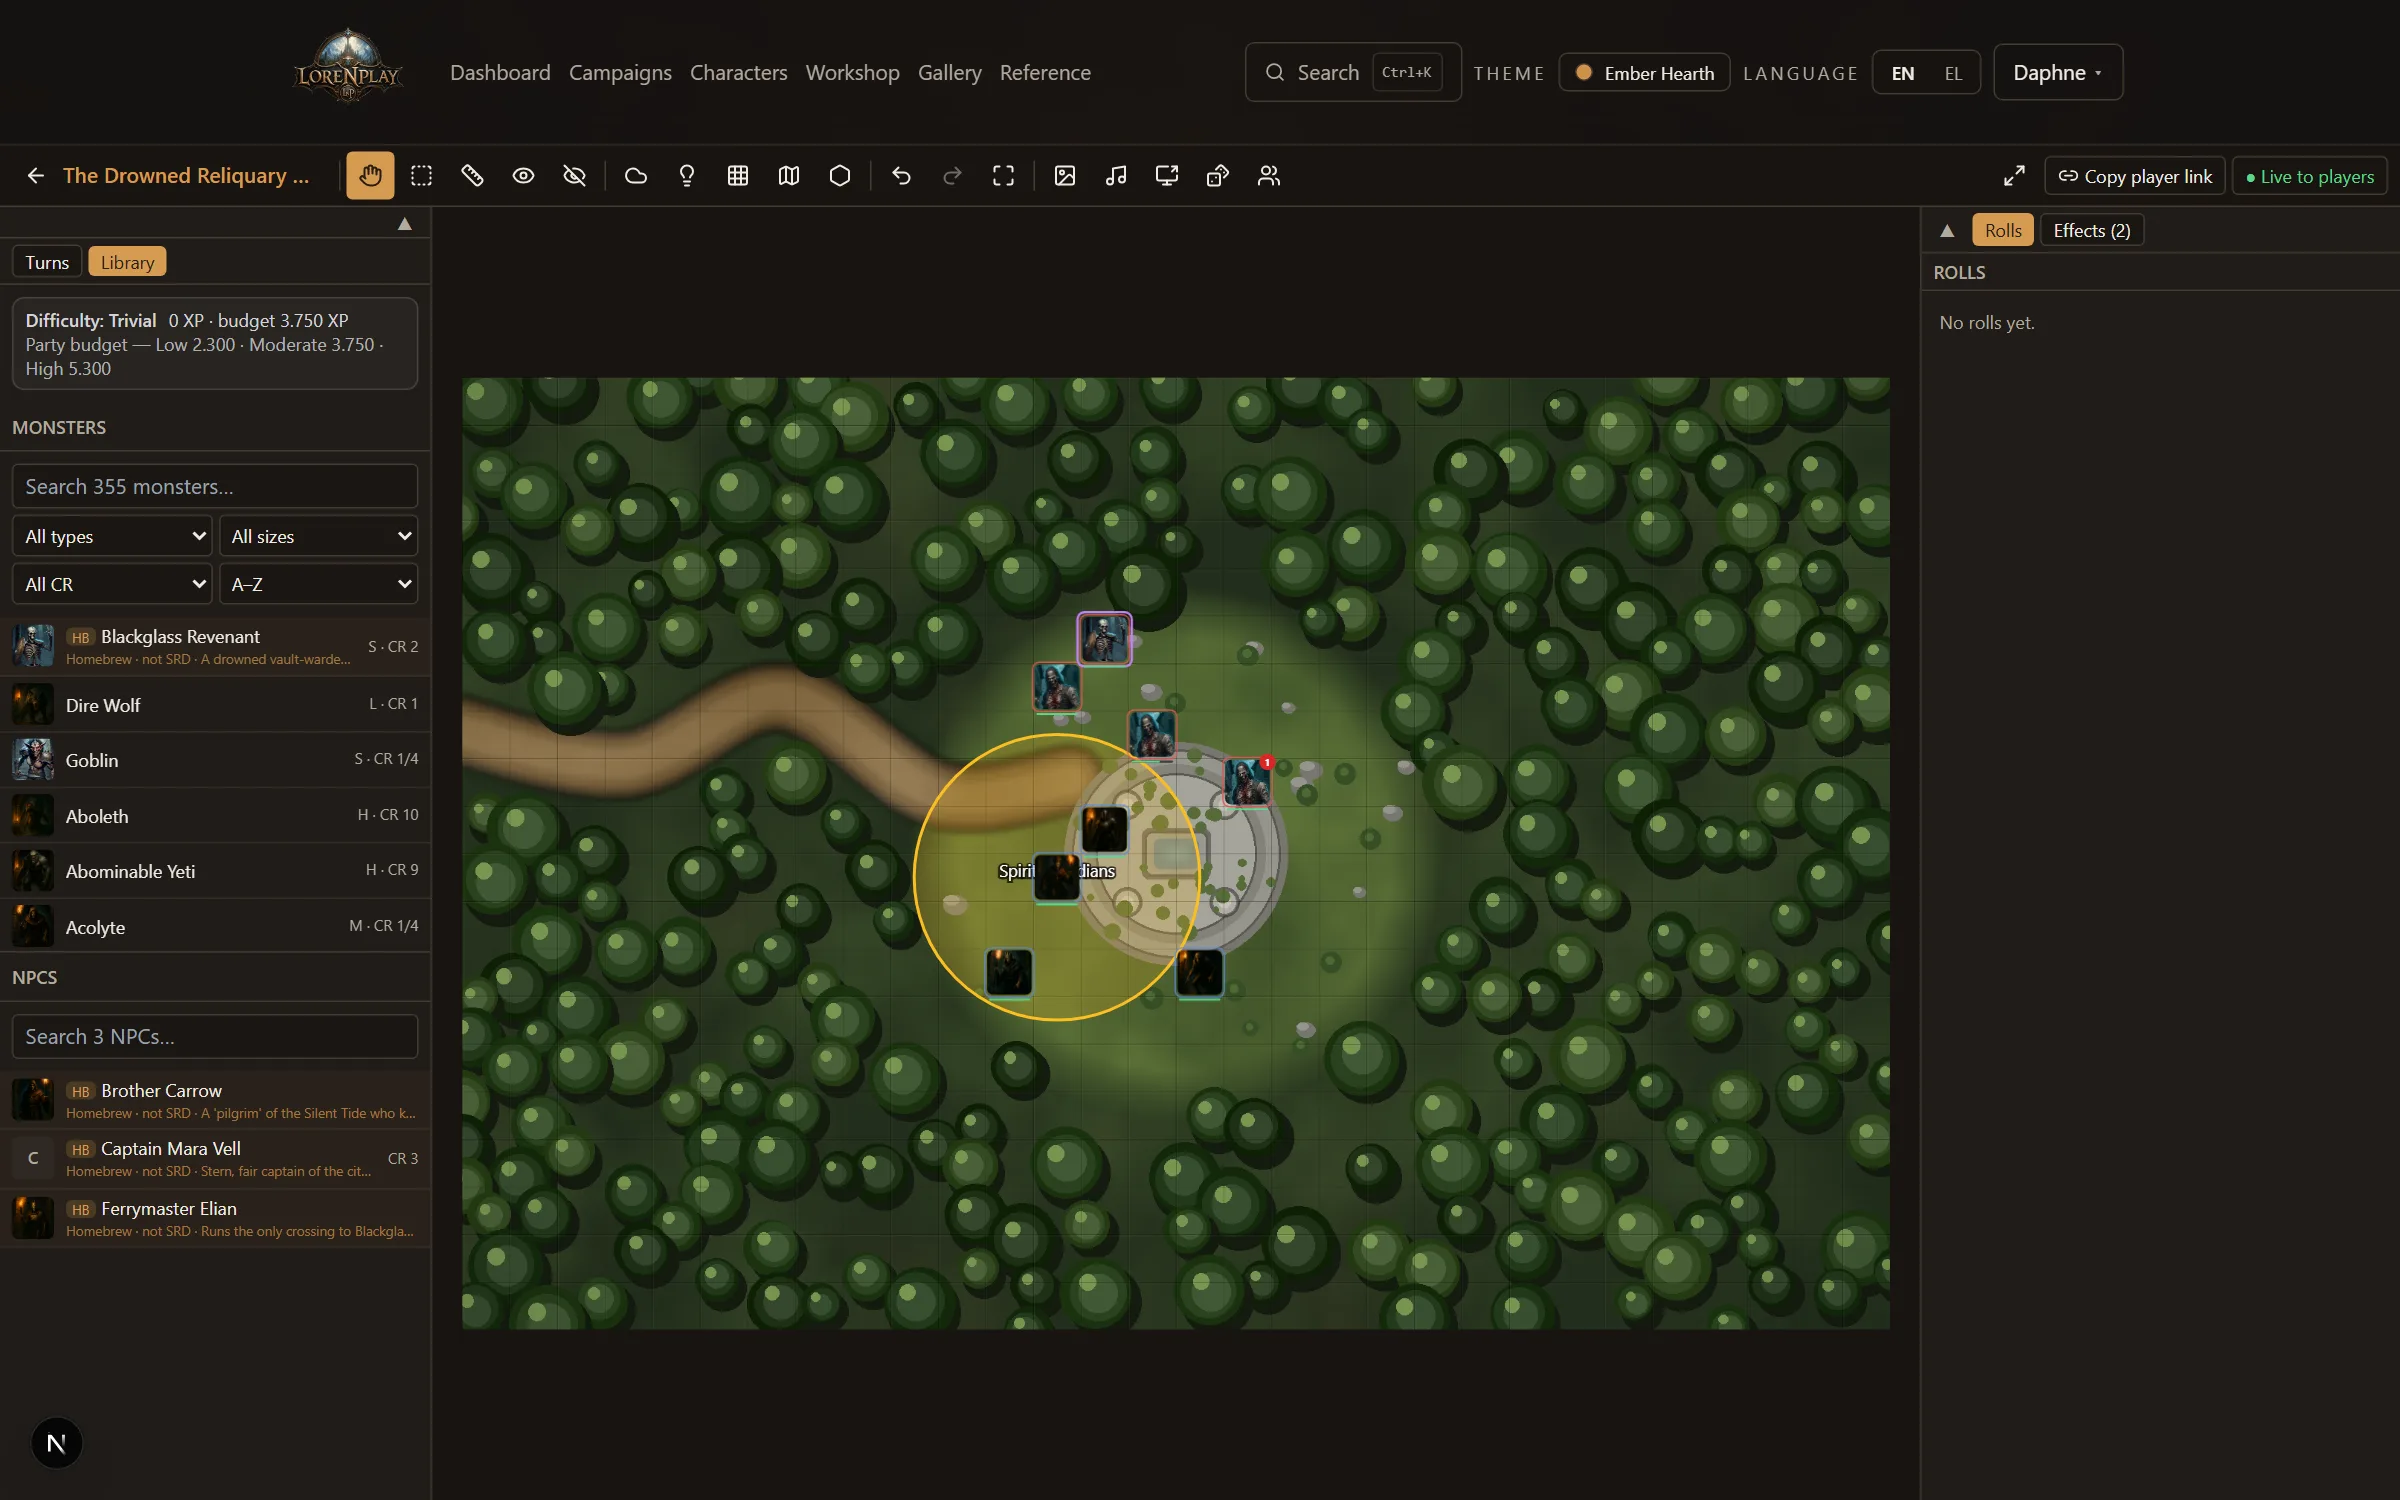
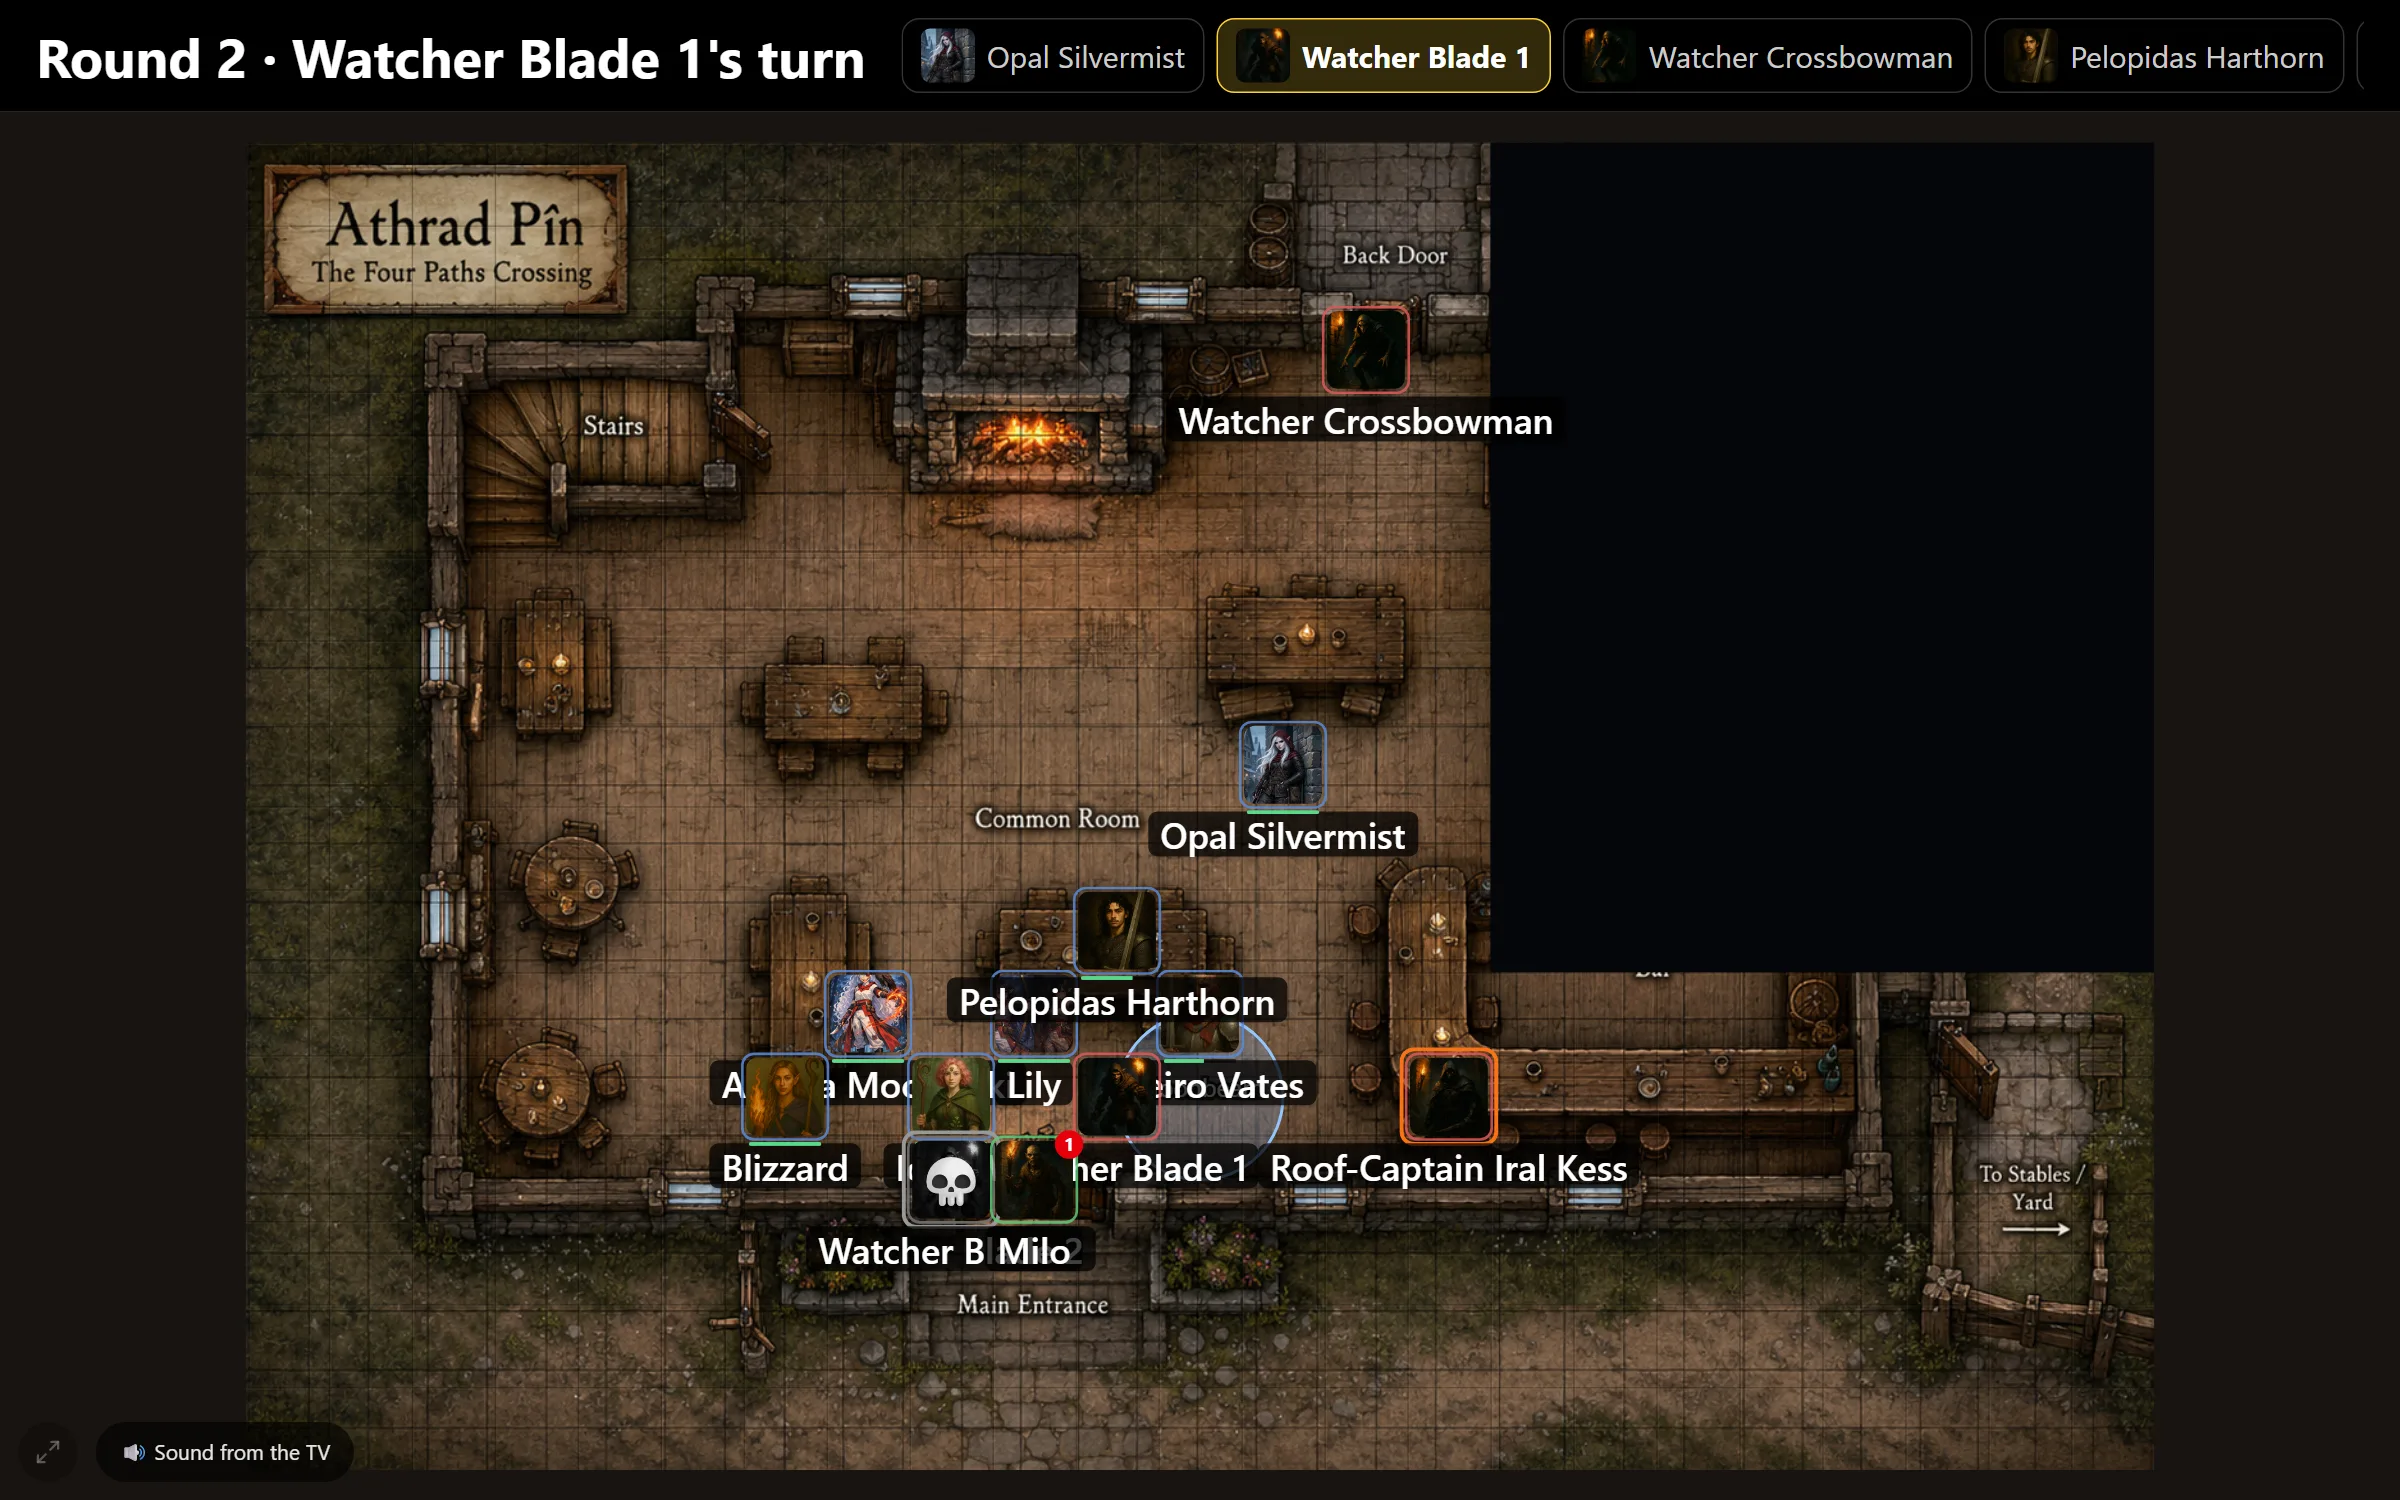
Table screen (TV) opens the screen for the room's TV in a new tab: the map the players see with every name in big type, whose turn it is along the top, and each roll large for five seconds. It shows nothing of yours — no menus, no notes, no hidden tokens — even in your own browser, and when nothing is revealed it shows the campaign and the story so far. Bottom-left: full screen, and 🔊 Sound from the TV to play the map's music through the TV. To invite a spectator, use Copy battle-map link in the map list.
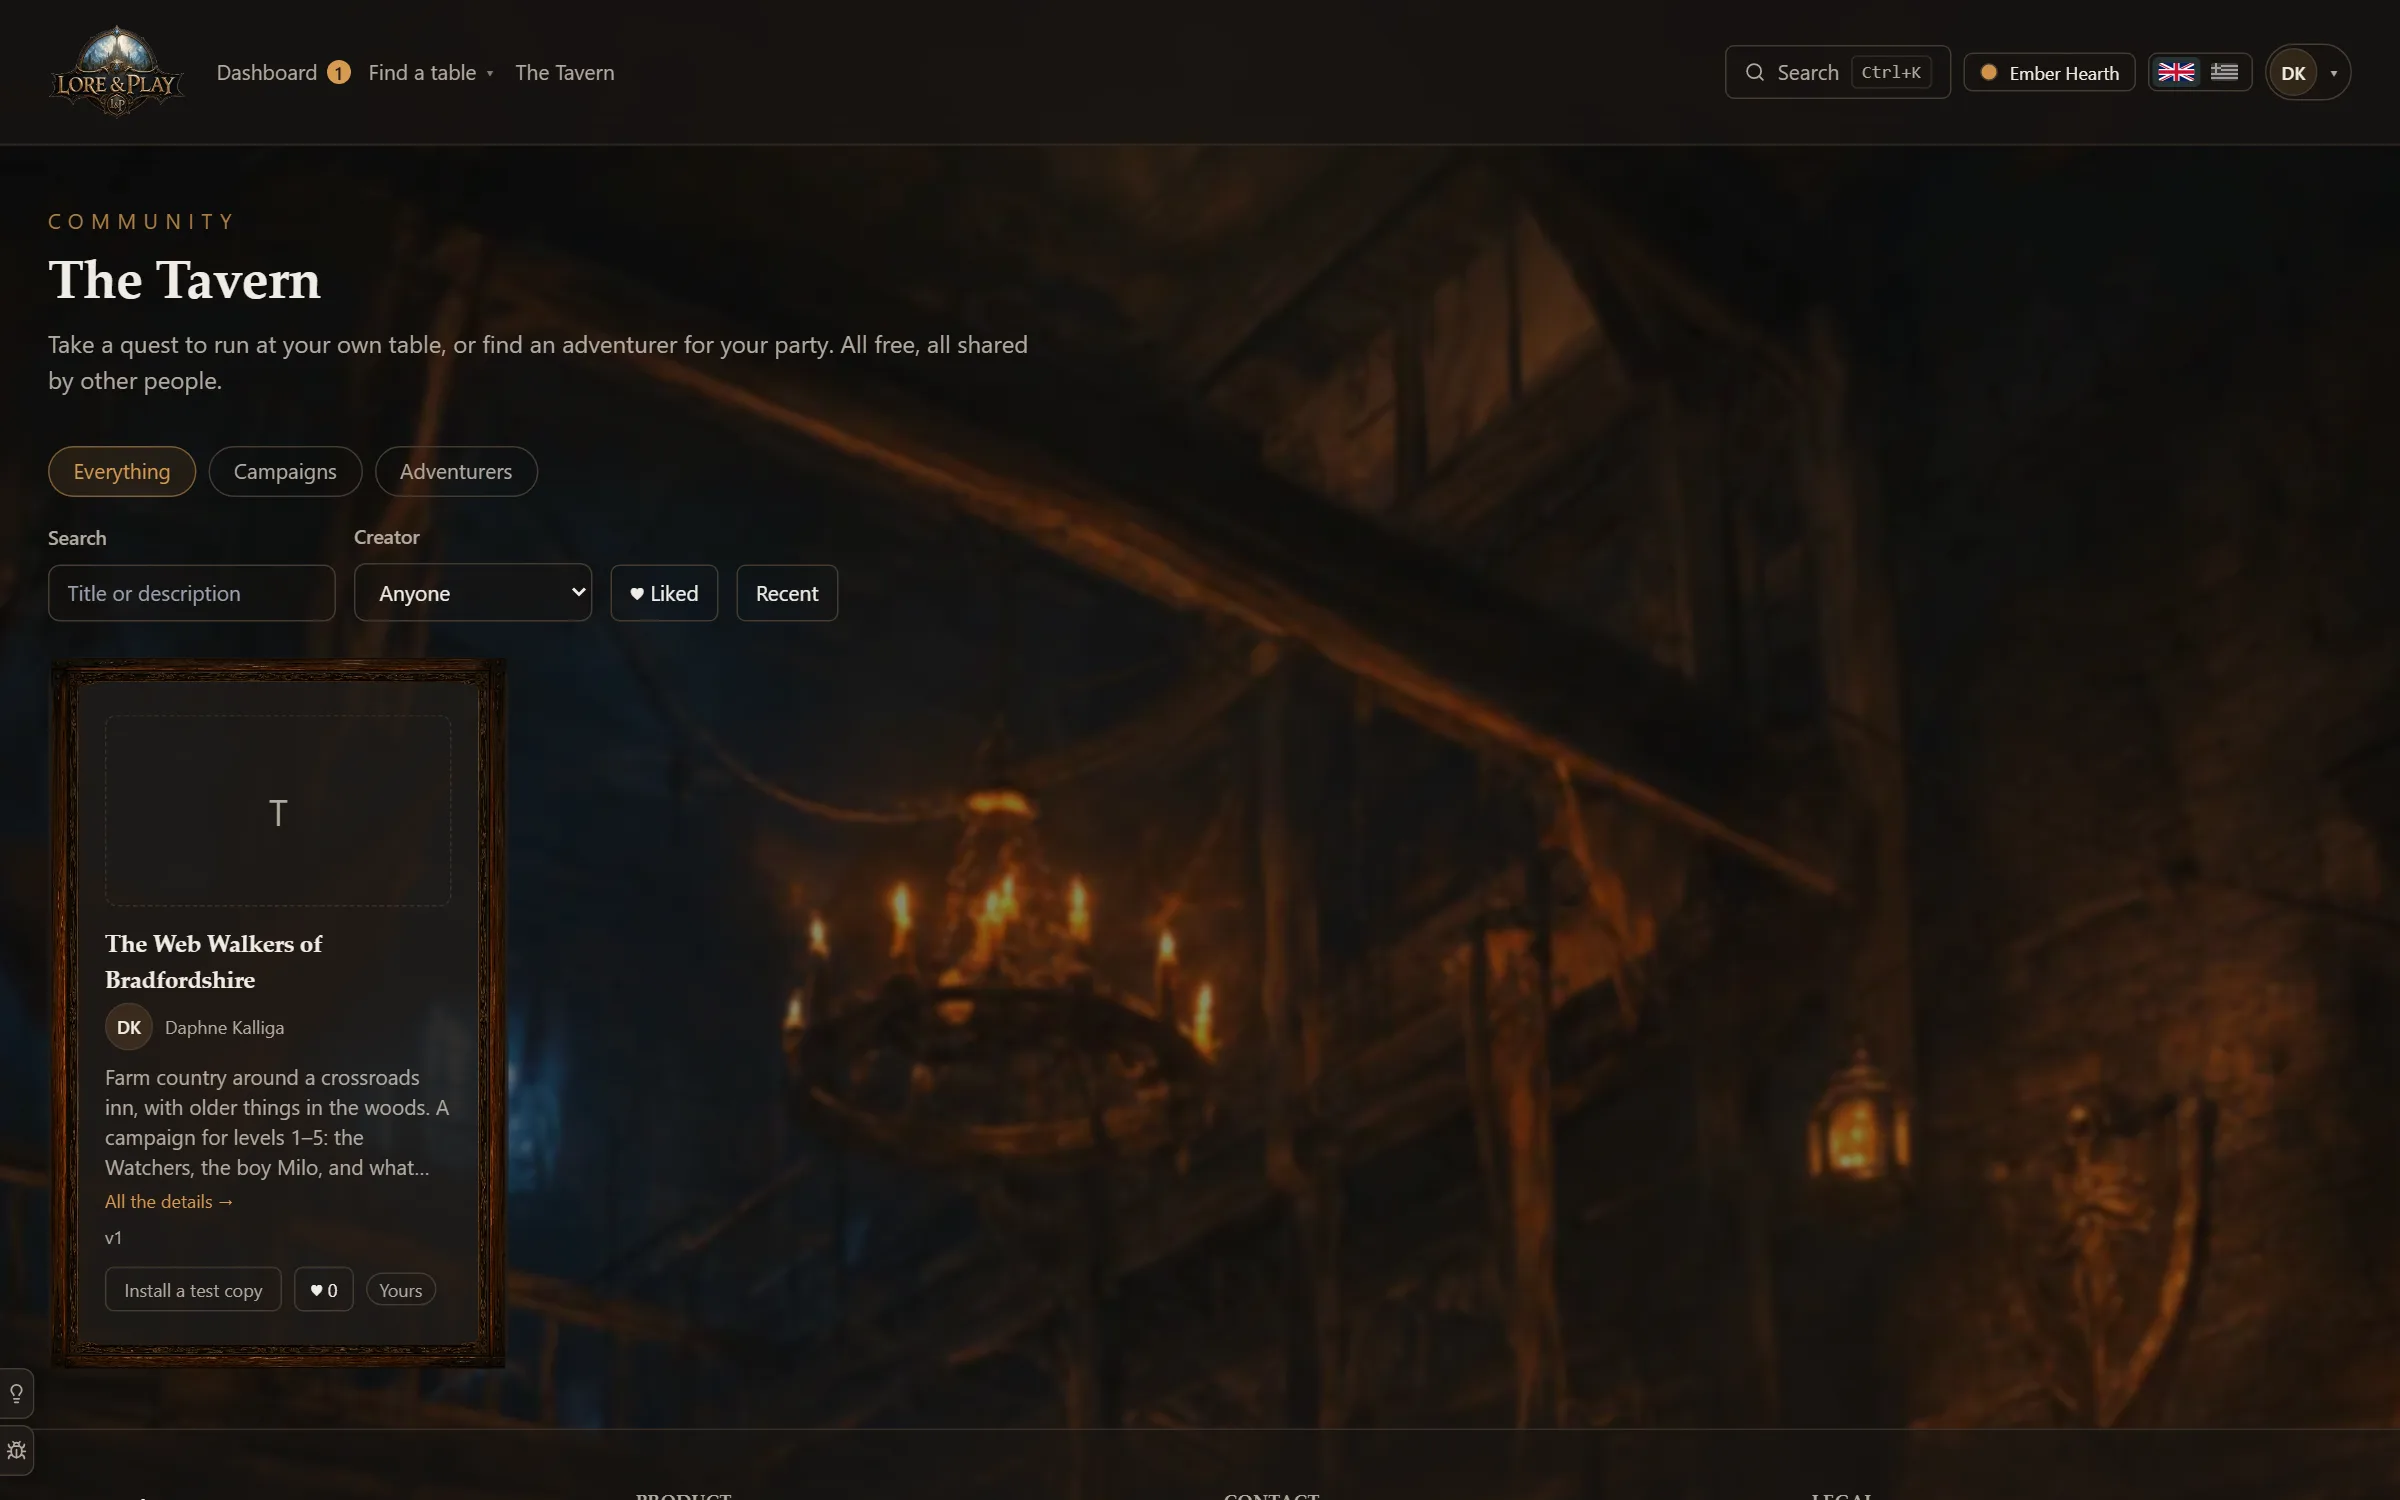
The Tavern (in the header) is where DMs share campaigns and characters. Take a campaign to run it at your own table, or an adventurer for your party — free, and yours to change once you have it.
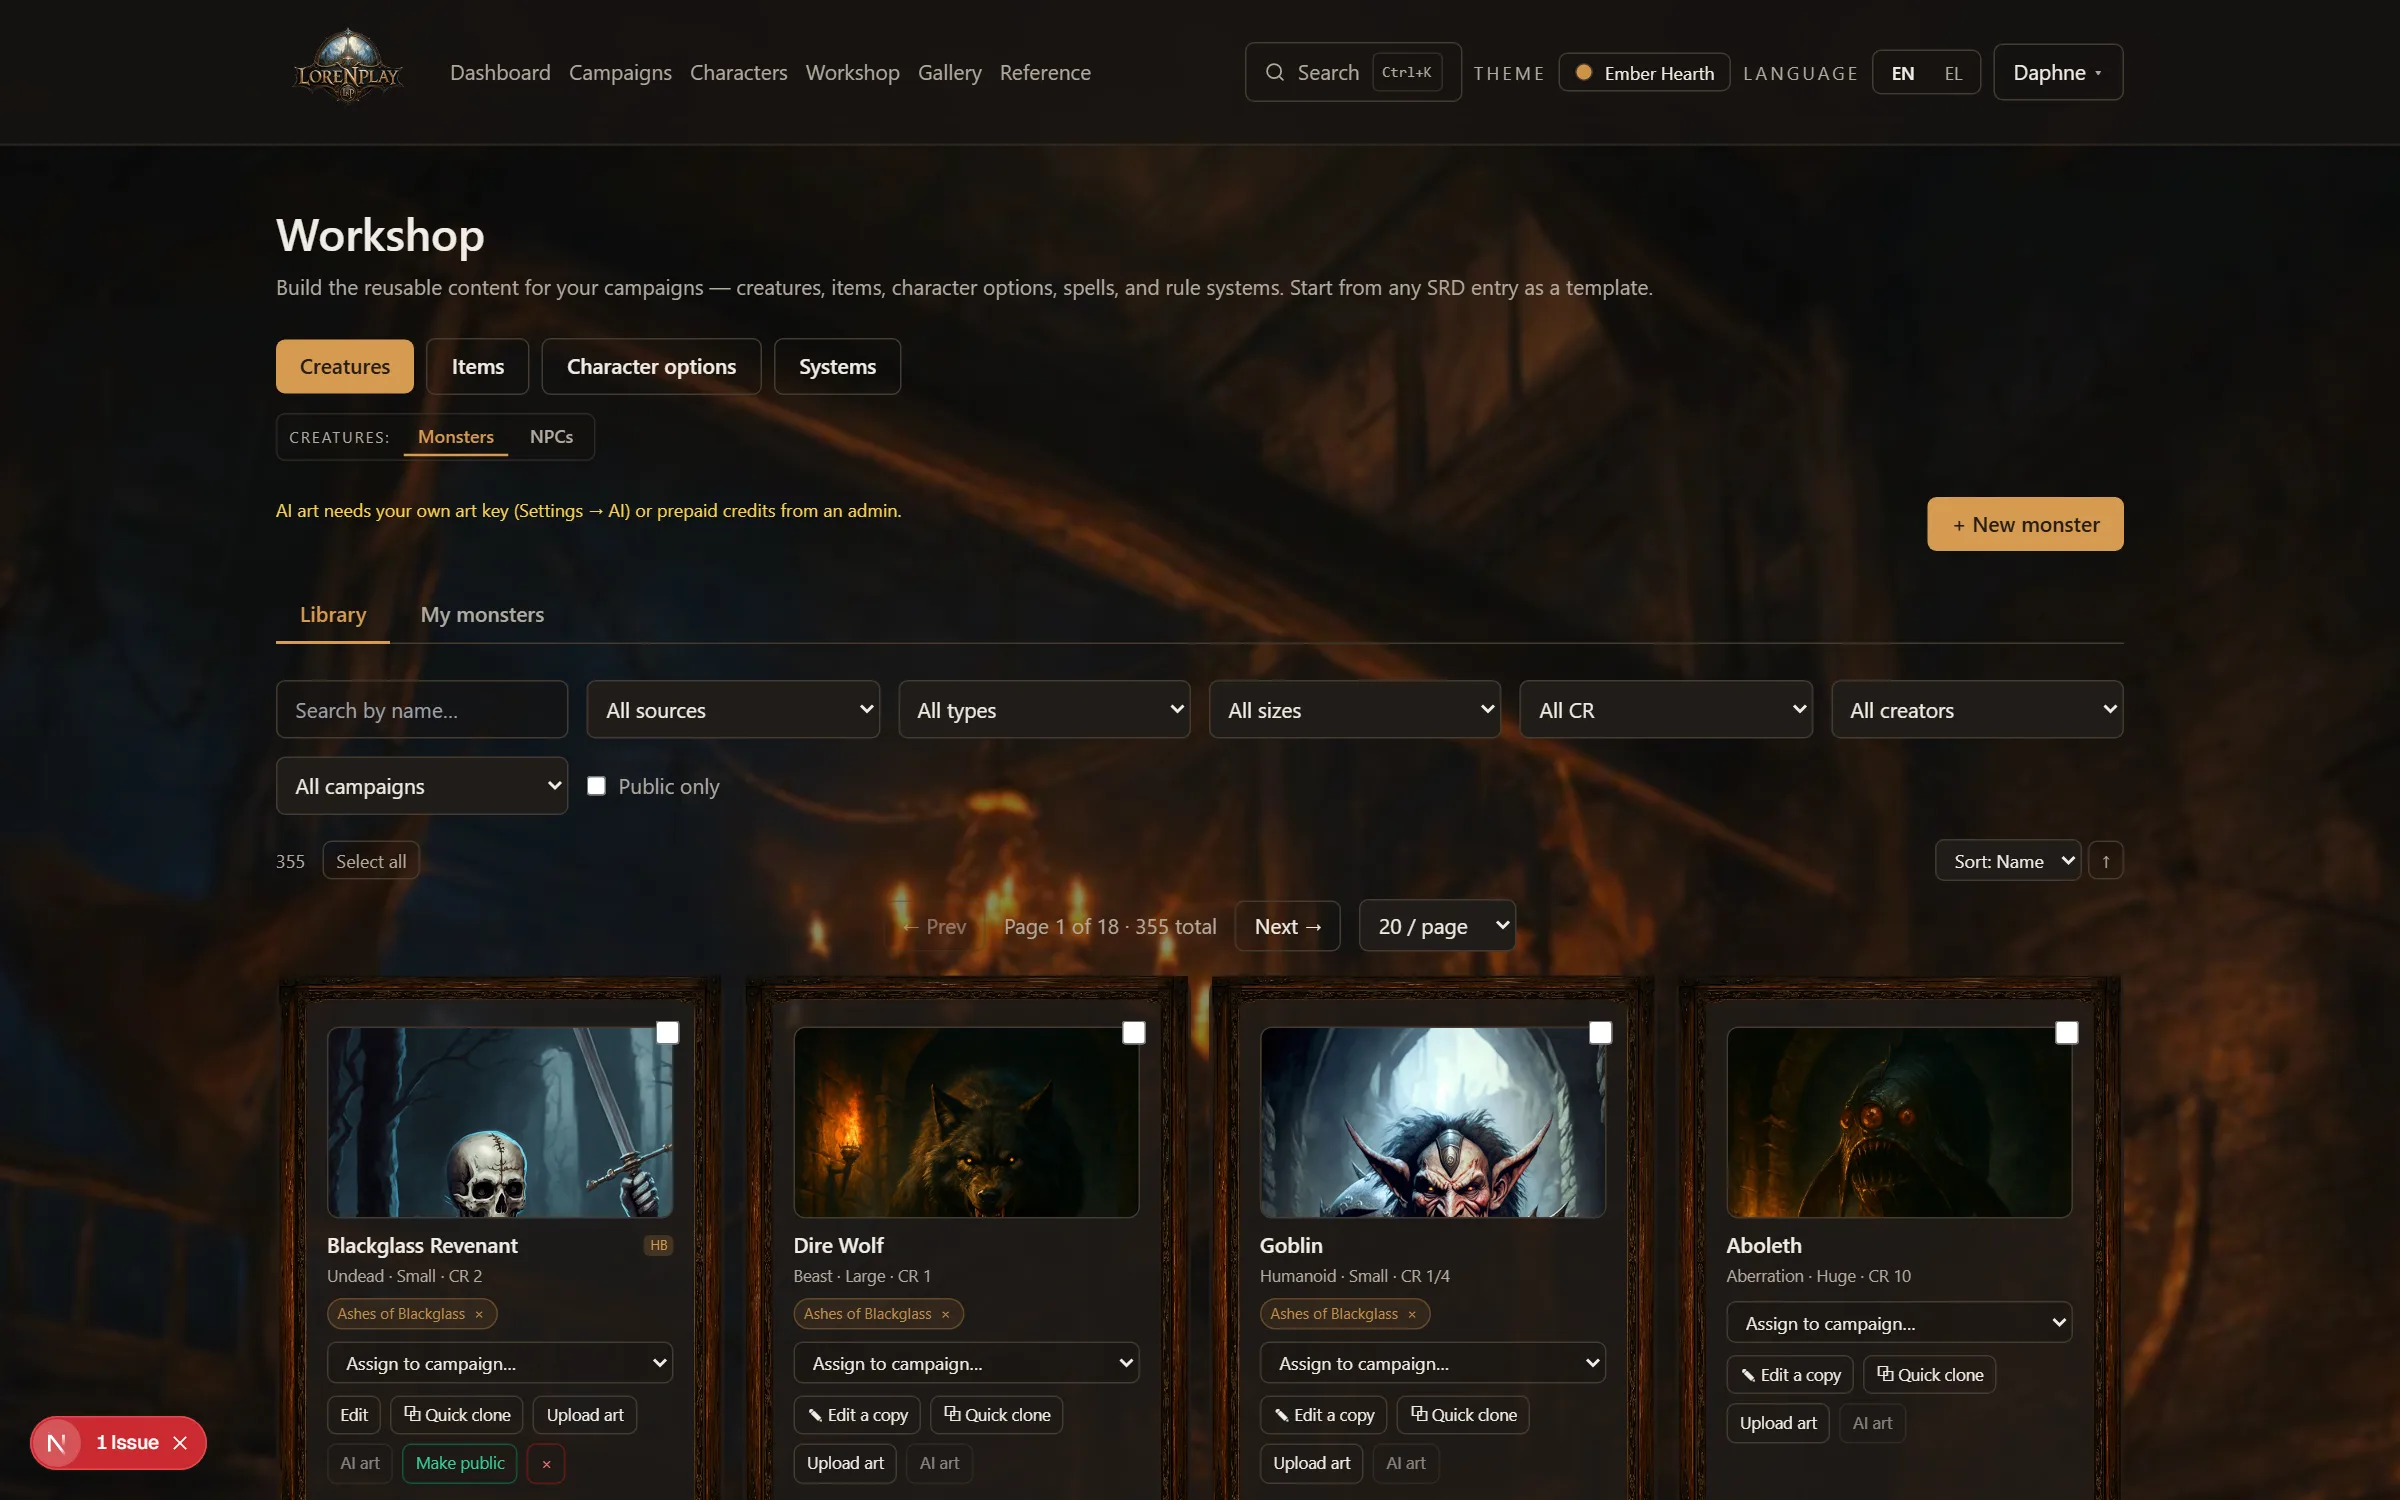
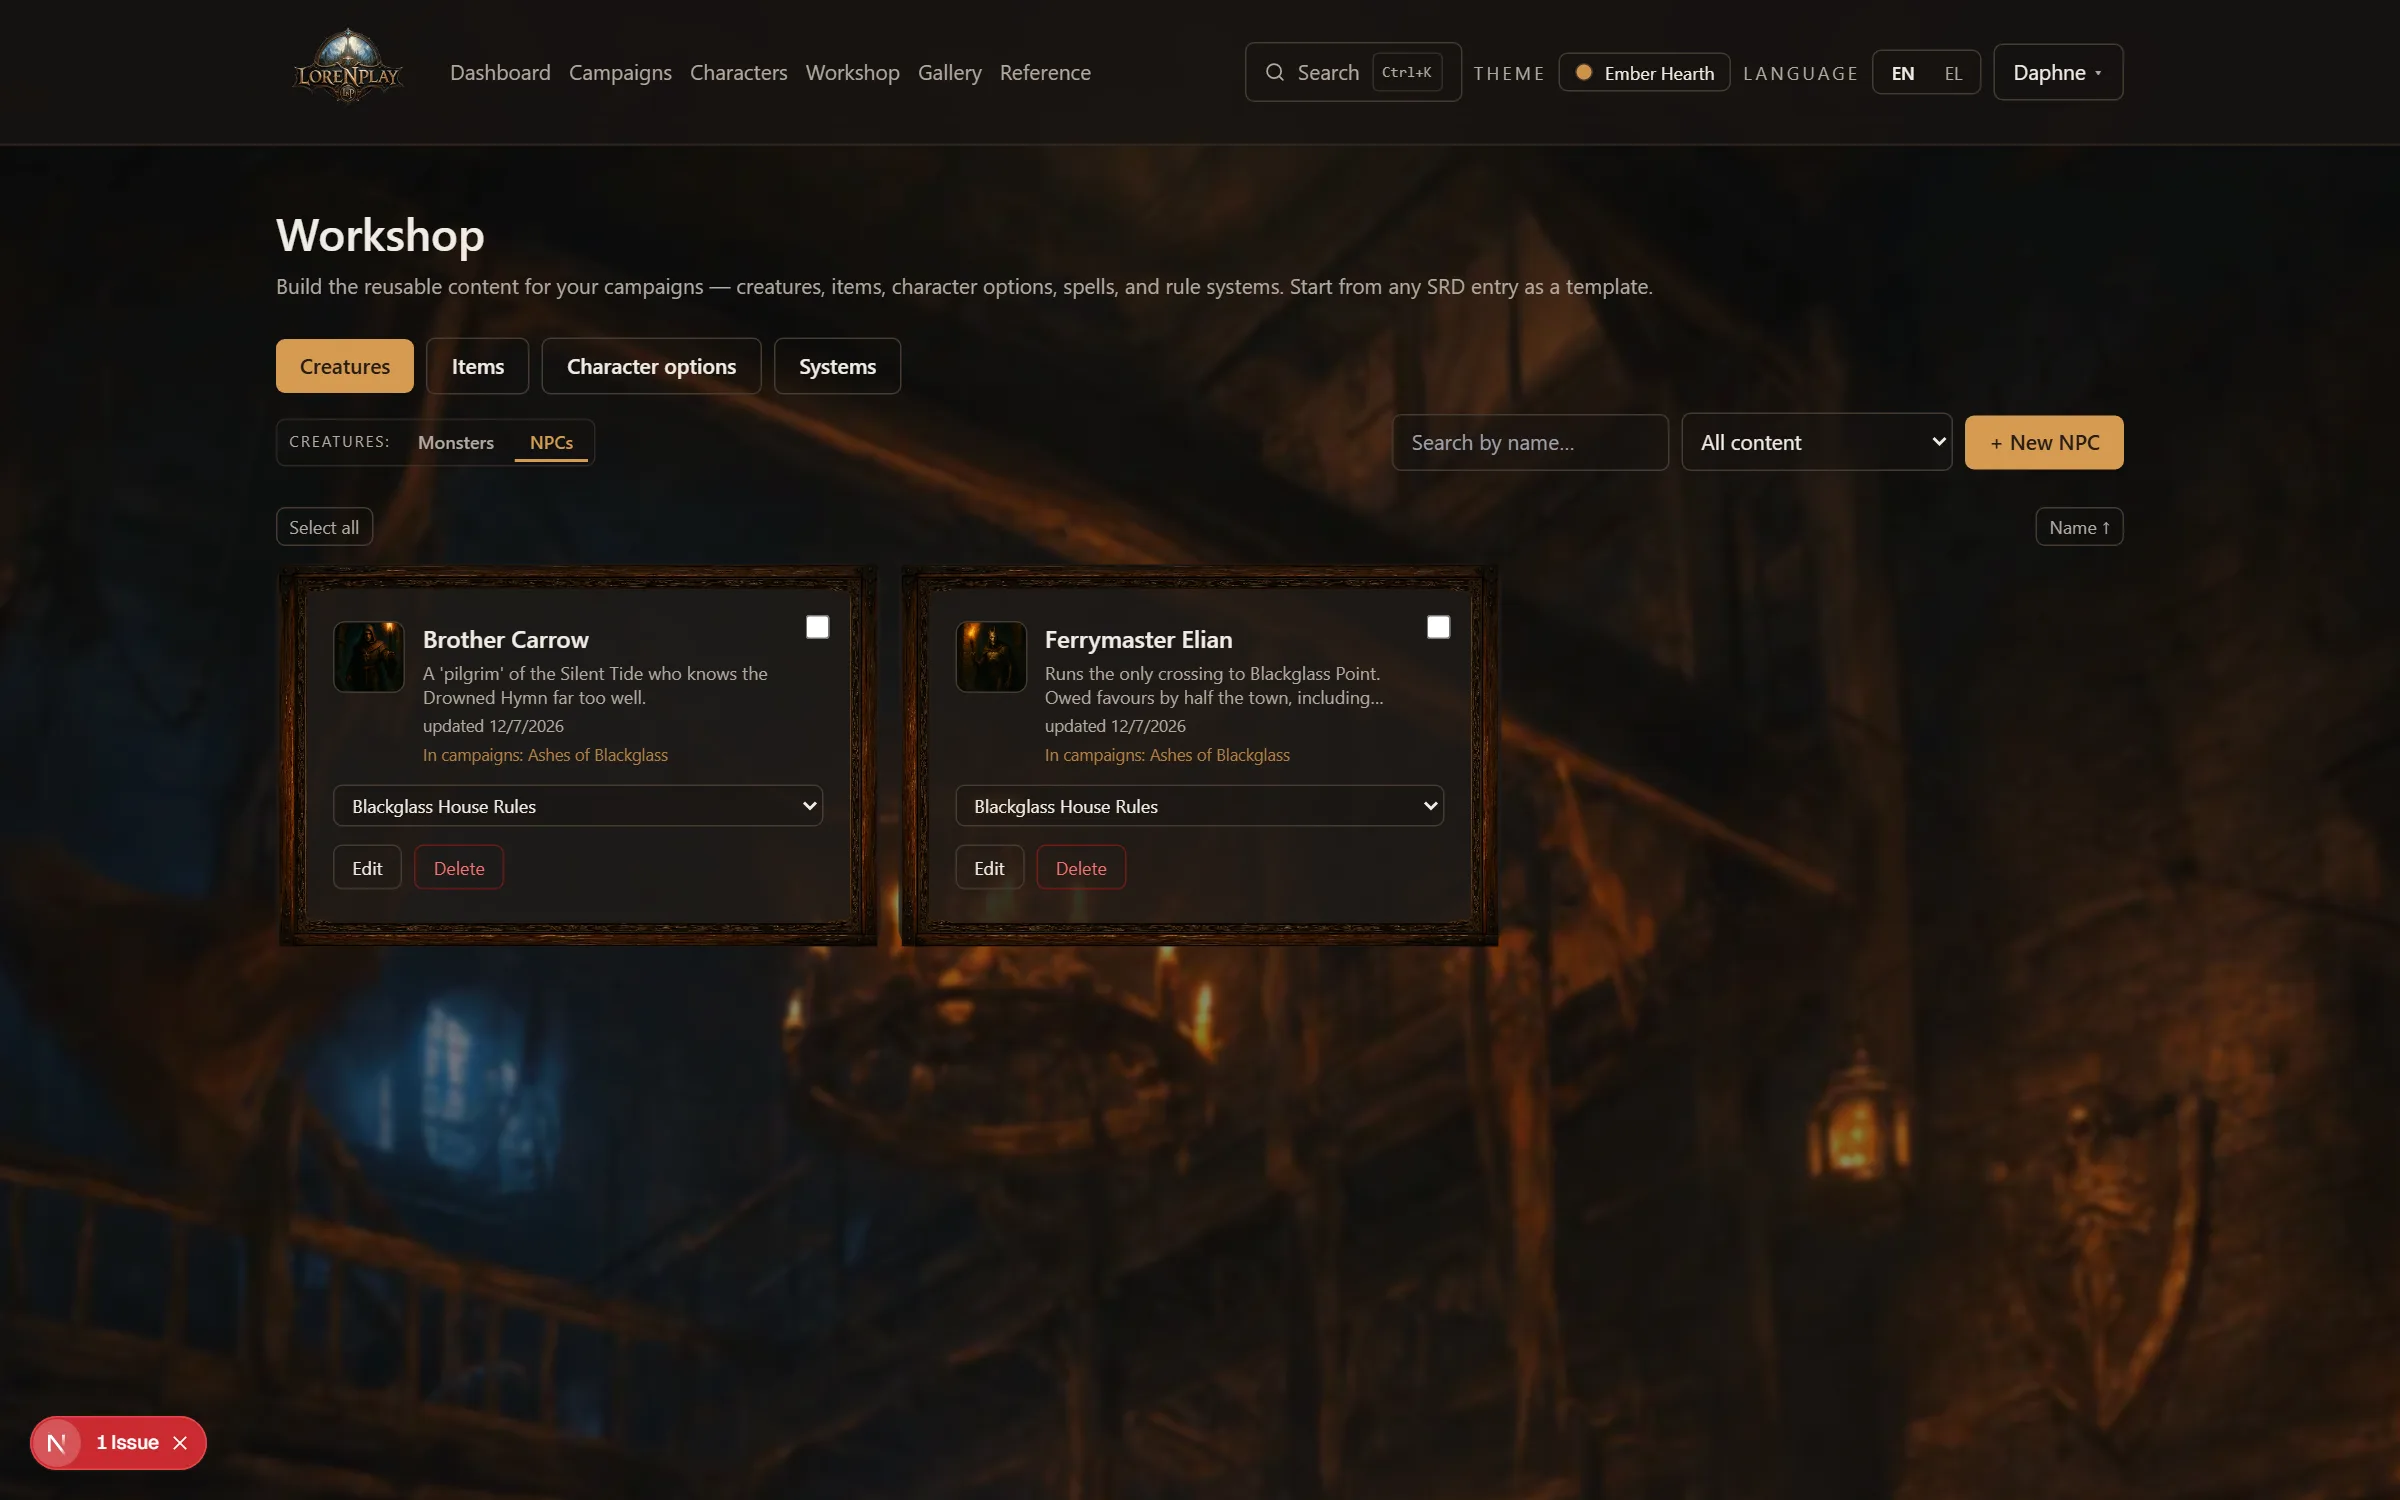
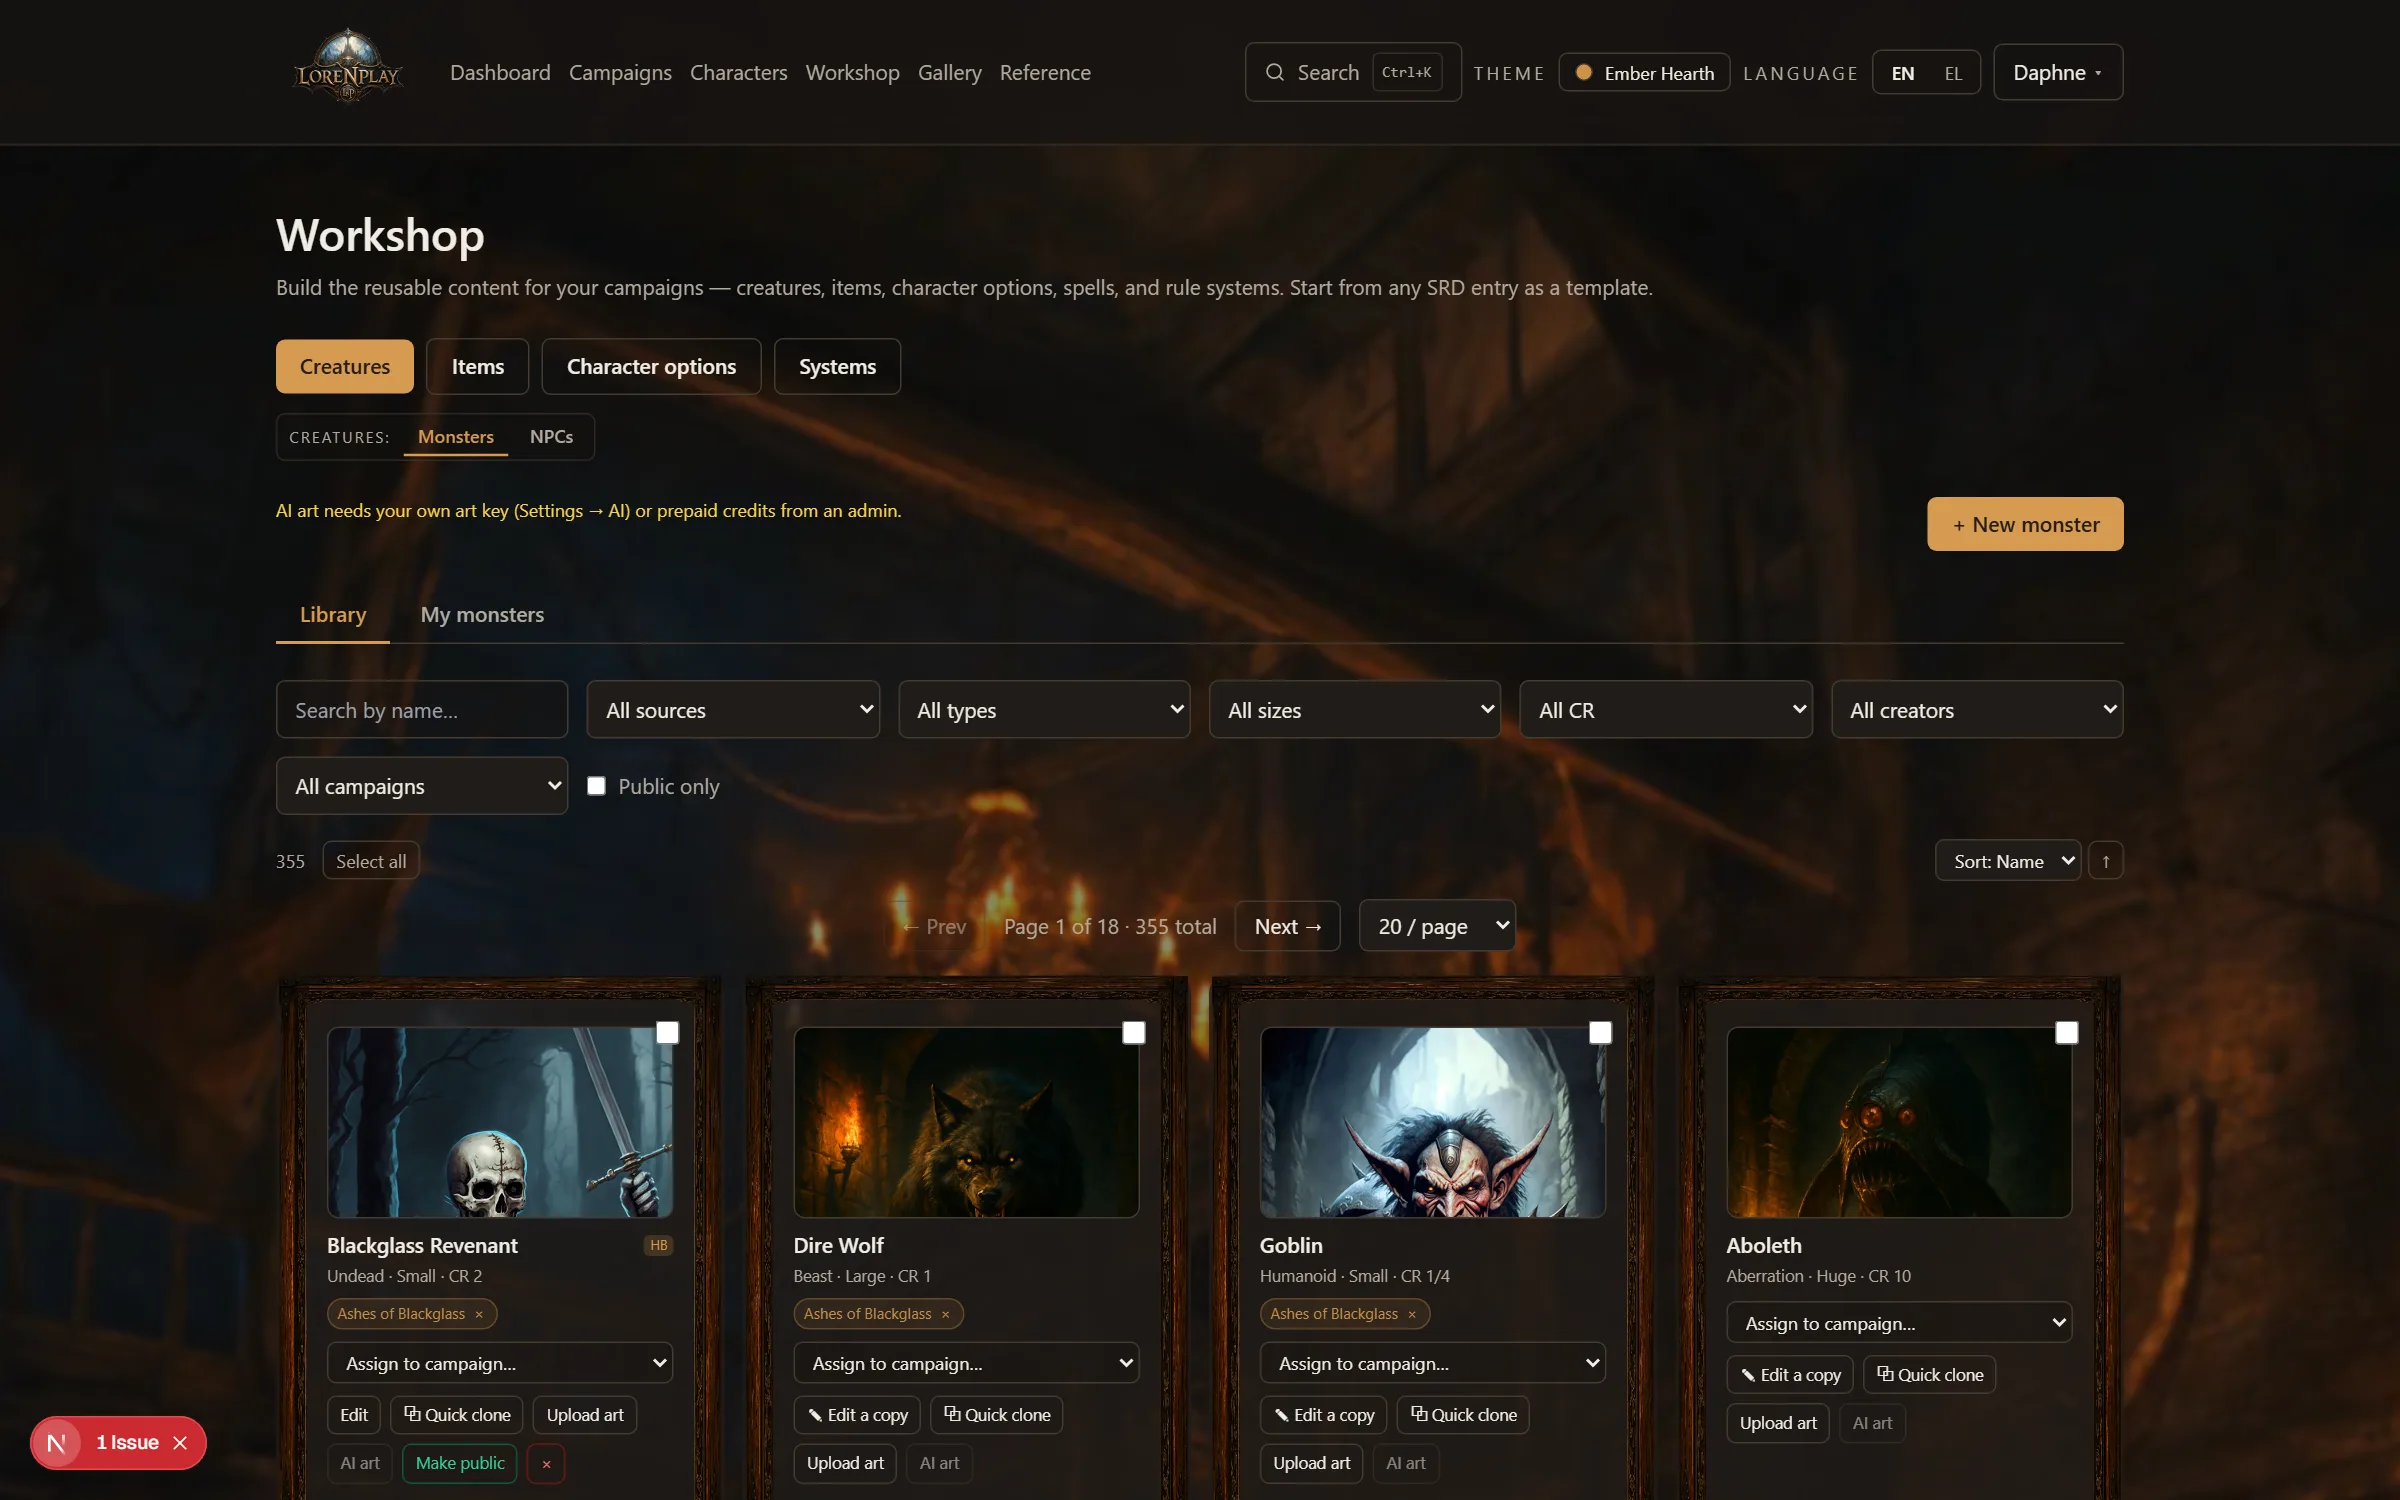
The Workshop is where reusable content lives: monsters, NPCs, items, character options, and whole rule systems. Everything you make here can be attached to campaigns and dropped onto battle maps.
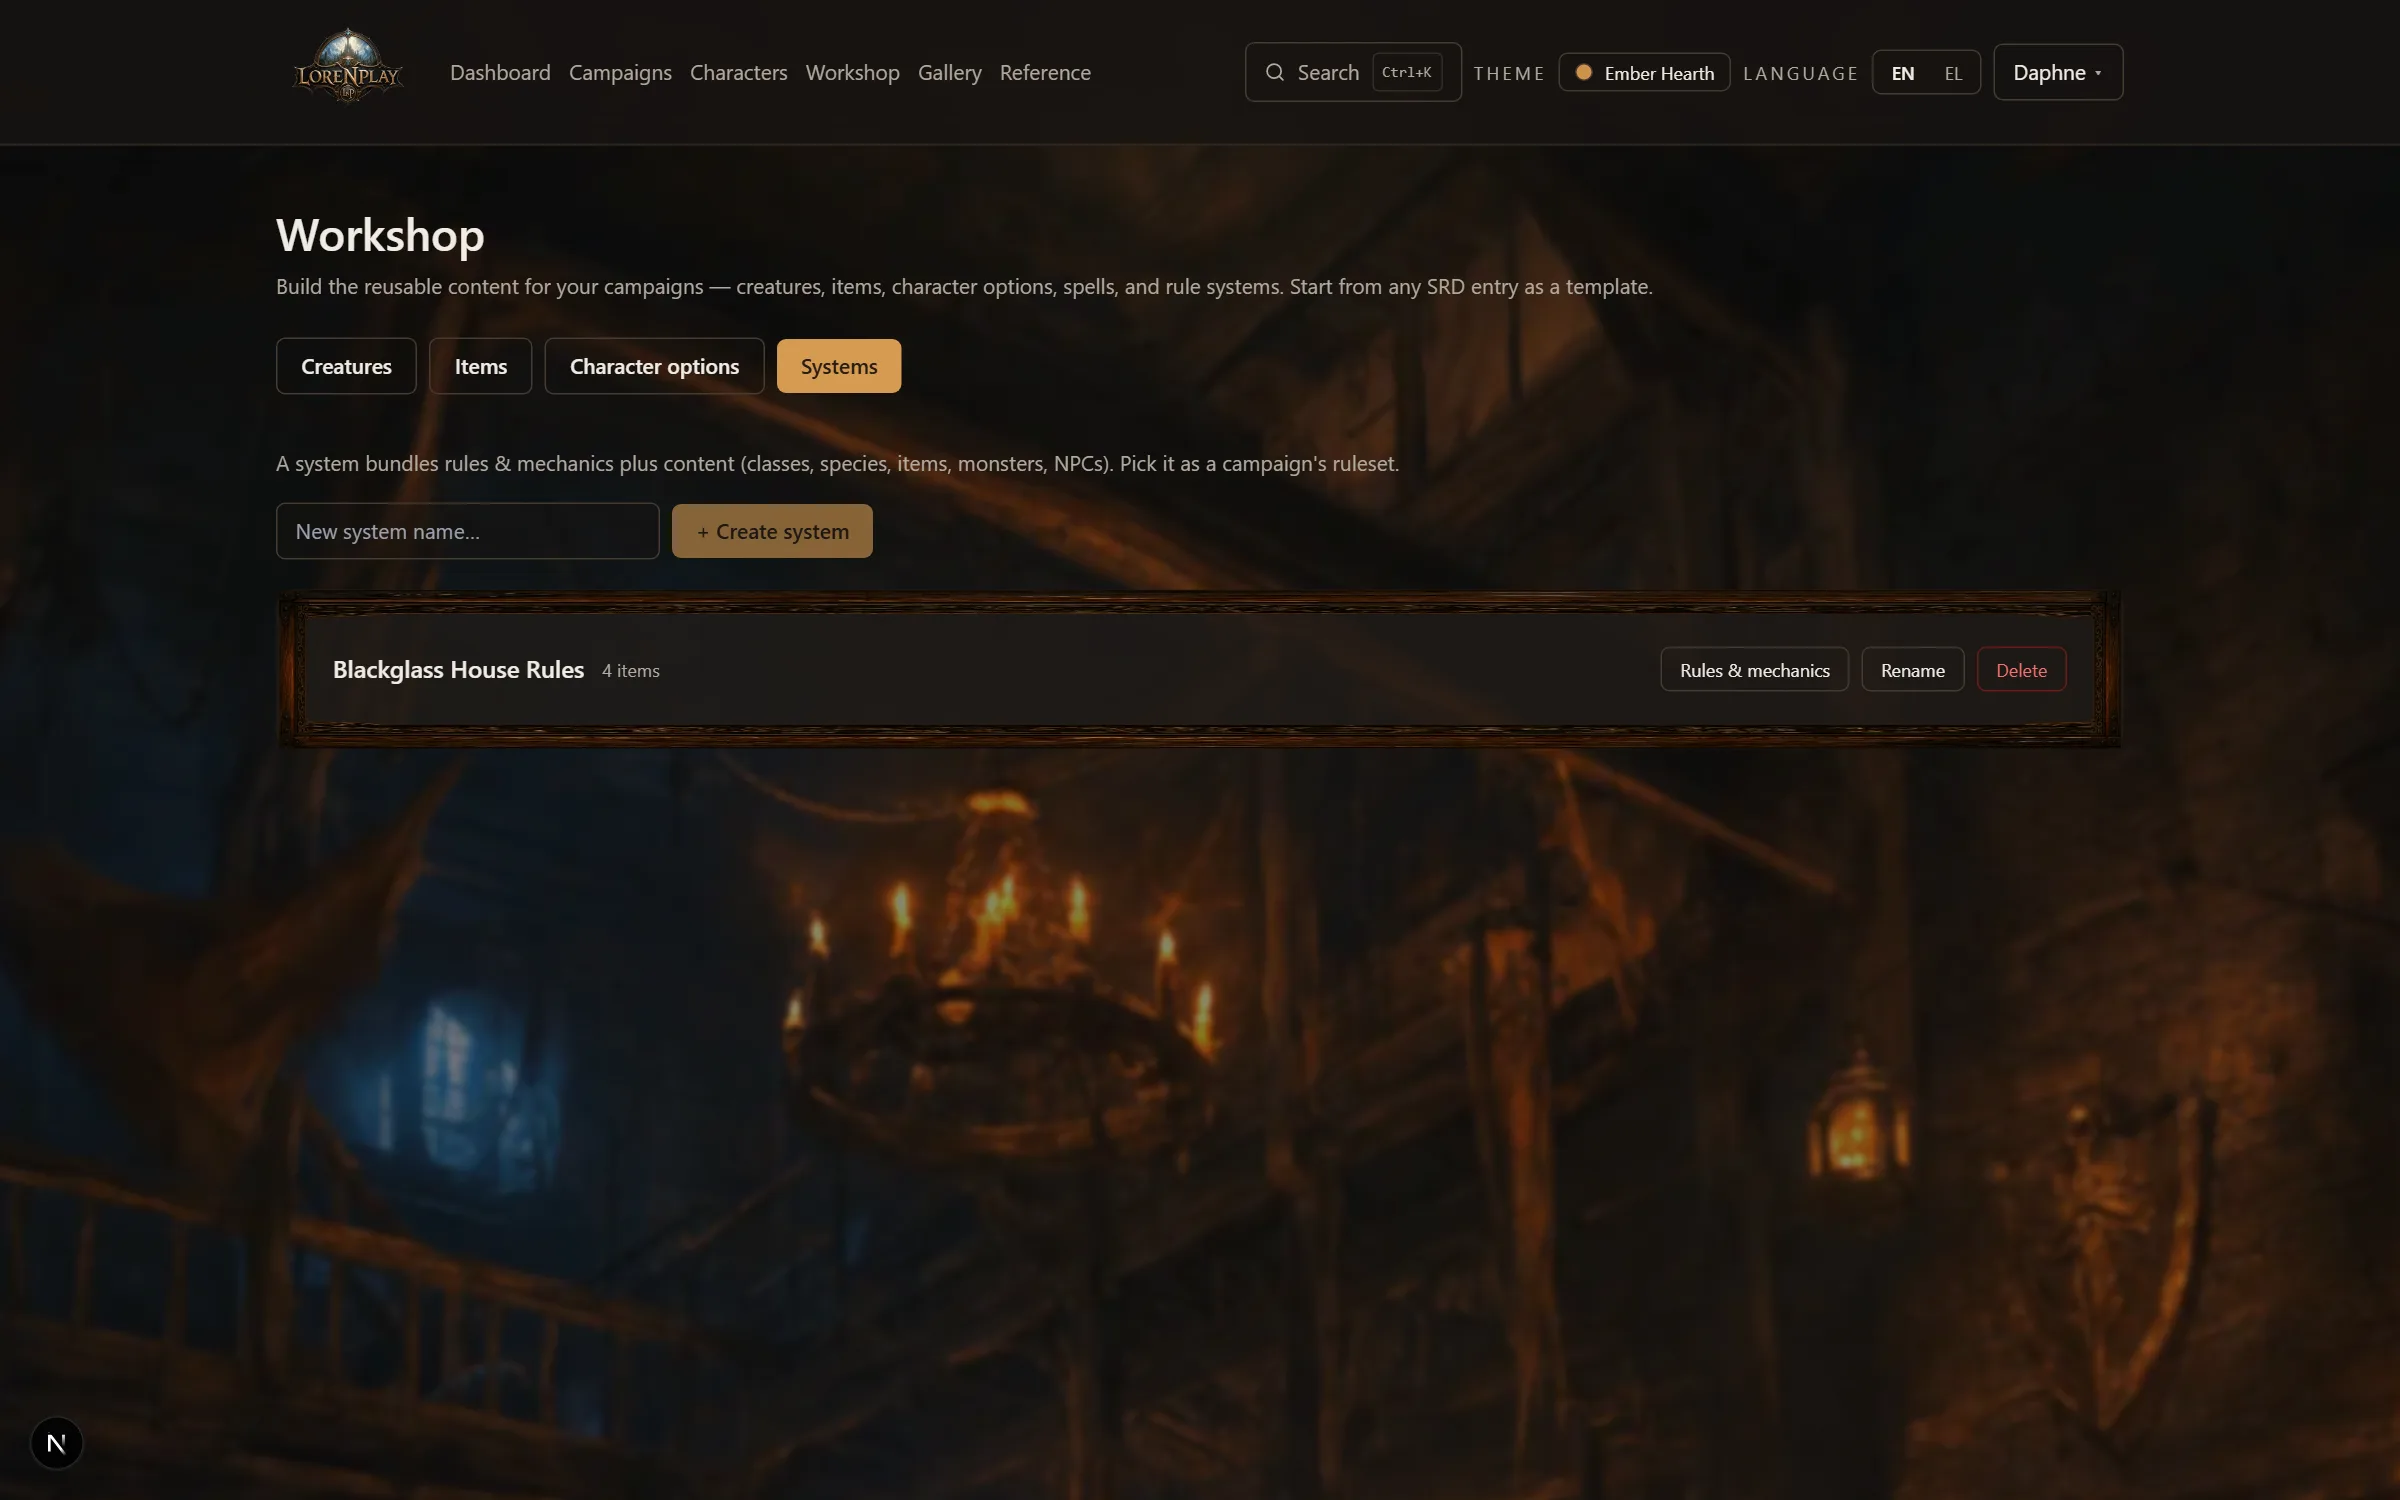
A system is a named bundle: house-rule toggles and custom mechanics plus the monsters/NPCs/items that belong to it. Set a campaign's ruleset to your system and every table you run gets the same rules. Rulings (Campaign Hub → Rules & Rulings) are the lighter cousin: one-off table decisions written down so they stay consistent.
The codex is your campaign's memory: NPCs, locations, quests, factions, lore, and items, cross-linked so you can follow the thread from a quest to its giver to the faction behind them.
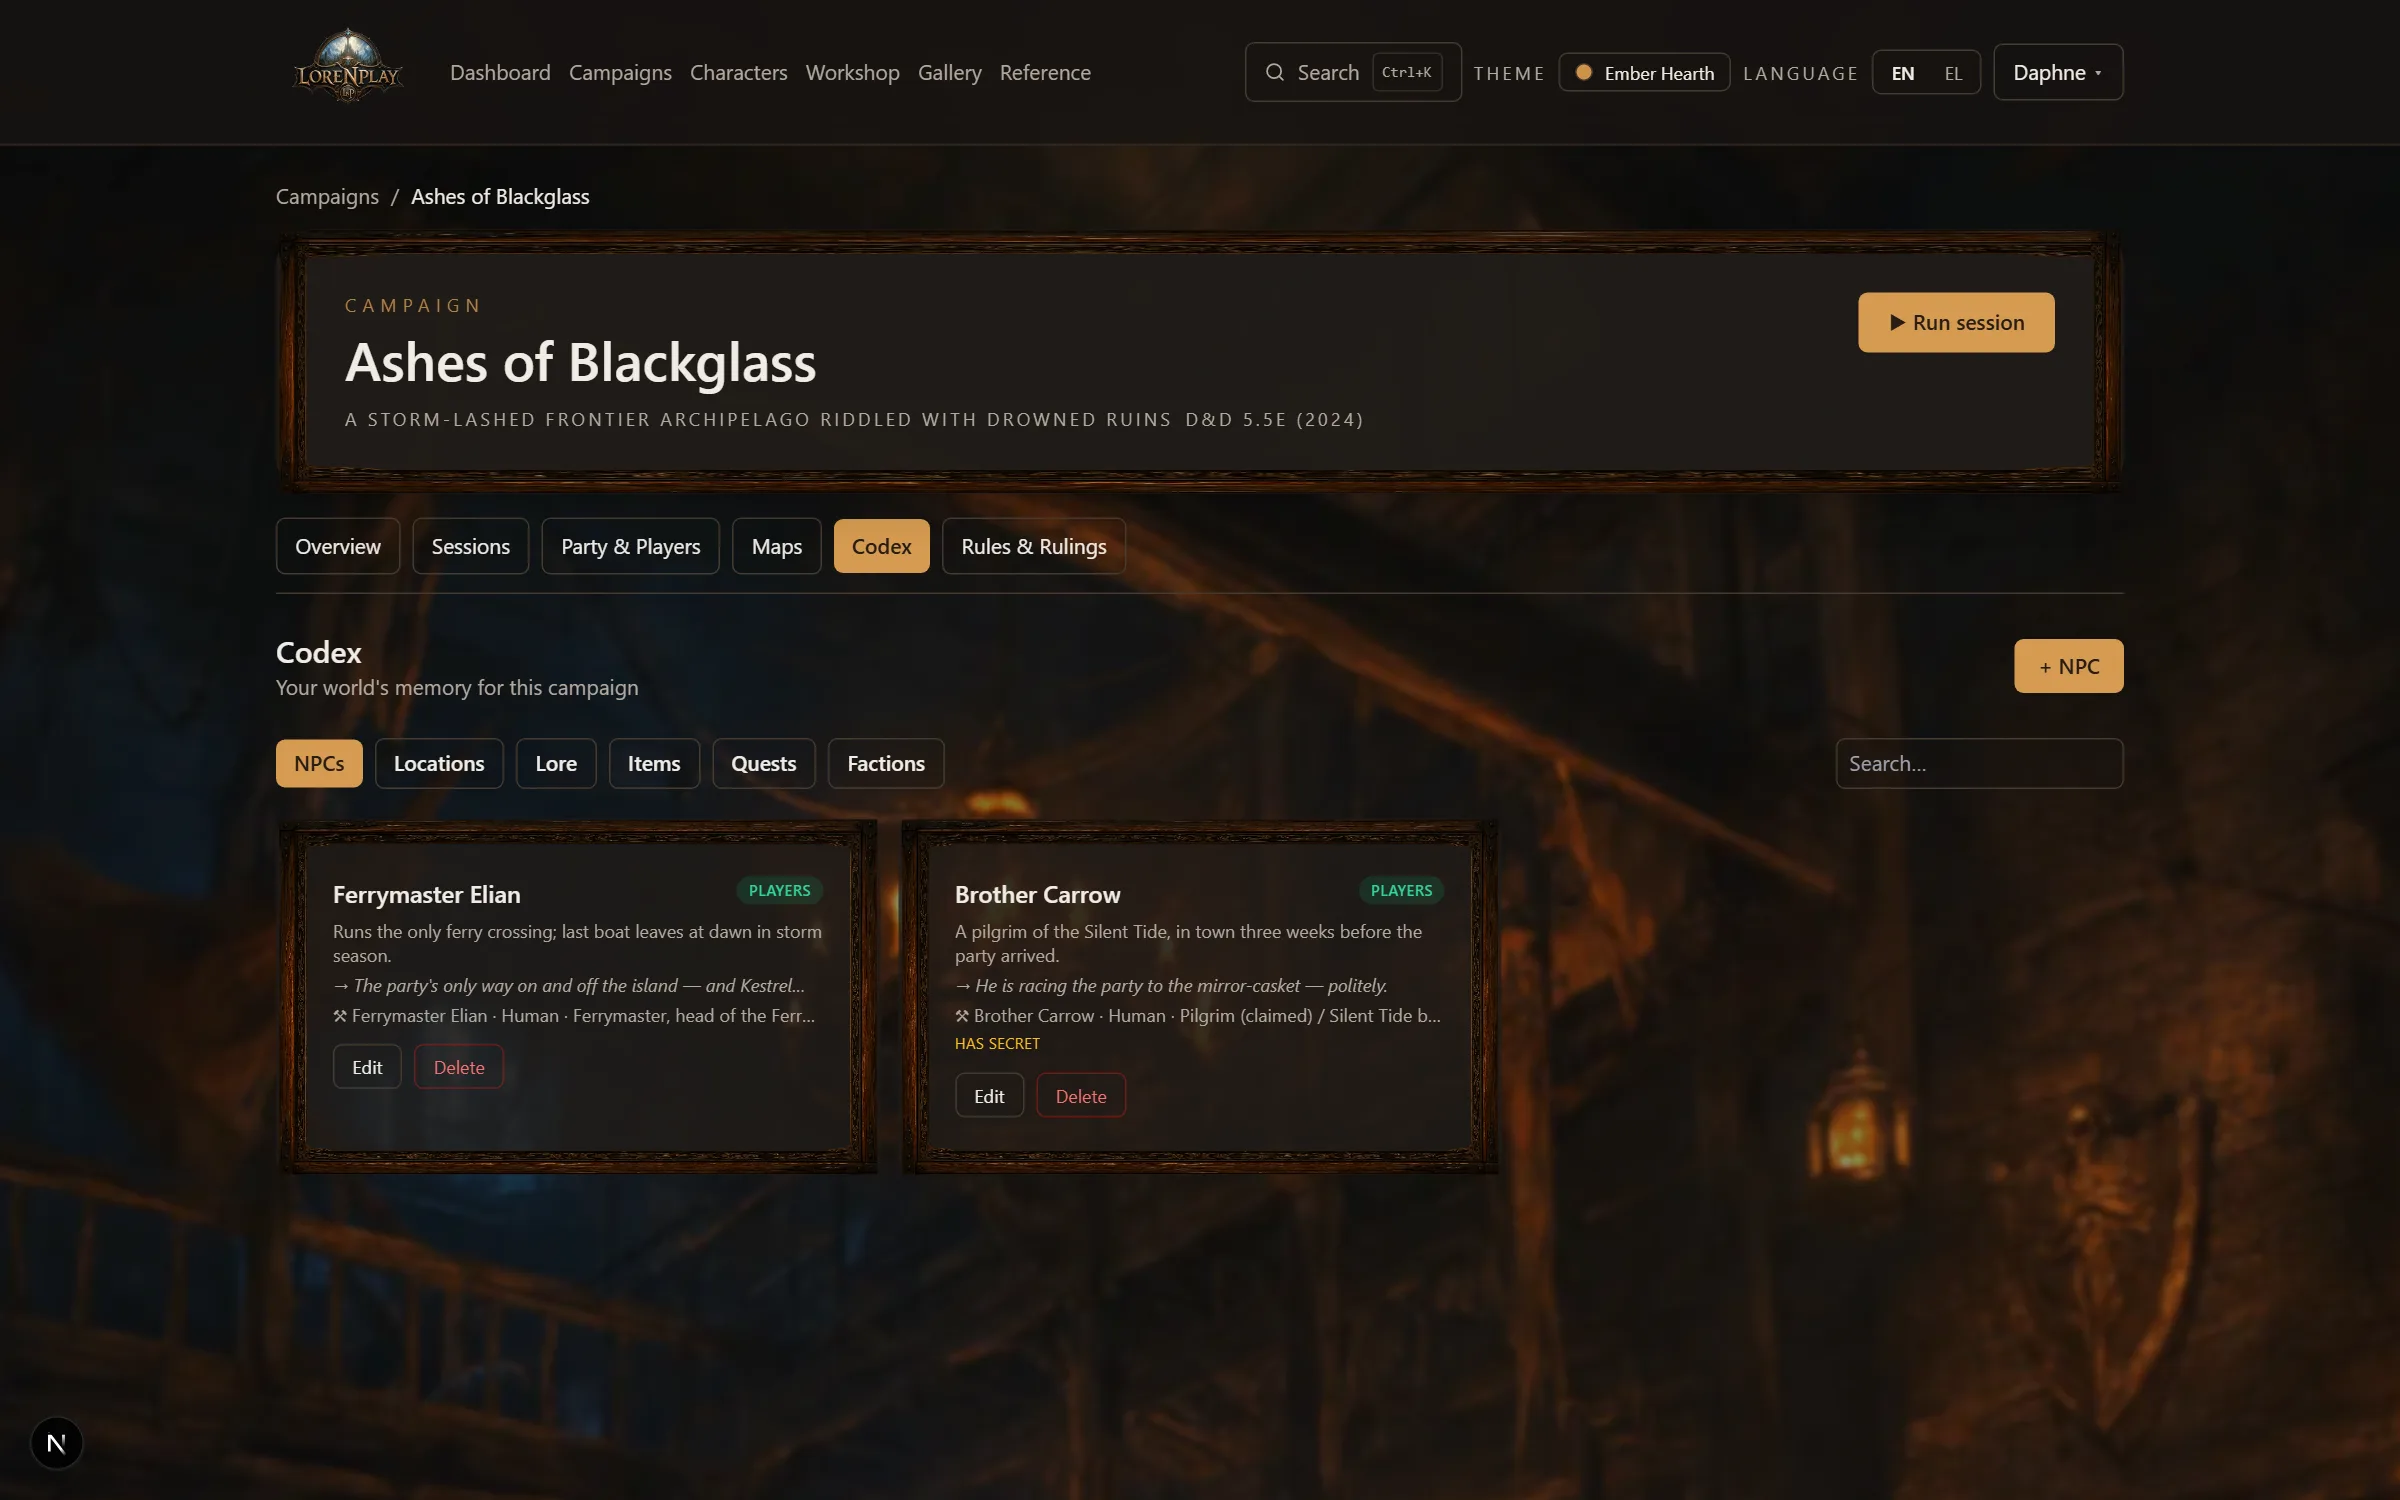
| Visibility | Who sees it |
|---|---|
| DM only | You. The default — safe for secrets. |
| All players | Every player in the campaign sees the entry on their campaign page. |
| Specific players | Only the players you pick — for the warlock's private patron lore. |
Codex entries can bridge to the Workshop: an NPC entry linked to its Workshop profile shows the at-the-table cues (voice, personality) and stat block right where you need them, and a quest can point at the NPC who gave it.
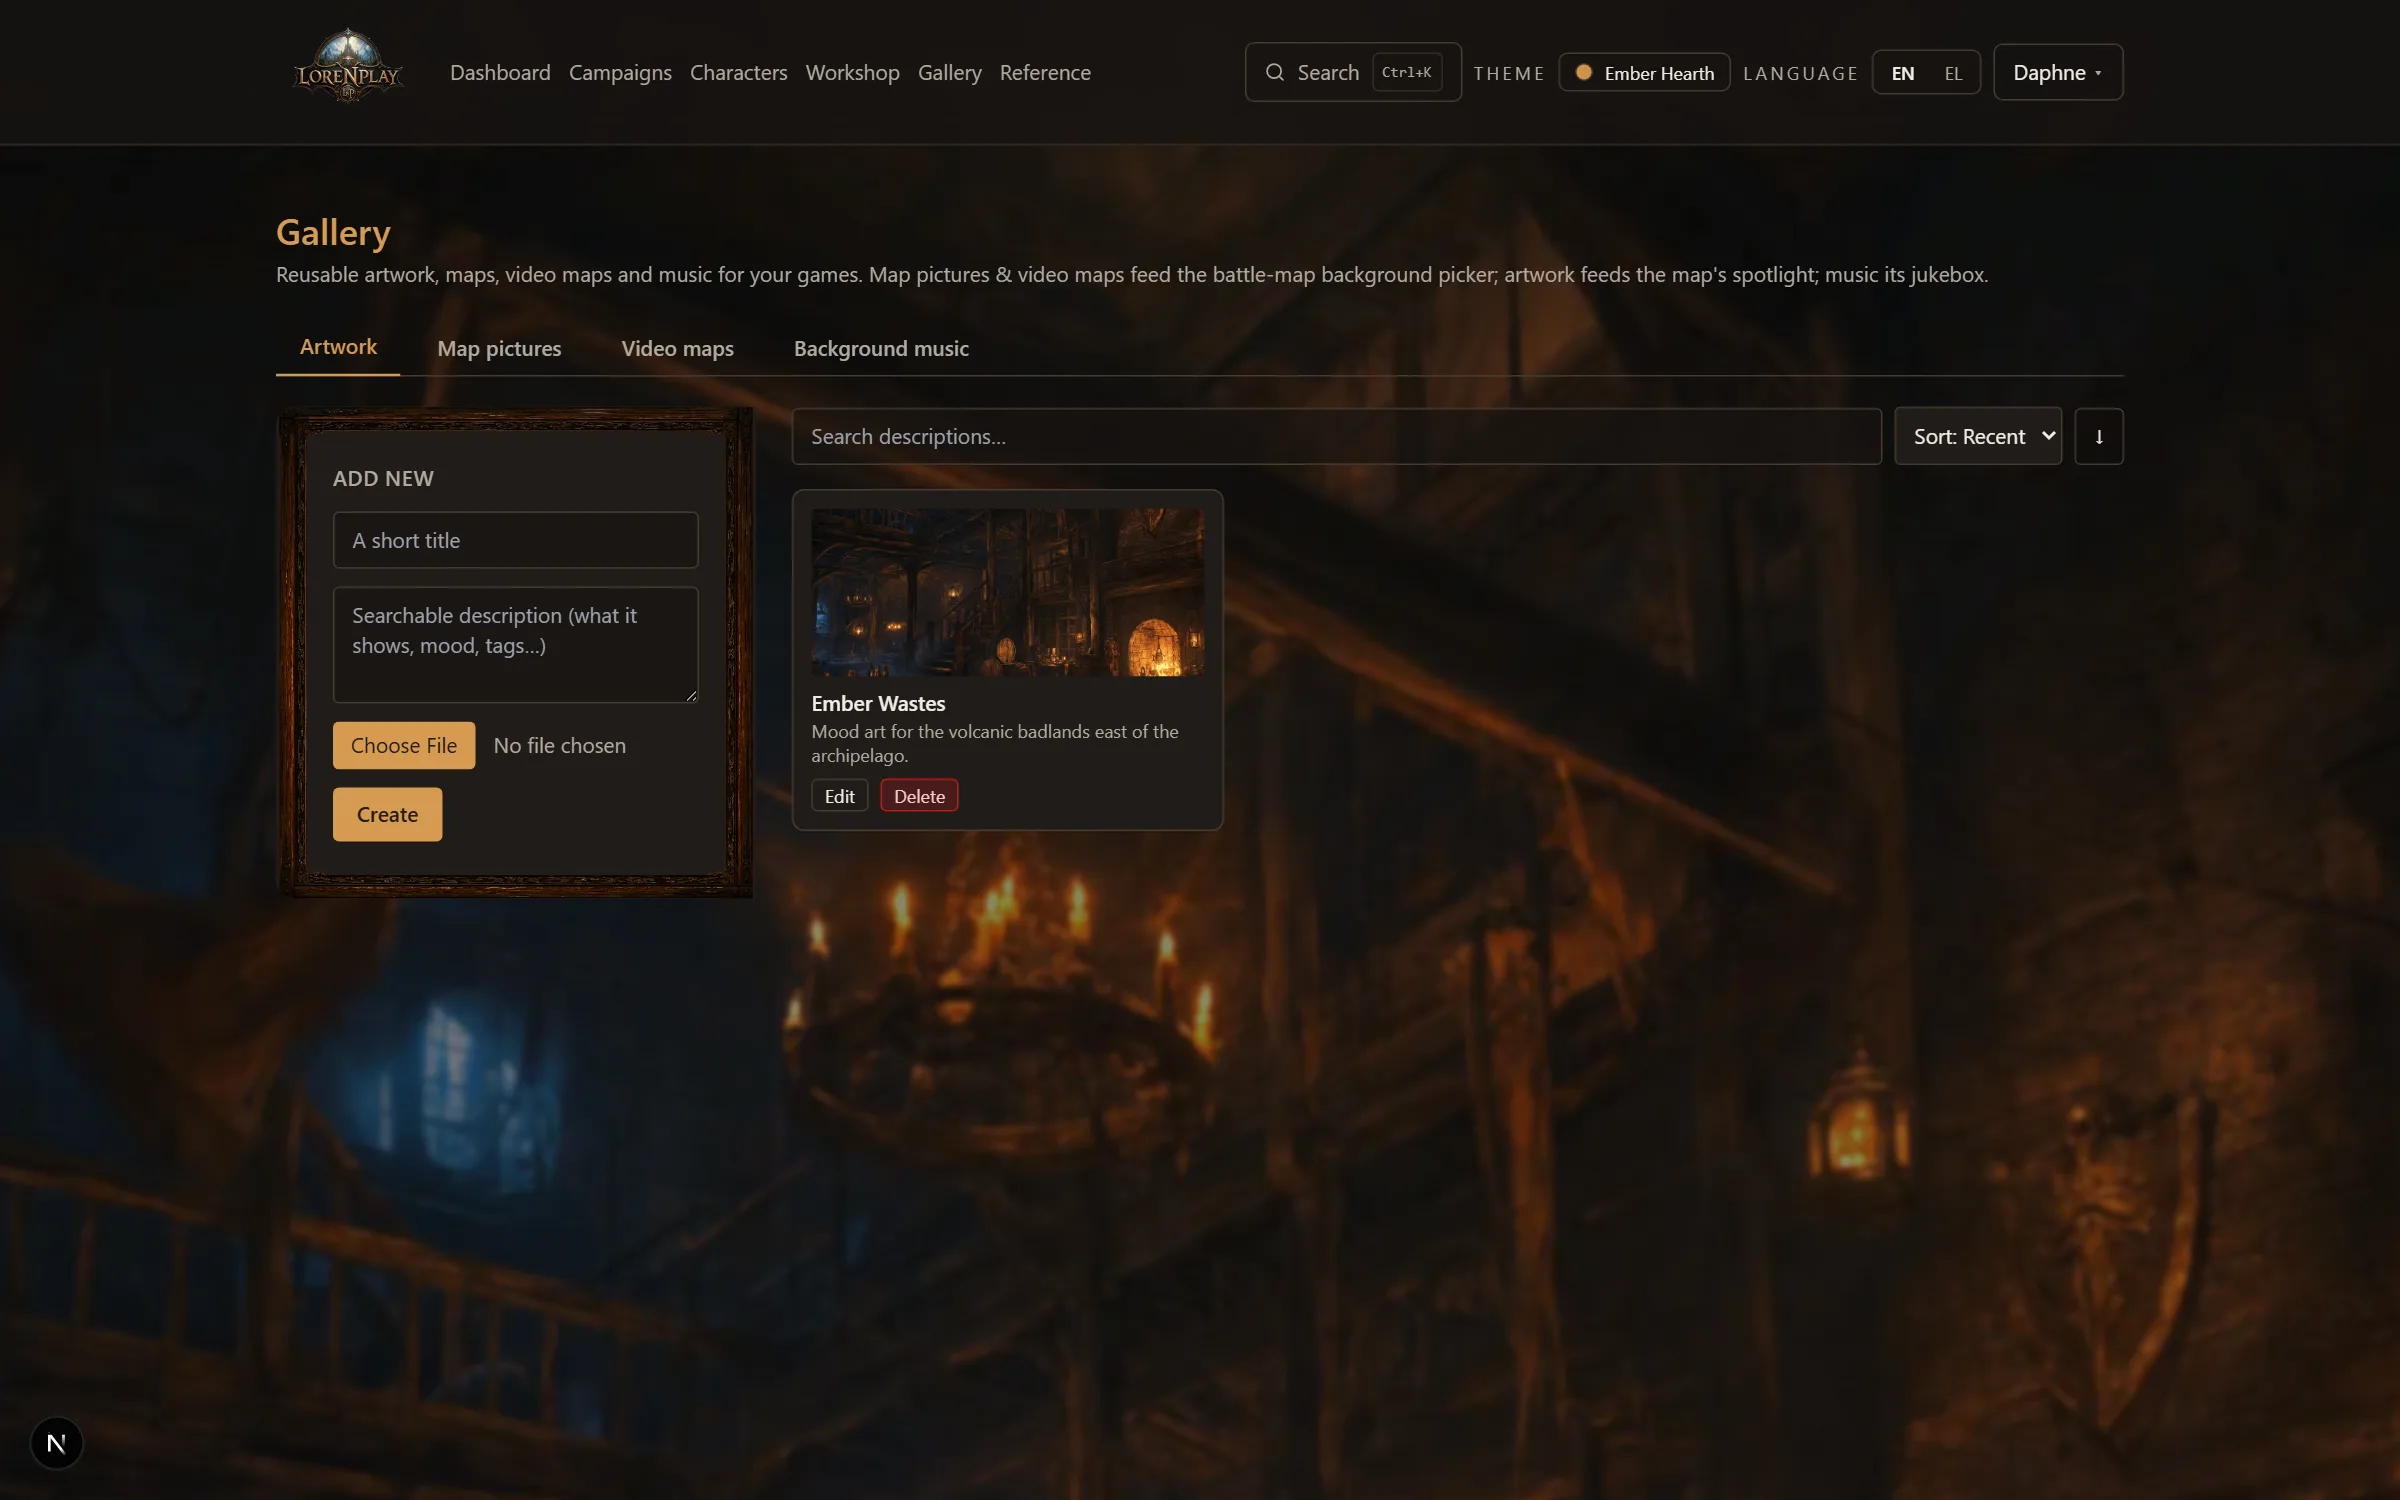
The Gallery is your media shelf: battle-map images, artwork to spotlight, and background music. Everything here is one click away during a live session.
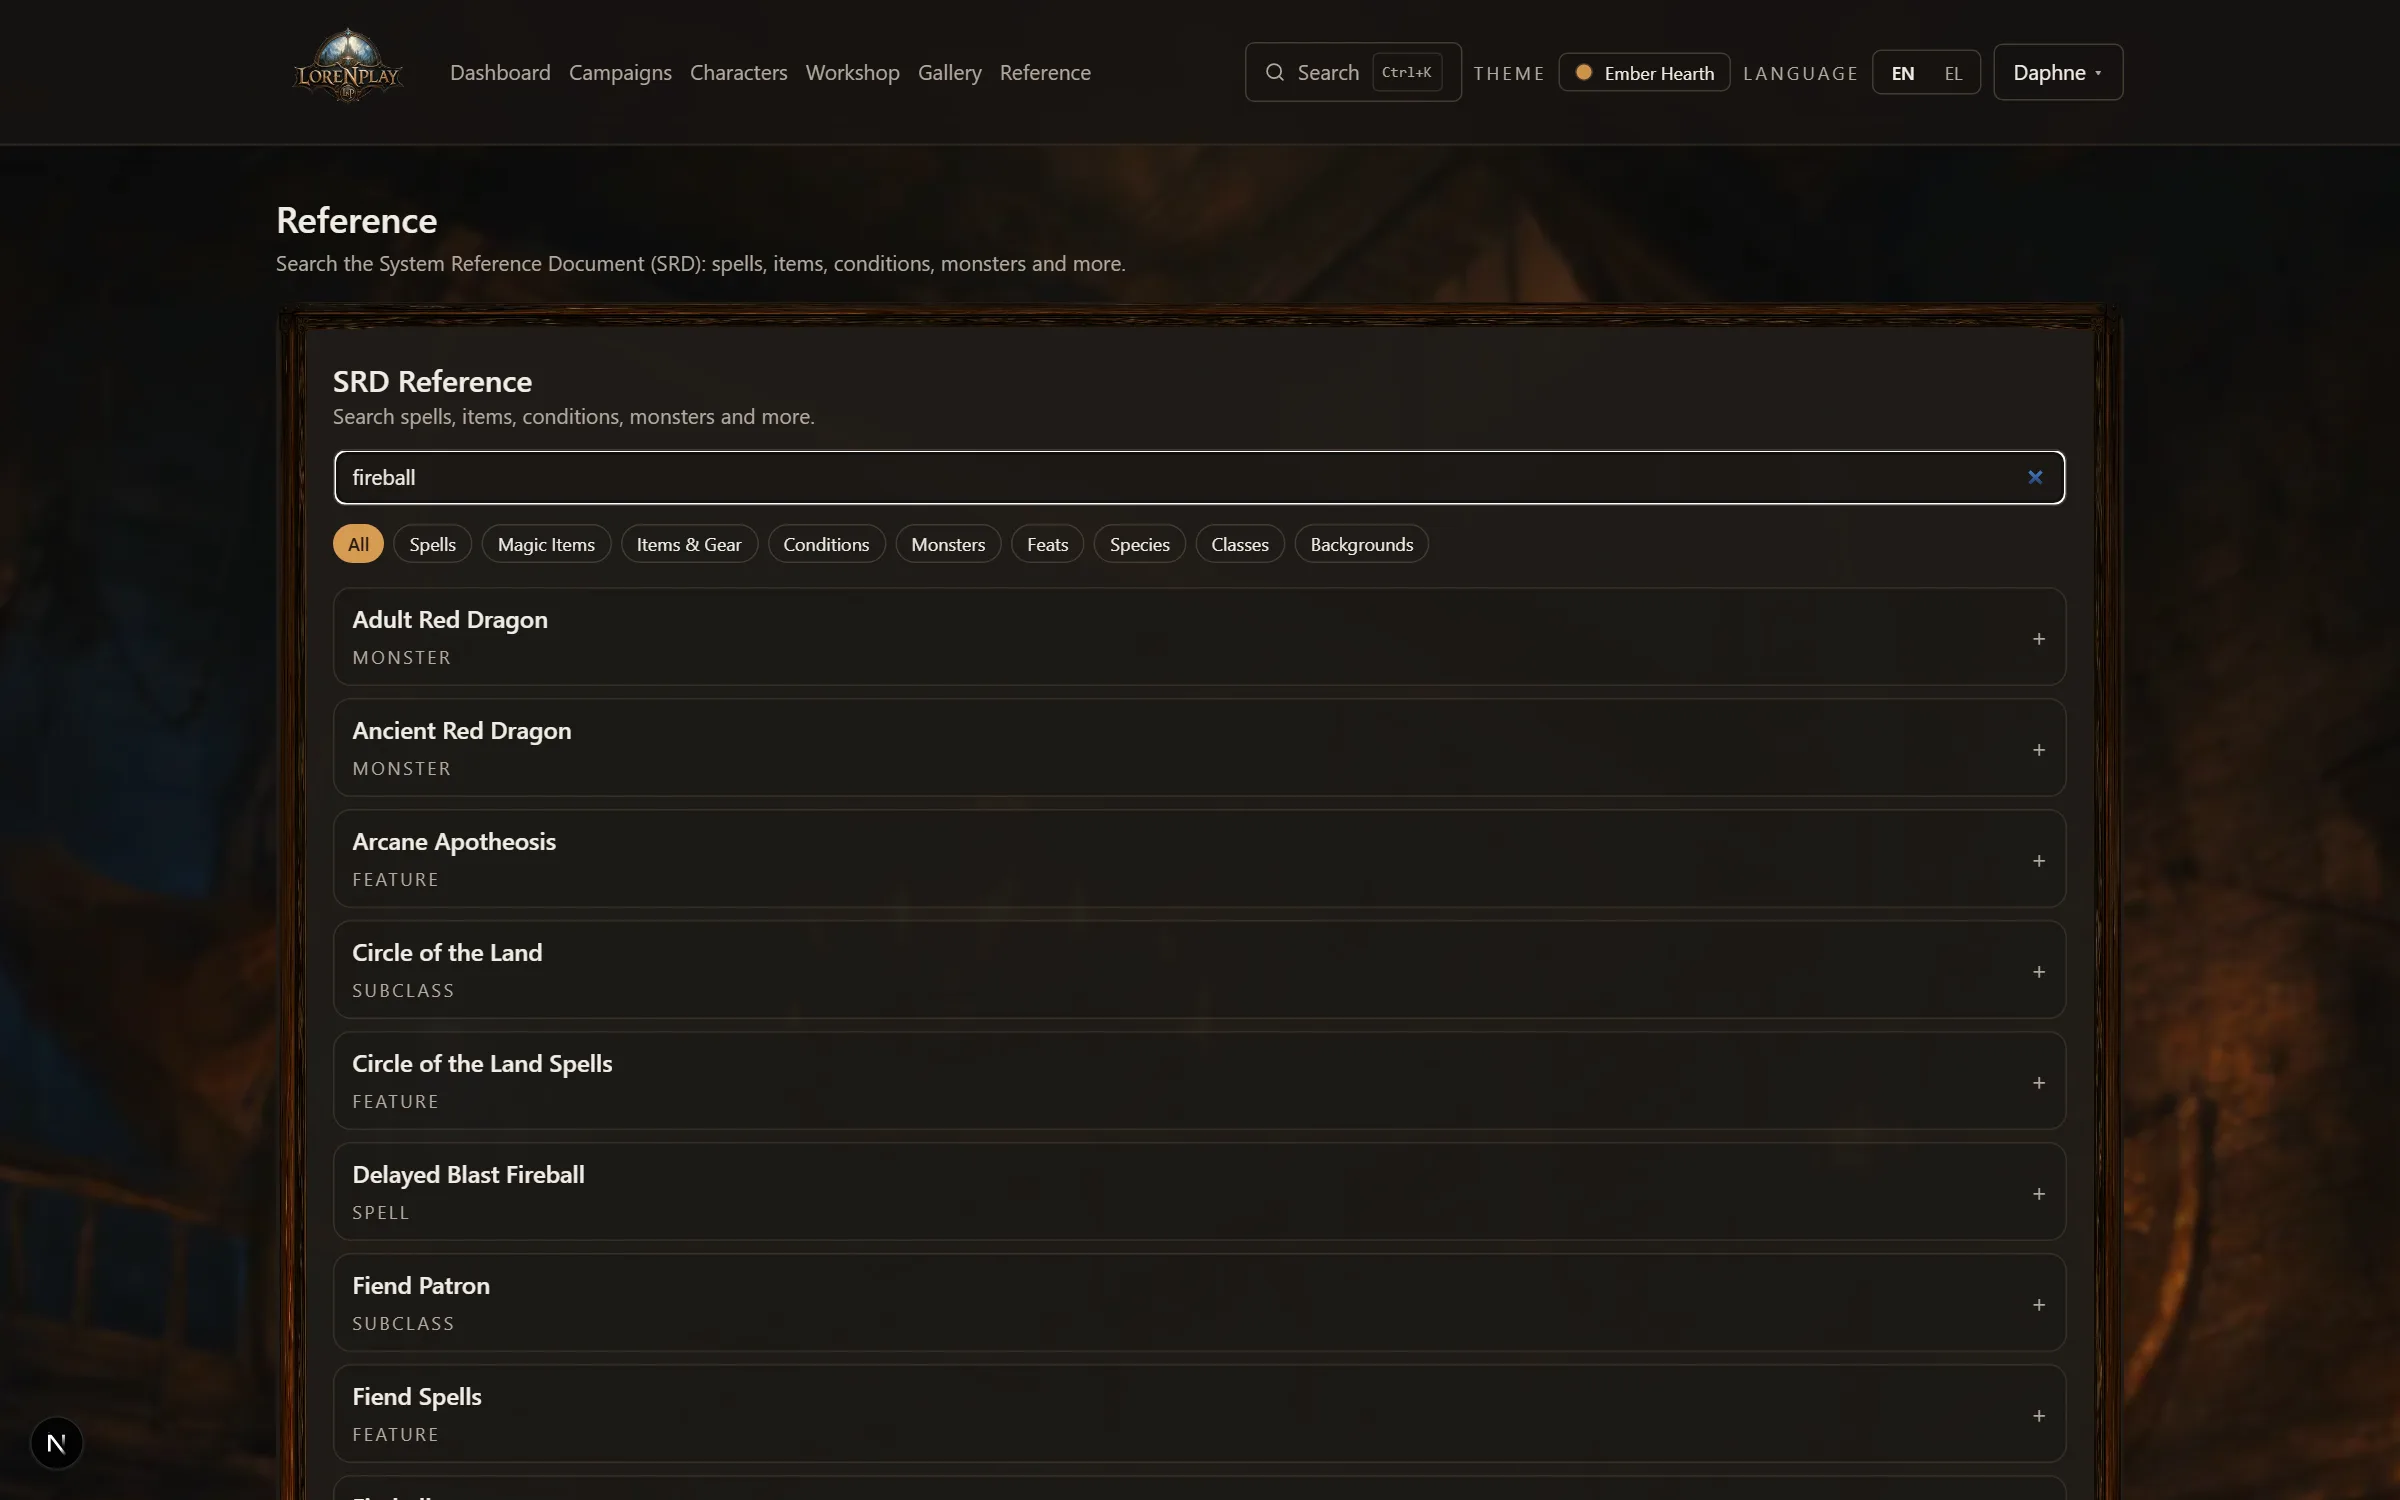
Reference is the searchable 2024 SRD: spells, magic items, conditions, glossary rules, and monsters — the same lookup that's embedded inside the session workspace, so a rules question never means leaving the app. Content is bilingual: with the interface in Greek, translated entries show in Greek.
The Assistant tab in the session workspace is a DM copilot that actually knows your table: it reads this session's transcript, your notes and markers, the codex, your homebrew, and the rules reference — and answers with sources.
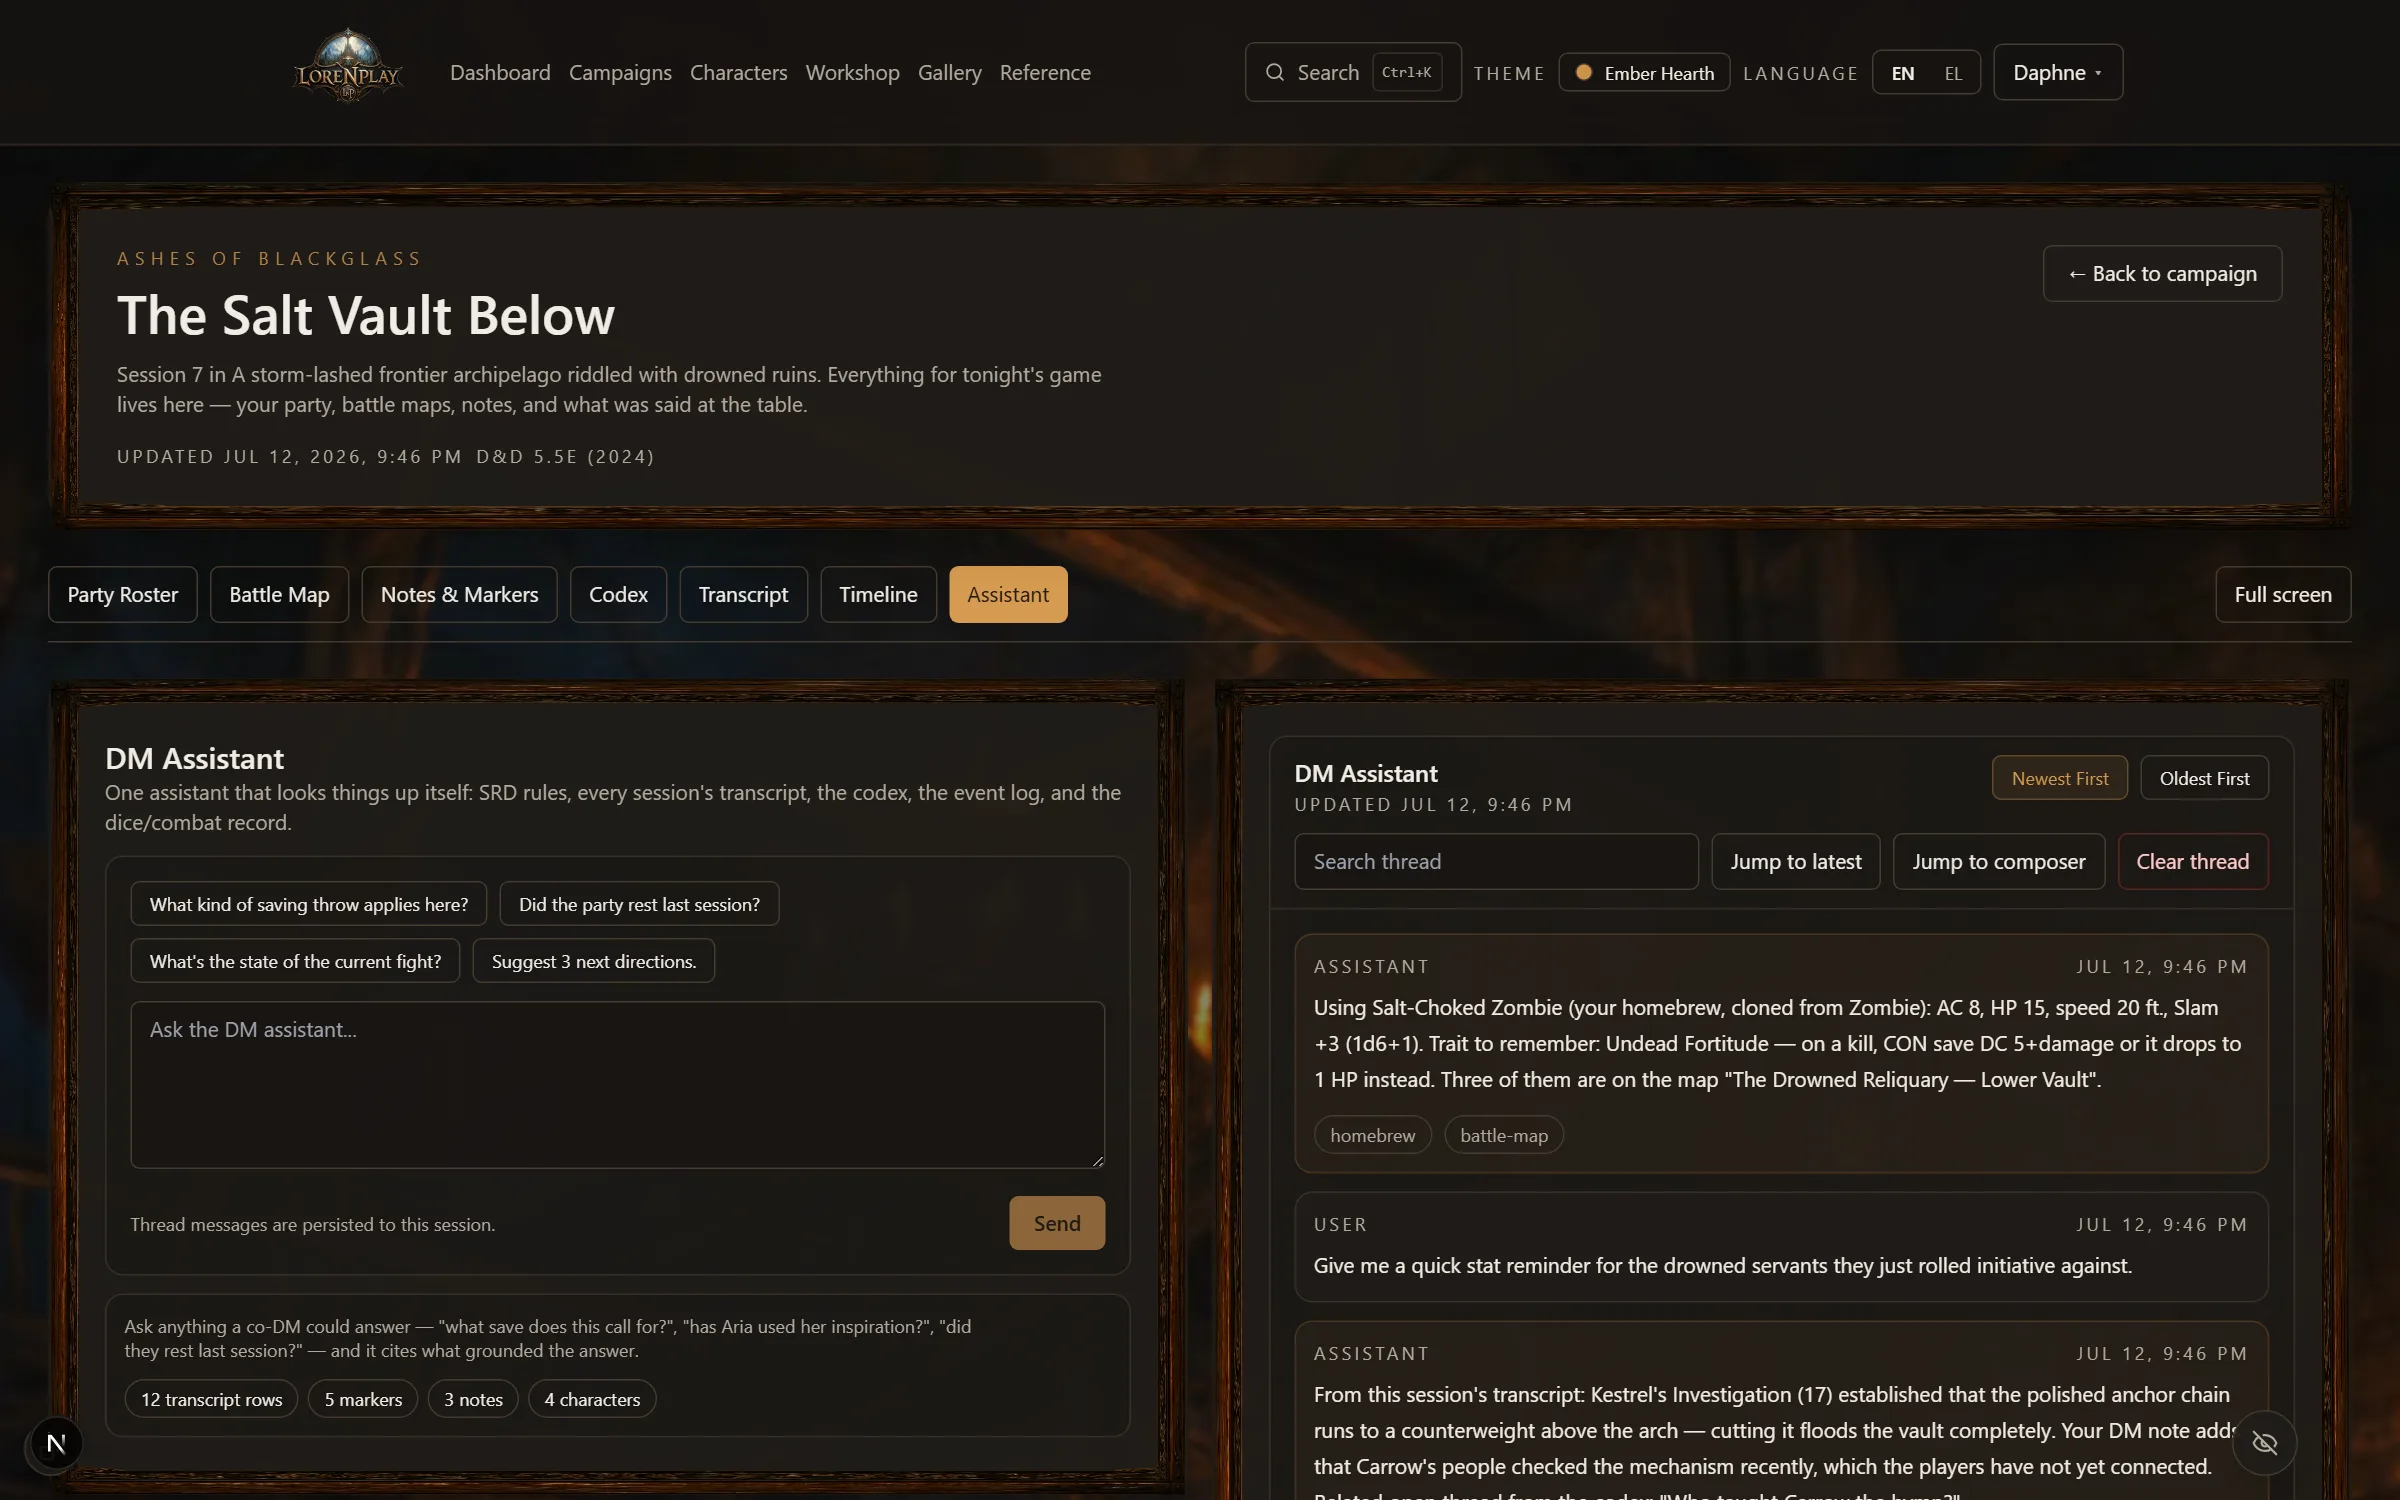
👁 The watcher (optional, off until you switch it on) reads the transcript as it comes in and suggests what to keep: a marker, a Codex entry, a moment for the Timeline, or a flag when what was said disagrees with what is recorded. Each card counts down for about ten seconds; if you do nothing it is kept — a wrong one is one click to take back in the Timeline, a missed moment is gone. Flags are only warnings and save nothing.